Tutorial Project: Nº2

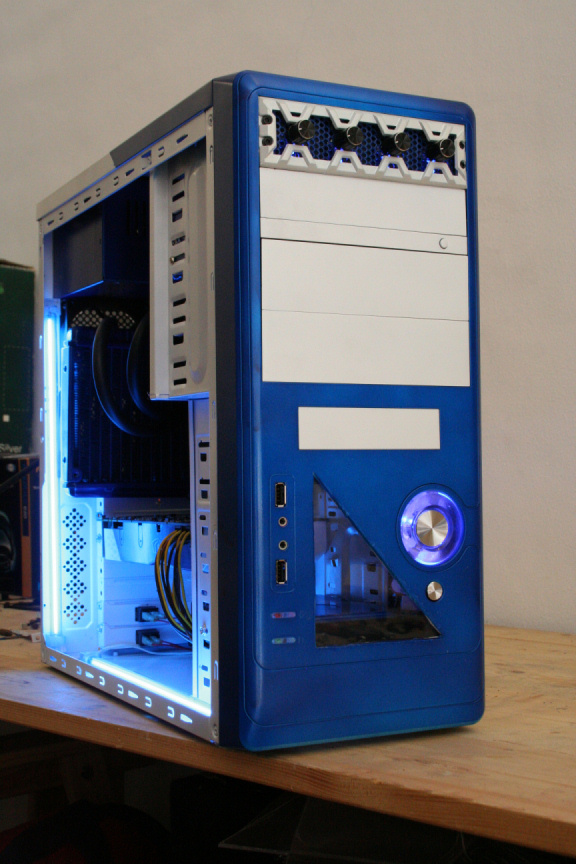
Final post before the end result : )

Today we´re going to do the windows. The material you need to use is plexyglass, it´s cheap enough to buy and you can normally find it in any building supplies or DIY store, I payed for a piece big enough to do 3 side windows on this case 12€ Have in mind there are two types, the normal one and the one prepared for exterior which is a lot more expensive and we don´t need so go for the first one.

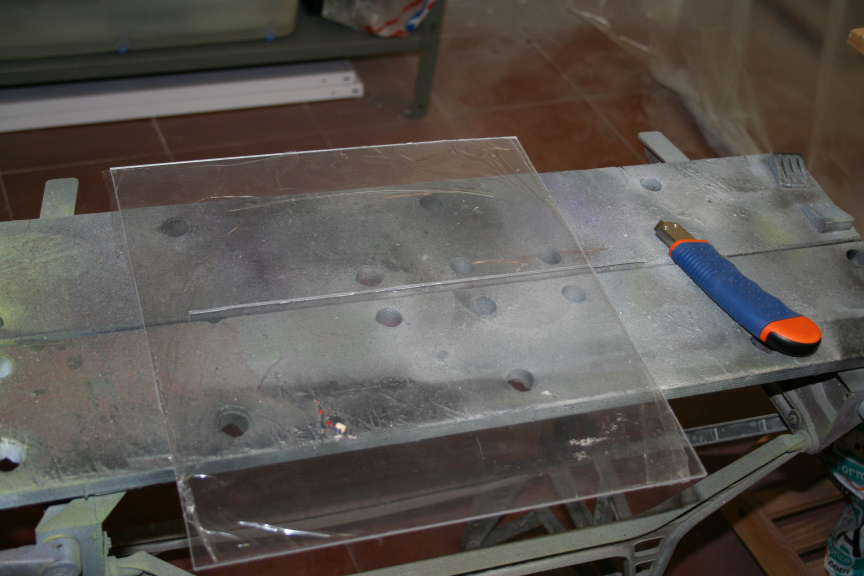
Do not cut it with any sort of power tool as it will melt like plastic and make an awfull mess and you´ll find you will spend more time cleaning the piece up than if you cut it using a different method. A cutter for example (a decent one) will do the job. I find that to get a straight line, a metallic ruler does the job but of course feel free to use anything you feel comftable with to get a straight line.

So yeah, do a few runs with the cutter until you can see from the plexy border that you´re about at least half way there. Then you can bend it both ways (with care) until it snaps and you will have a clean cut. If need me you can sand the border down.

It goes without saying that you will have to measure the piece before you cut it so you know how big it needs to be. Have in mind to leave a decent space on each side if you´re going for as big a window as possible or you´ll find it prevents the side from closing on the case.

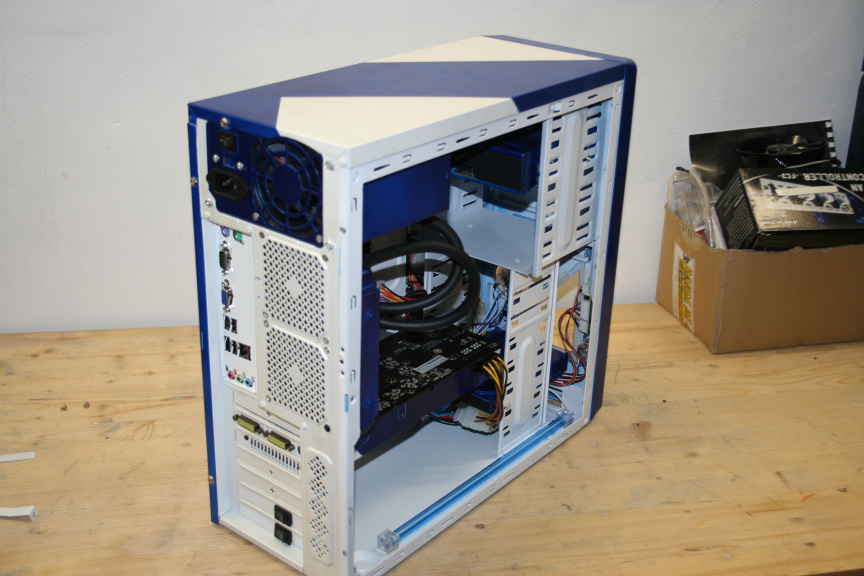
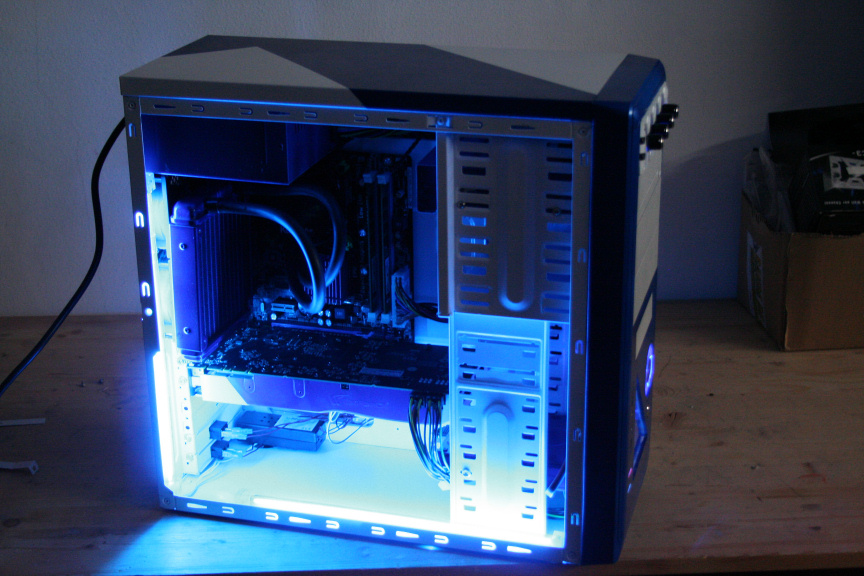
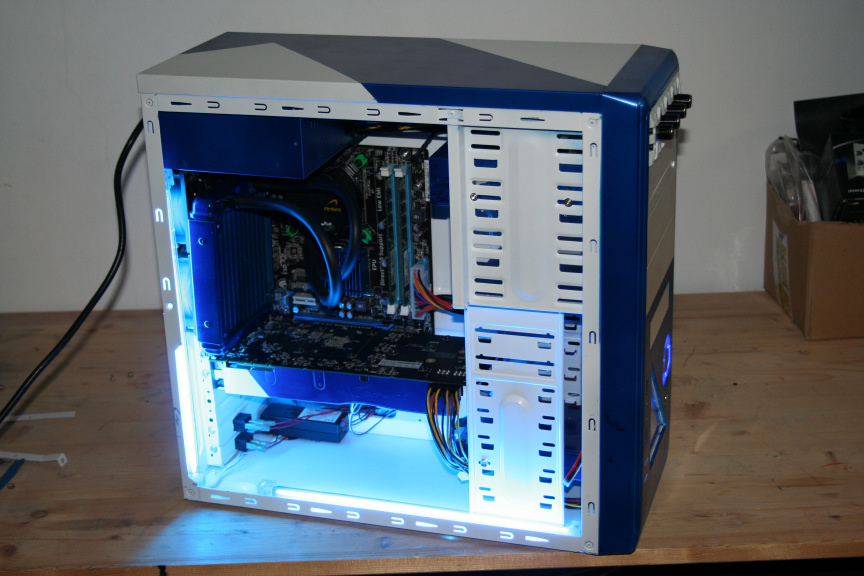
Once we have our piece ready we need to attach it from the inside side of the side panel. There´s several ways of doing this but I find the cleanest way is using decent double sided tape, for example, the 3M one is extremely strong and will do the job just find.

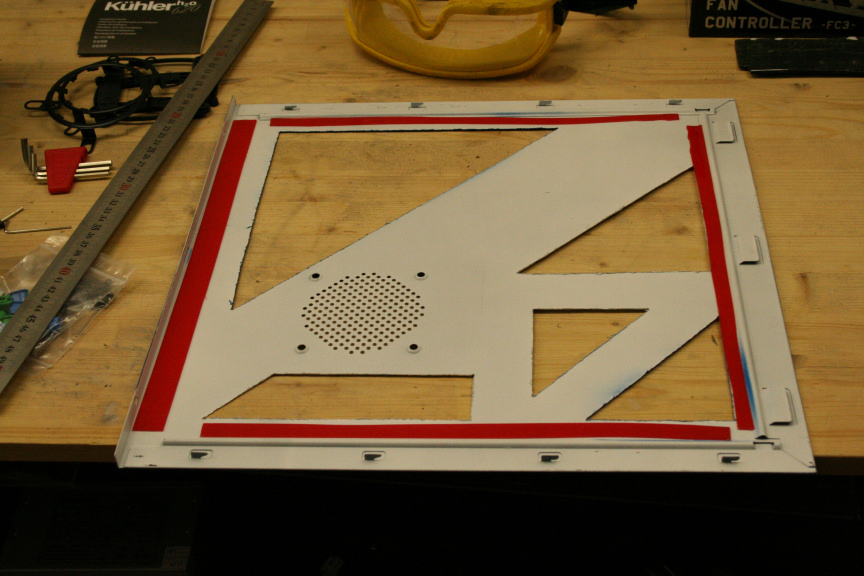
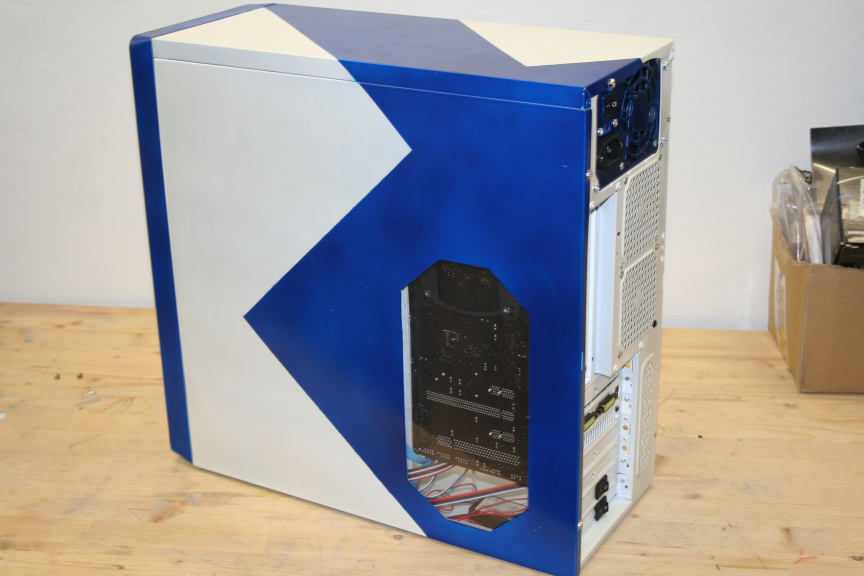
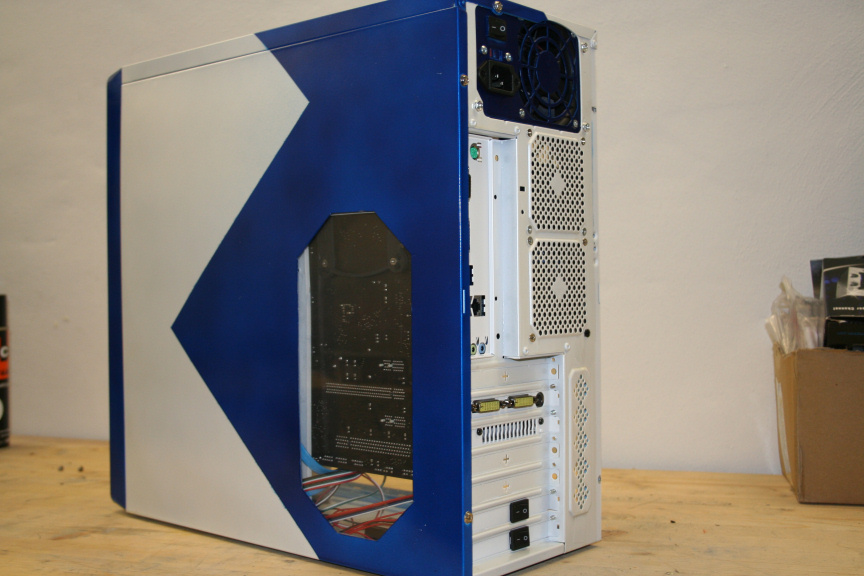
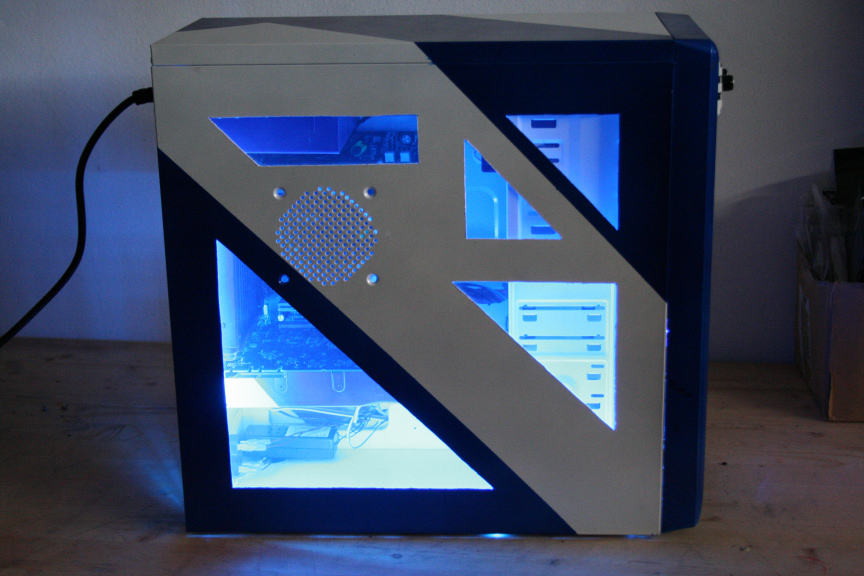
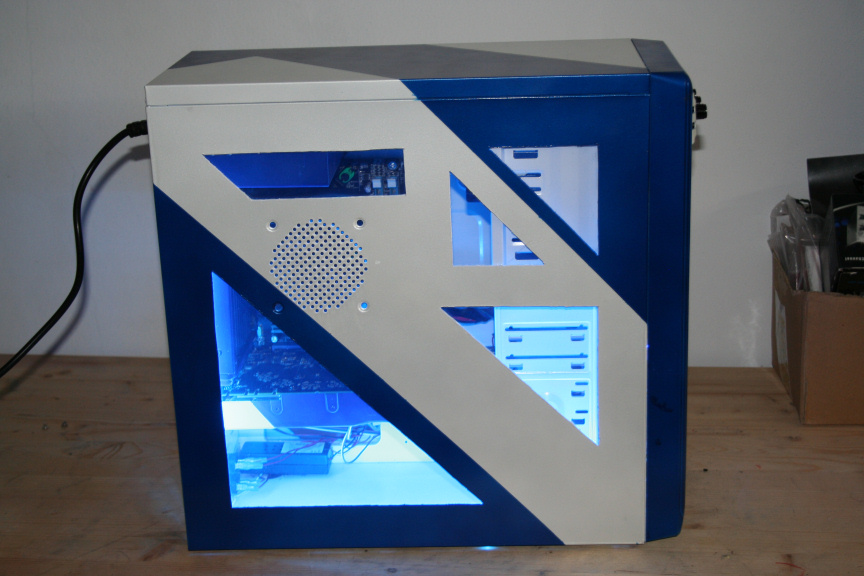
And we´re done, we can repeat the process for any and all windows on our case.

On a final note, if you decide you want to mount a fan if your sidepanel has the grill to do so, I would suggest you fit the window first (without the tape) and then measure where you need to cut to fit the fan. Personally I won´t be fitting a fan, I checked I didn´t need to temps wise and as a personal taste decision, I preffer it without one.

And here guys is the final post of the tutorial. I´m sure some of you will have different ways of doing certain parts of such and if they work for you then that´s really what is all about, right?

For the rest of the people I hope this helps you with any doubts you had about doing certain things and for people that have never tried, I hope this entices you to join the fun world of customizing your PC : )

Following you will see a mix of pictures, each of them has a flash and non flash version (camera flash).

I didn´t see any point on making a tutorial on how to put all the parts togueter as I assume that if you attempt pc customizing you know the basics on how to put one togueter.

Thank you for reading and I hope you´ve enjoyed it. Once again I´d like to thank this project´s sponsors; Lamptron, Antec, B-Move & Benchmarkhardware.com

There we go, all finished up, sorry for the delay on posting it here, it was finished quite some time ago :S

I really like that one. Looks so clean! :slight_smile:

(I wouldn’t have those knobs at the top of the front of the tower, but that’s me.)

Do you sell them, pretty custom computers? you should.

I have been thinking of adding an online shop to my portofolio website

It´s a fan controller, needed if you dont want your fans to be on full all the time, i.e. silence / cooling ratio.

Plus it´s also a product of one of the sponsors so eh :stuck_out_tongue:

I wonder how much it would cost to get a custom one done. :wink:

You mean a whole PC? Well it really depends on what one wants : )

Where is this website? I don’t feel like googling :stuck_out_tongue:

Sorry I´d sware I wrote the link. Have in mind I only post completed projects there, not the ones in progress of which there are two.

https://www.neonit.net

You probably have posted it in one of these threads. Thanks for posting it here.

Founded in 2004, Leakfree.org became one of the first online communities dedicated to Valve’s Source engine development. It is more famously known for the formation of Black Mesa: Source under the 'Leakfree Modification Team' handle in September 2004.