[align=center]Hello,
The aim of this tutorial project is to put togueter a series of smaller tutorials/how to on individual things.
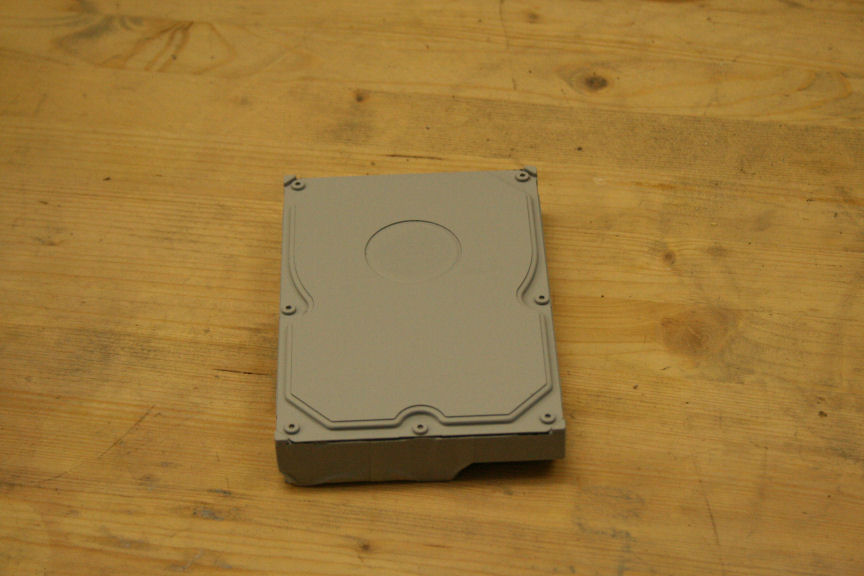
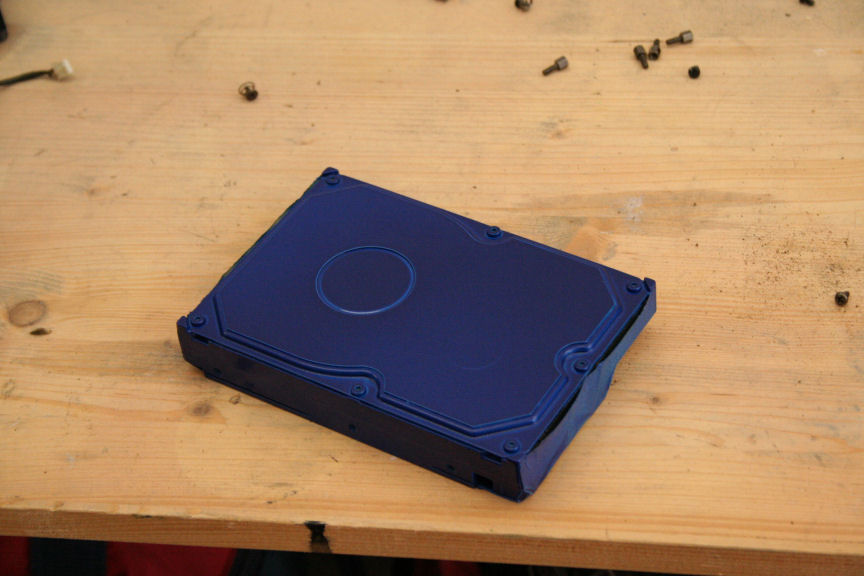
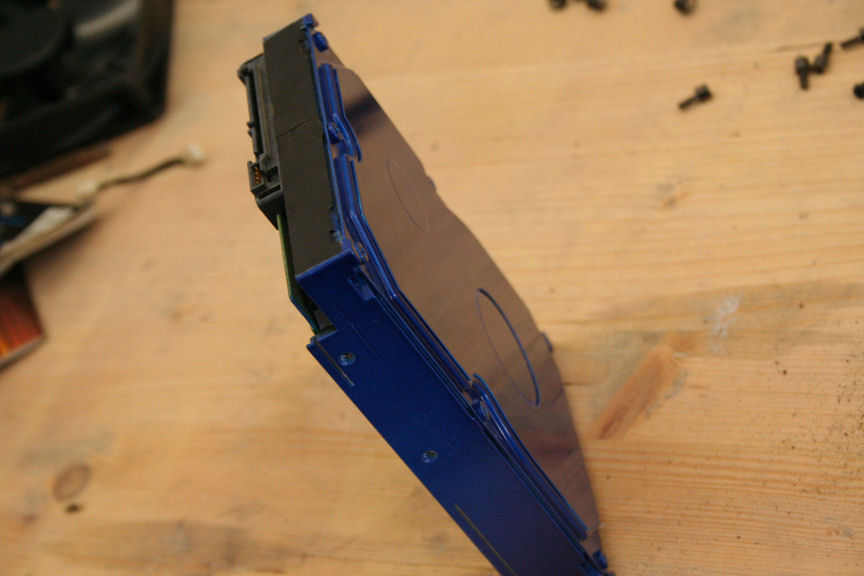
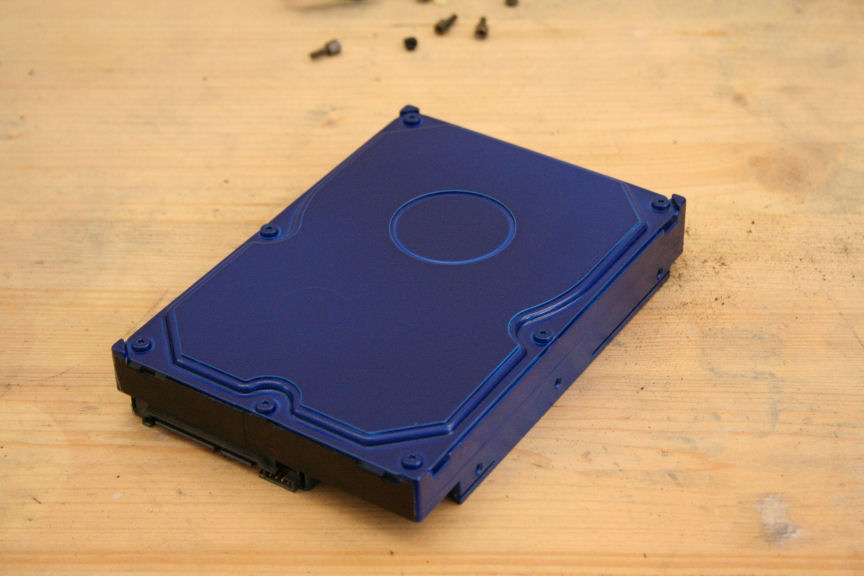
Customizing a fan controller, painting a drive, and so on an so forth. All of these mini-tutorials will be posted as seperate threads.
This thread will be the main one focusing more on the whole build.
These are an initiative of the main sponsor, Lamptron.

Other sponsors that have helped out with this project are:


Thank you all, specially Chris @ Lamptron and Teseo @ Benchmark Hardware for their never ending support.[/align]
Right, so let´s start!
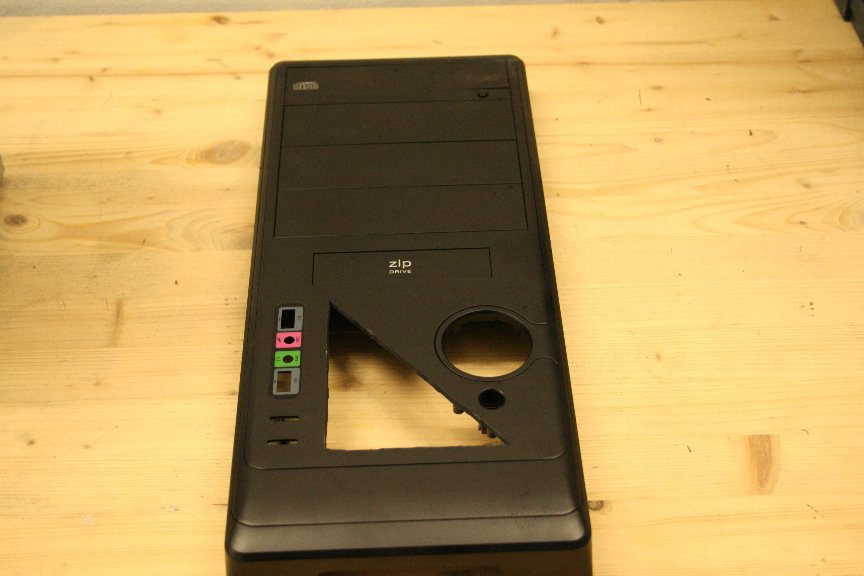
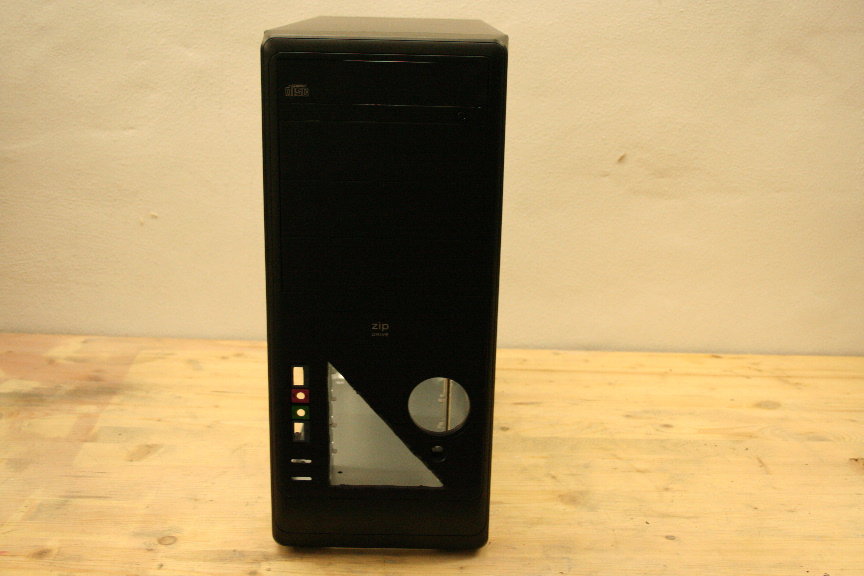
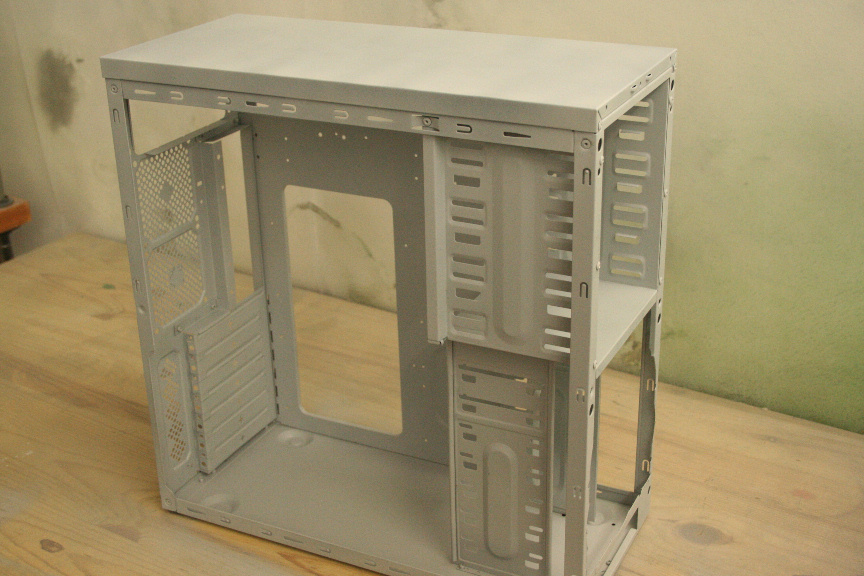
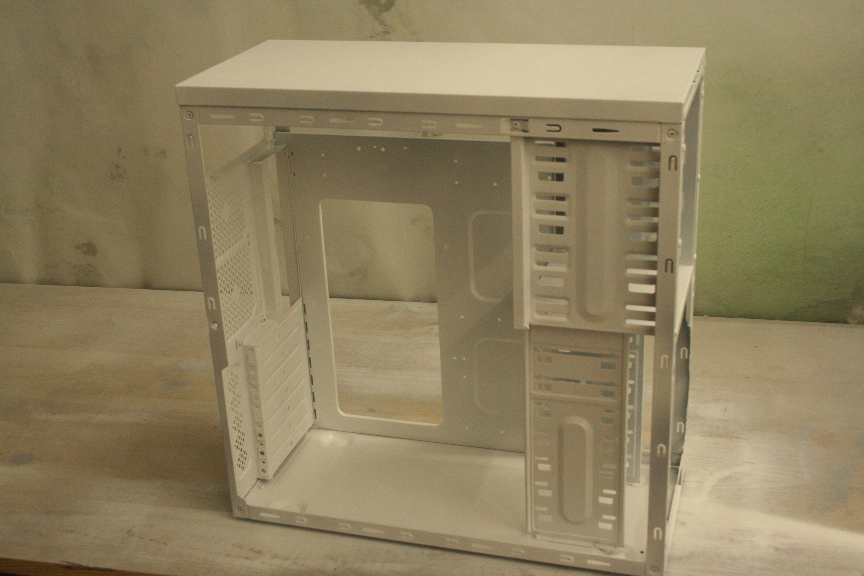
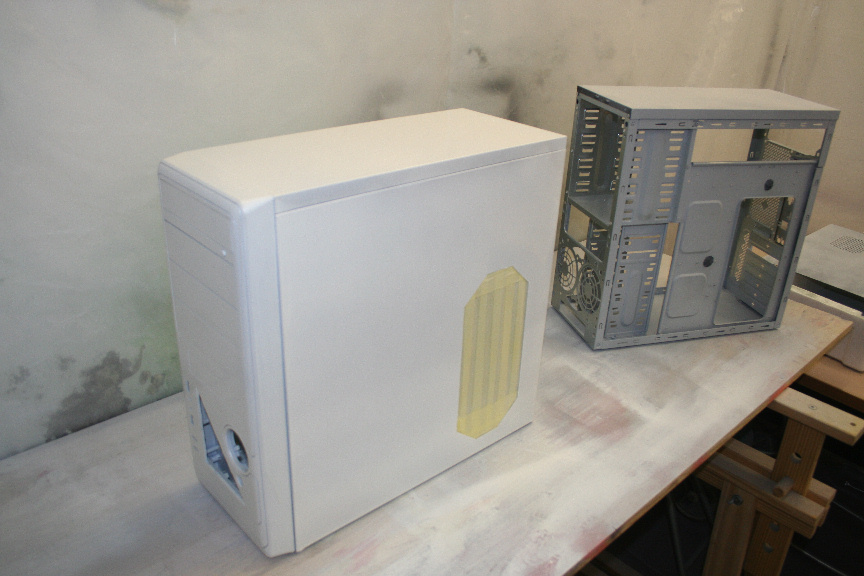
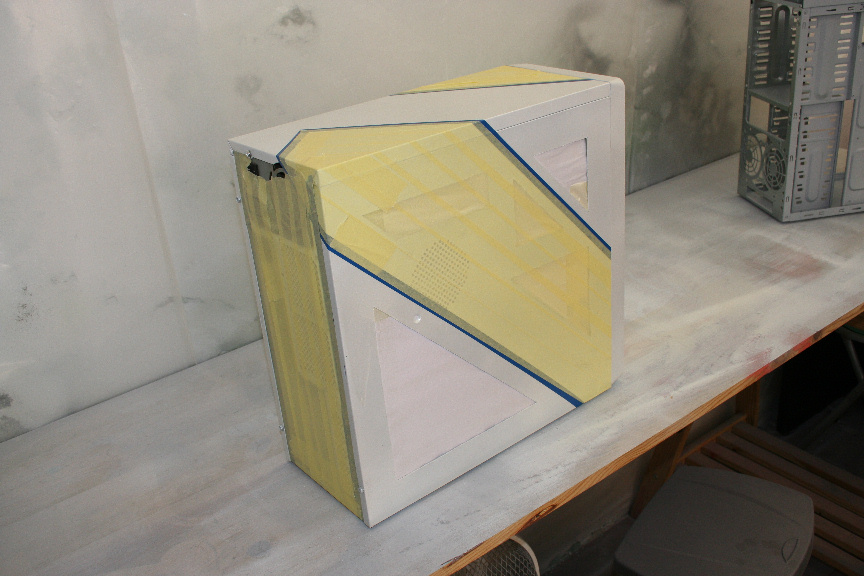
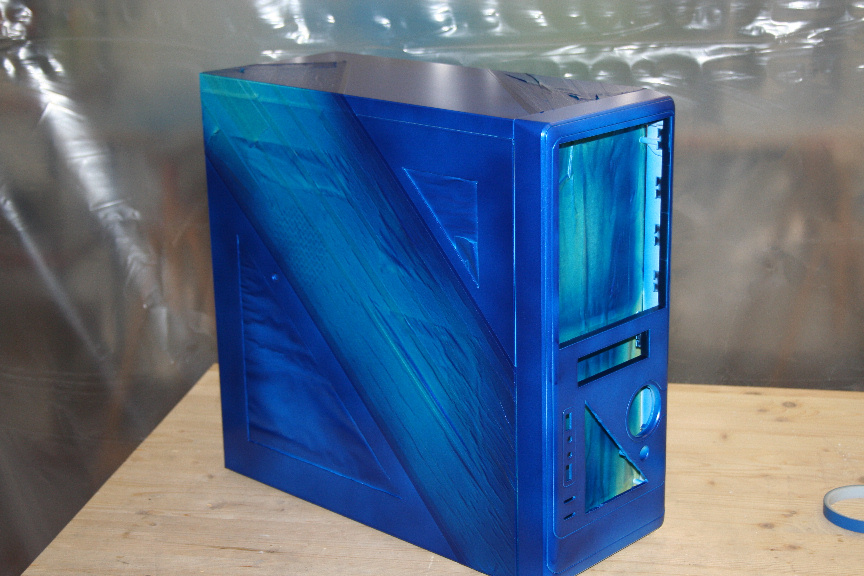
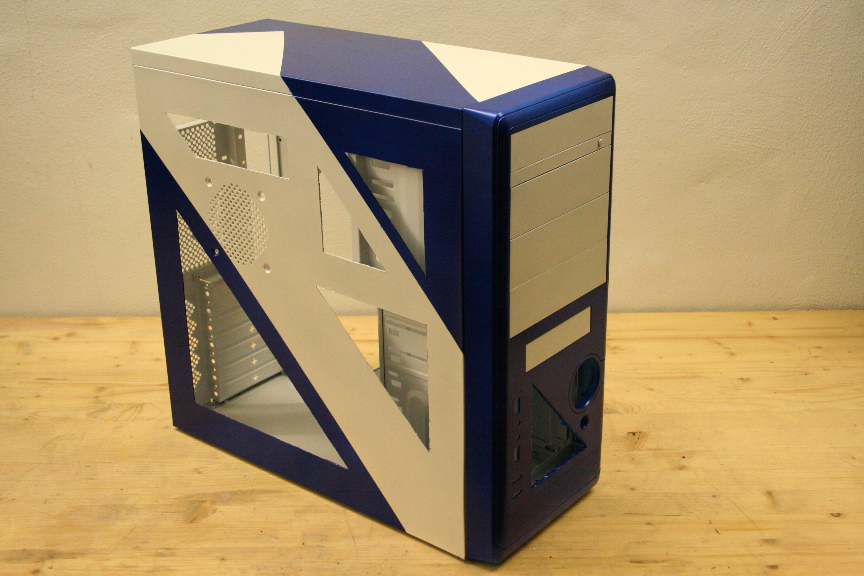
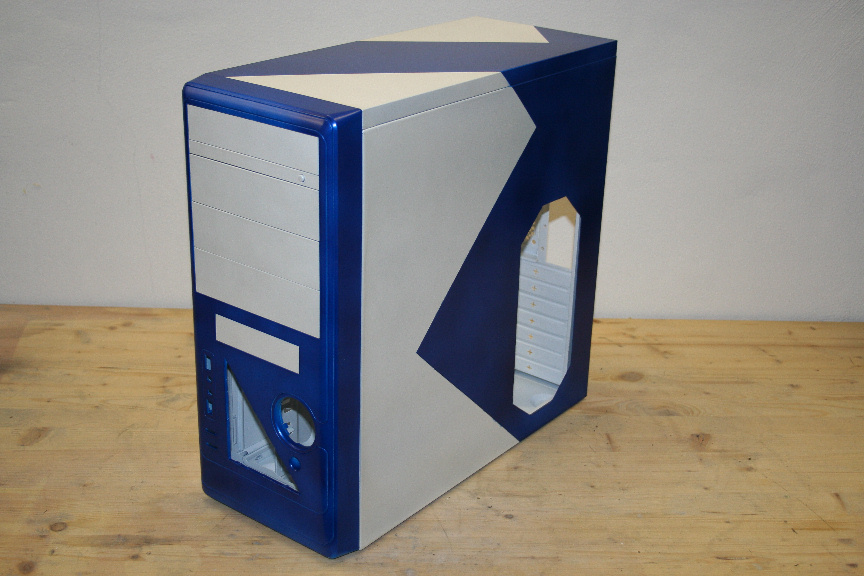
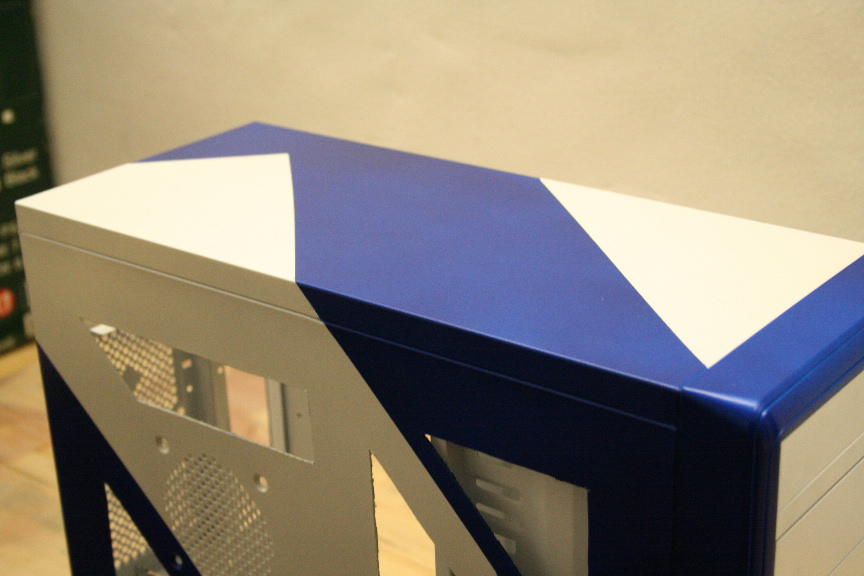
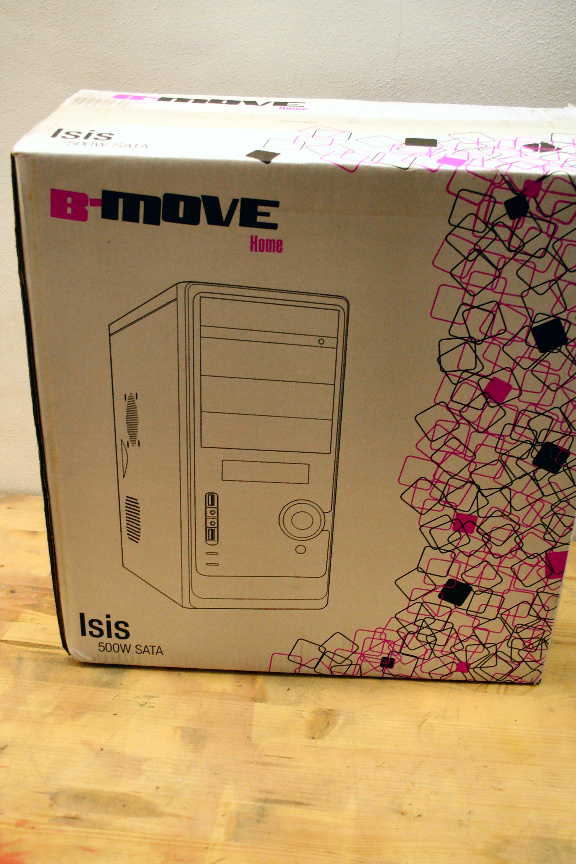
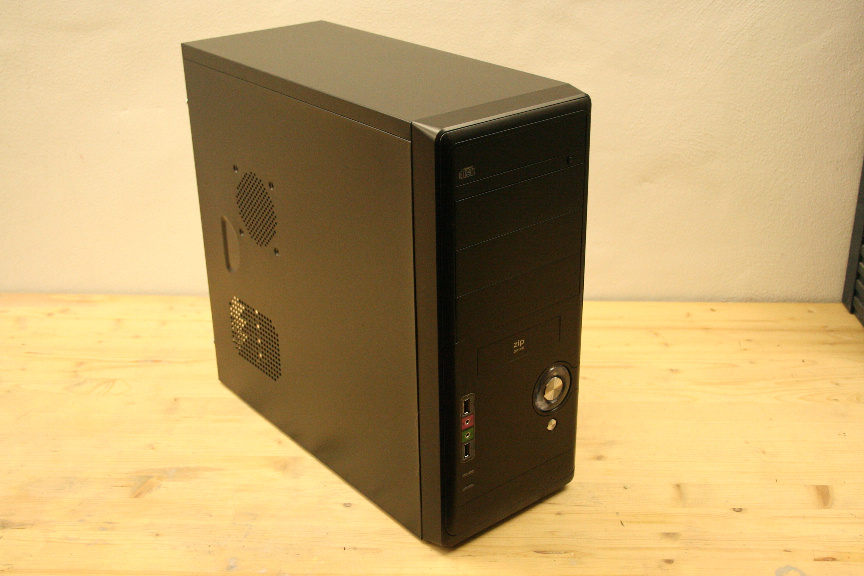
We will be using a very basic case, the entry level “Isis” by B-Move:
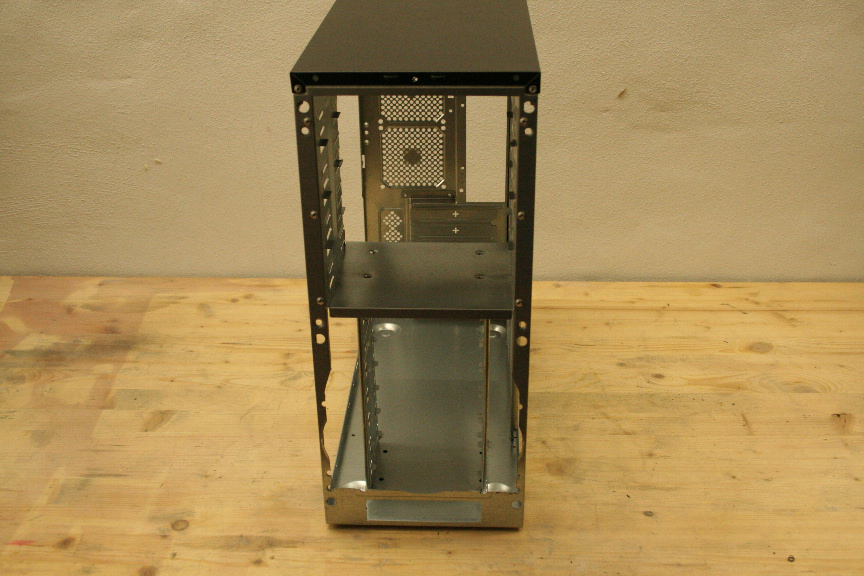
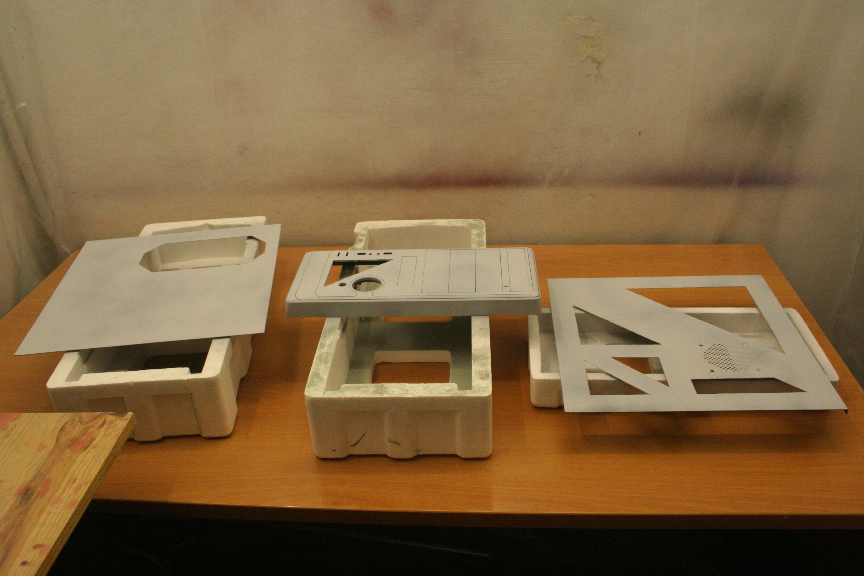
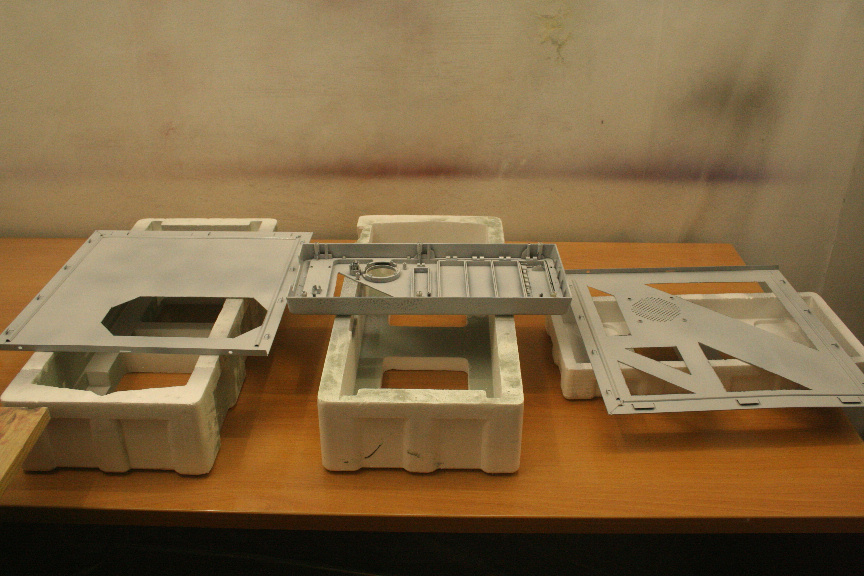
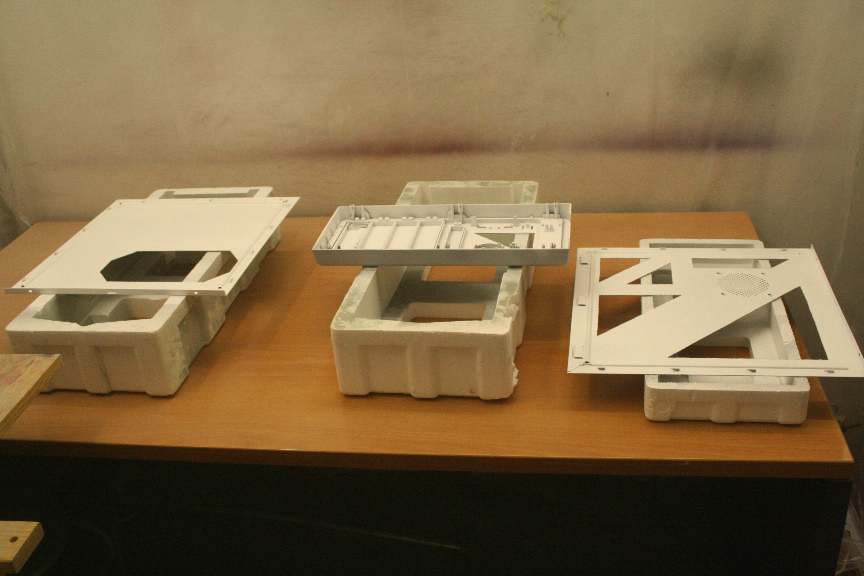
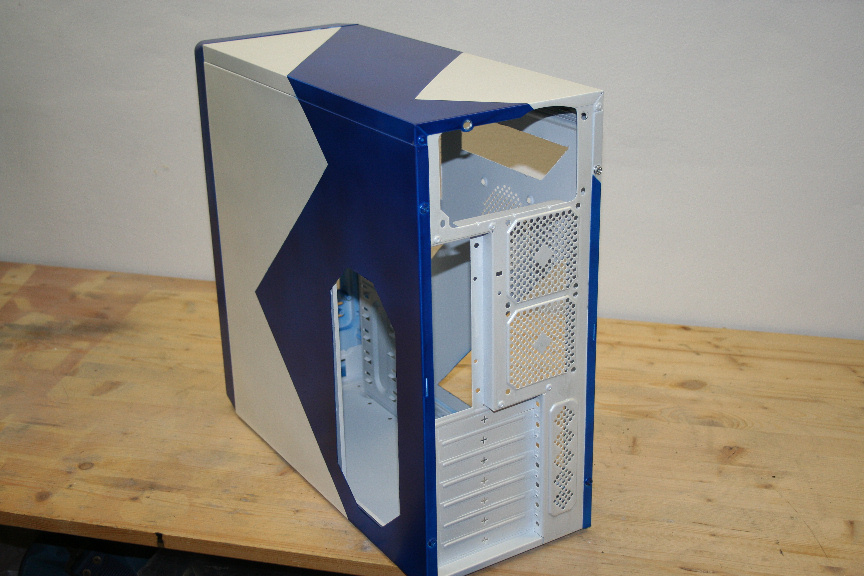
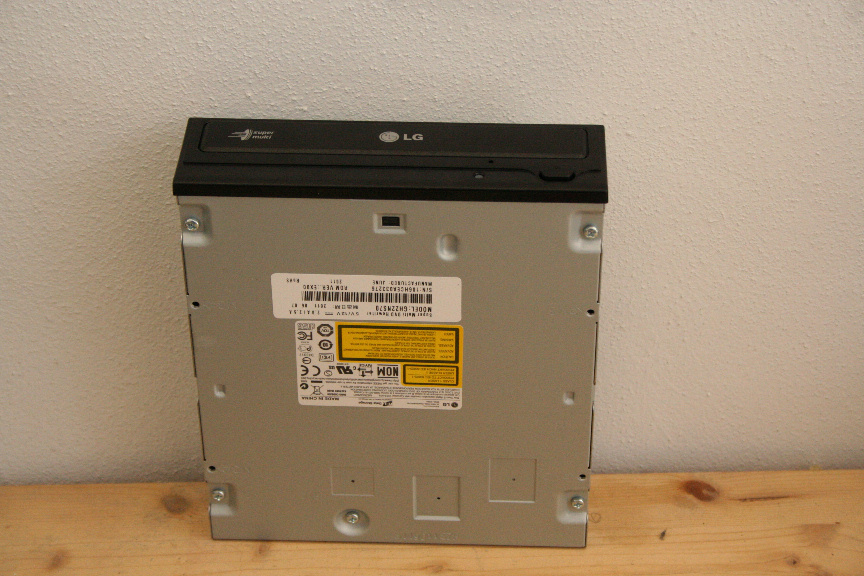
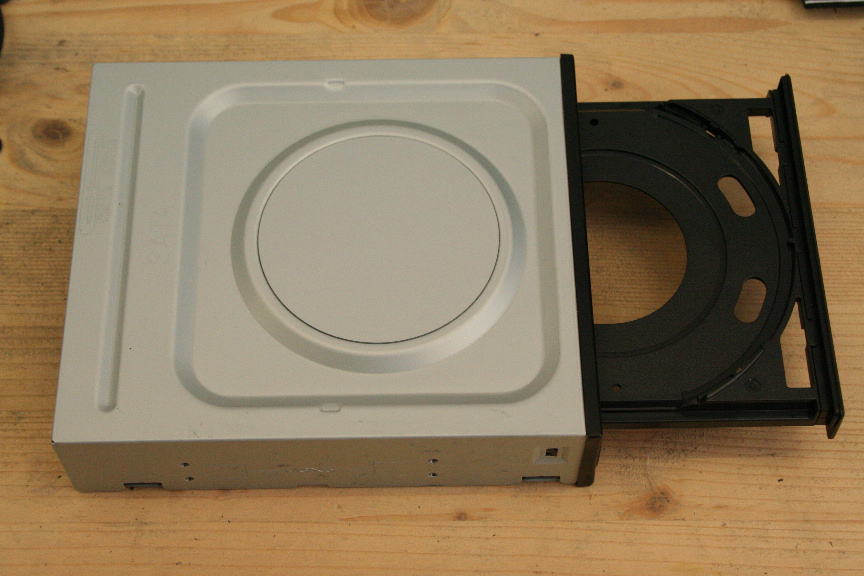
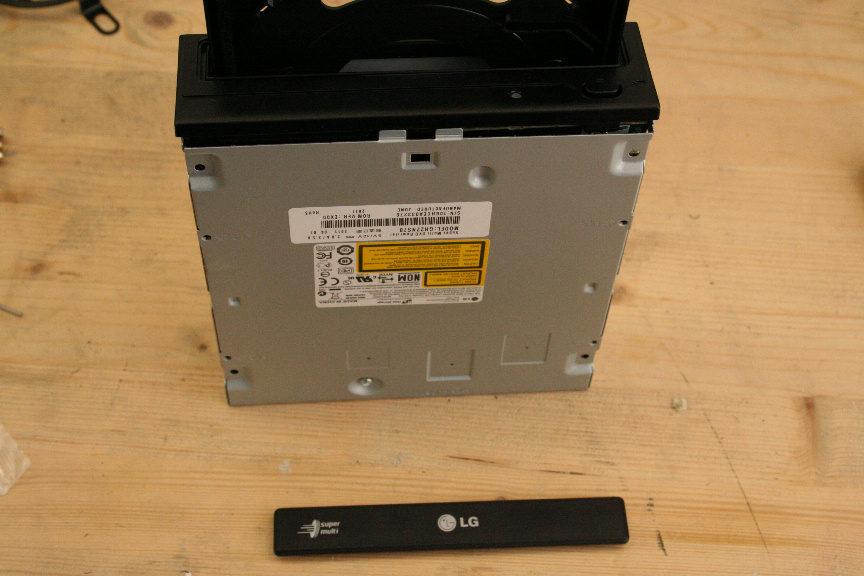
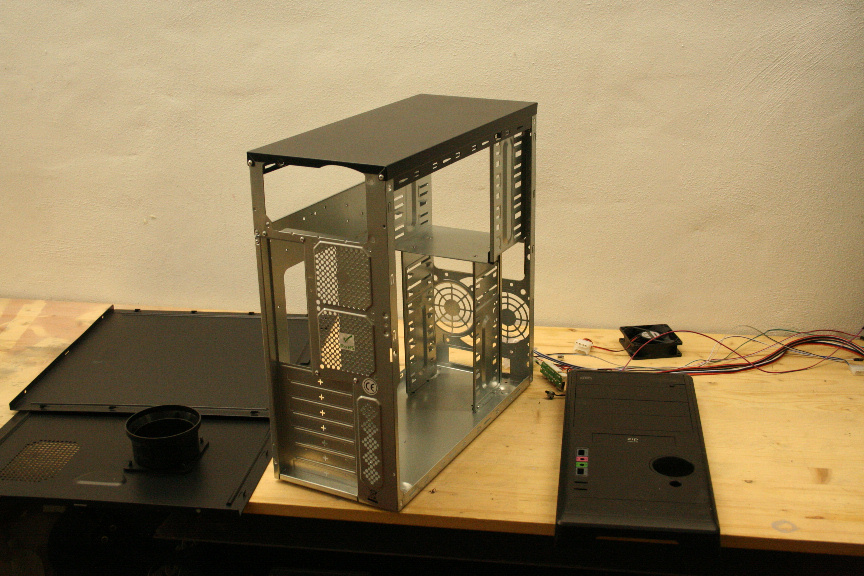
And we strip it down:
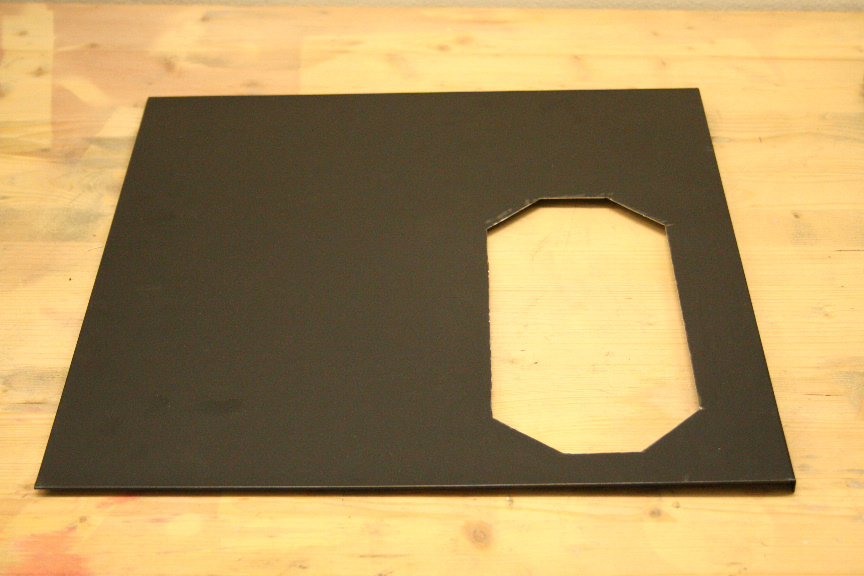
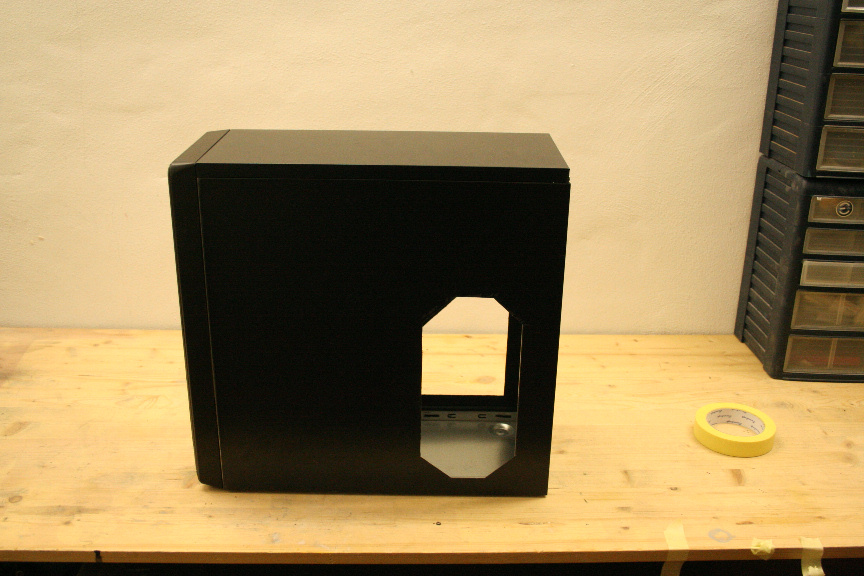
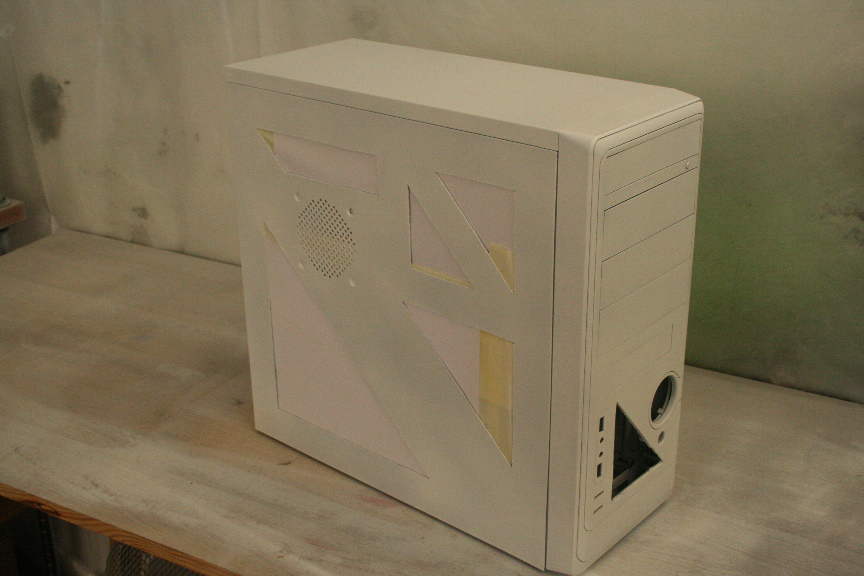
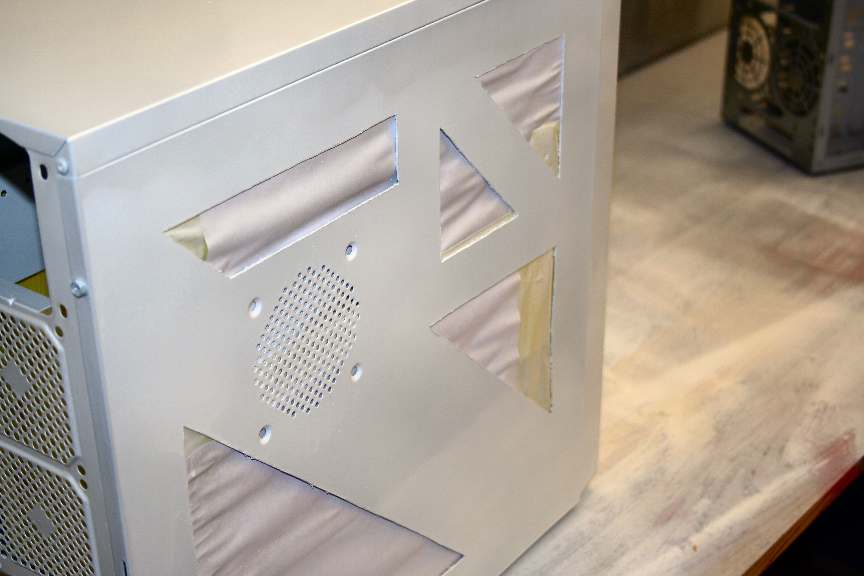
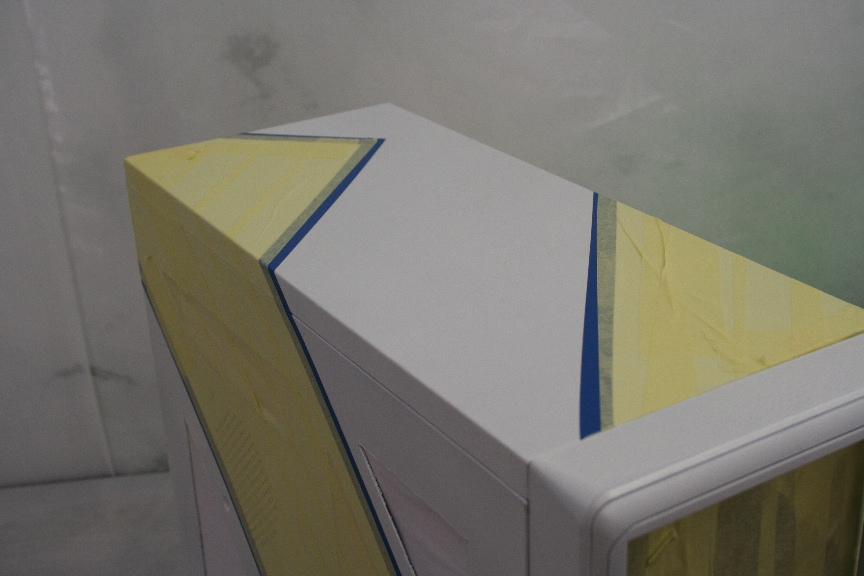
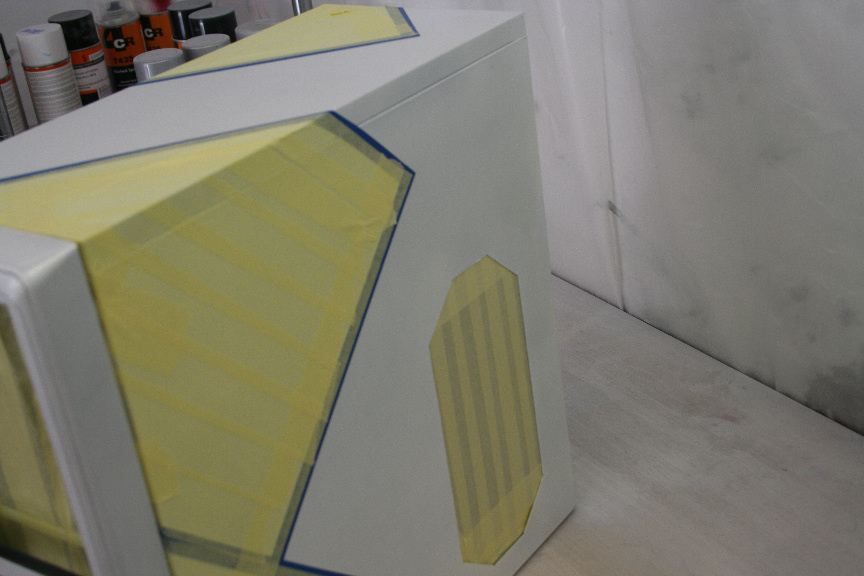
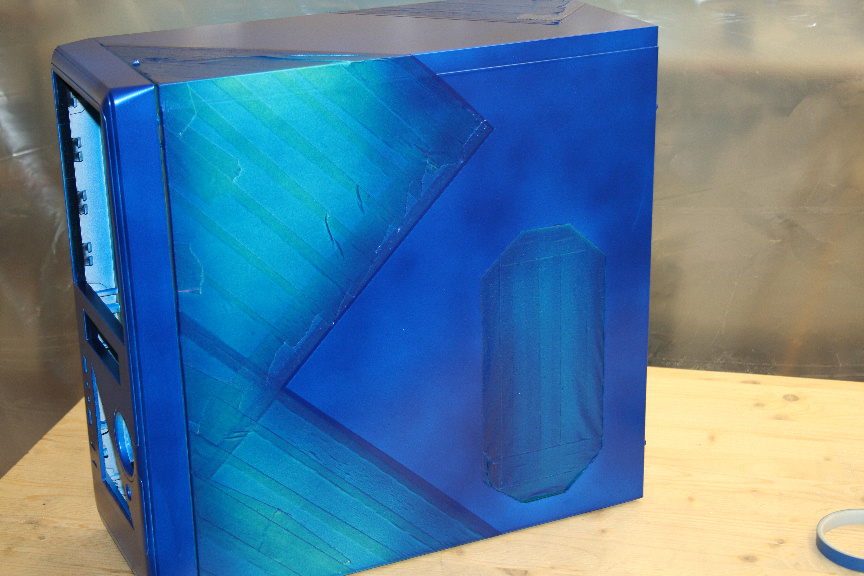
The first change I´m going to do is prepare the side for a window. If you feel you want a normal square window, there´s nothing wrong with that, go ahead, you can aply the same steps as I will be doing. Personally, I like something different, so I´m going to be doing a series of triangular shapes.
There´s many ways of doing this, but I´m going to explain the way I do it. I tape out the area to cut, in order to use the tape as a guideline, you can use drawn lines if you like, personally I preffer this way as with a normal line I end up not being able to see it due to the sparks that come when cutting.
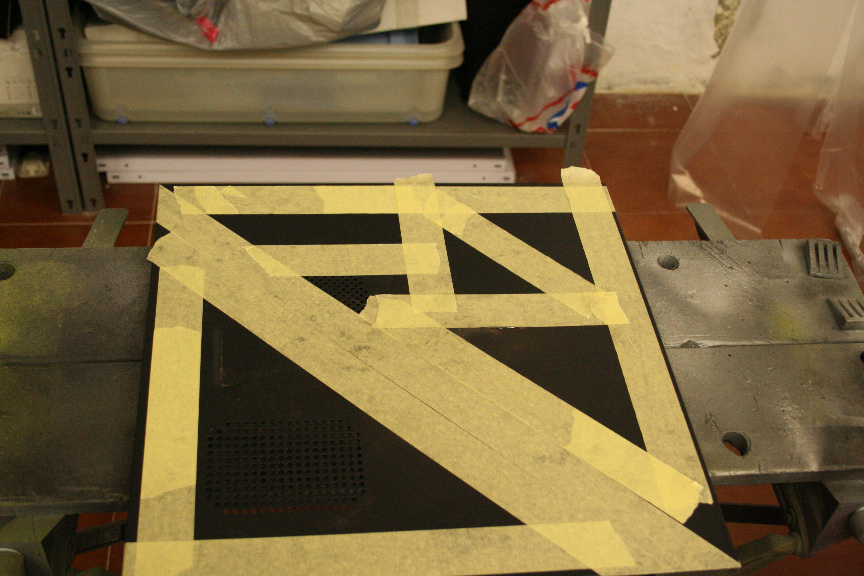
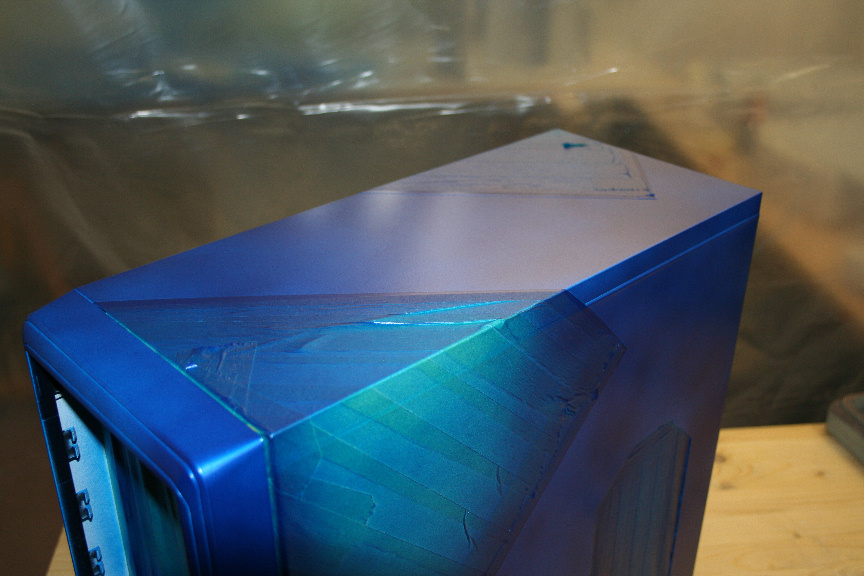
Ok remember to ALWAYS use safety gogles when working with any kind of power tool. I use a dremel for this kind of modification, but really any kind of rotatory tool will do as long as it´s the right size.
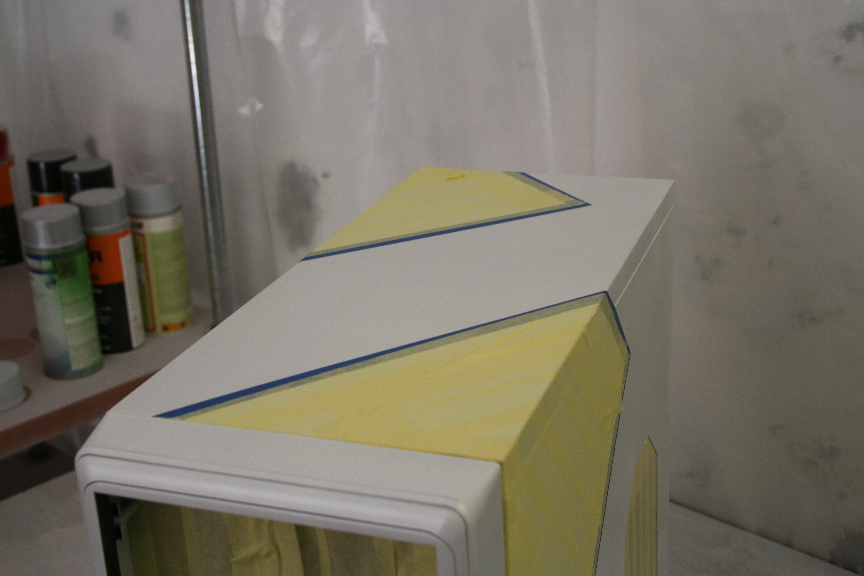
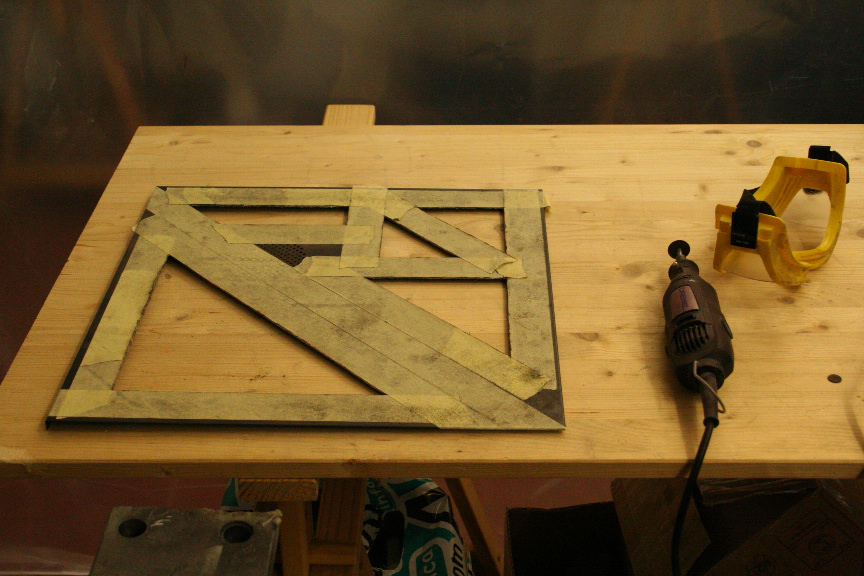
First section cut off:

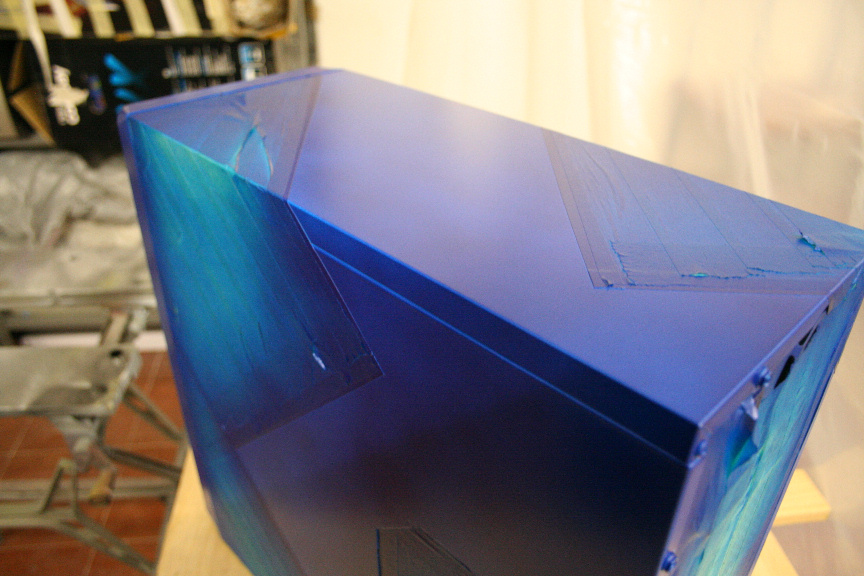
And the rest…
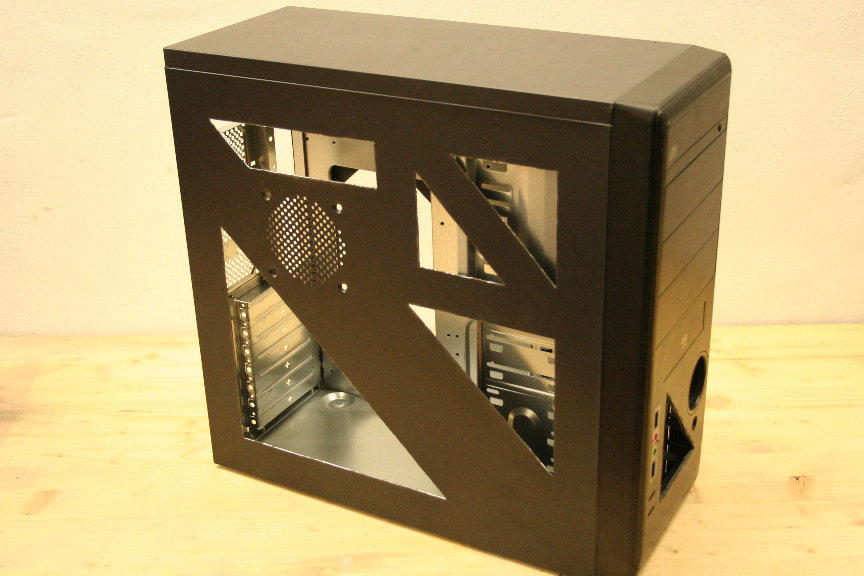
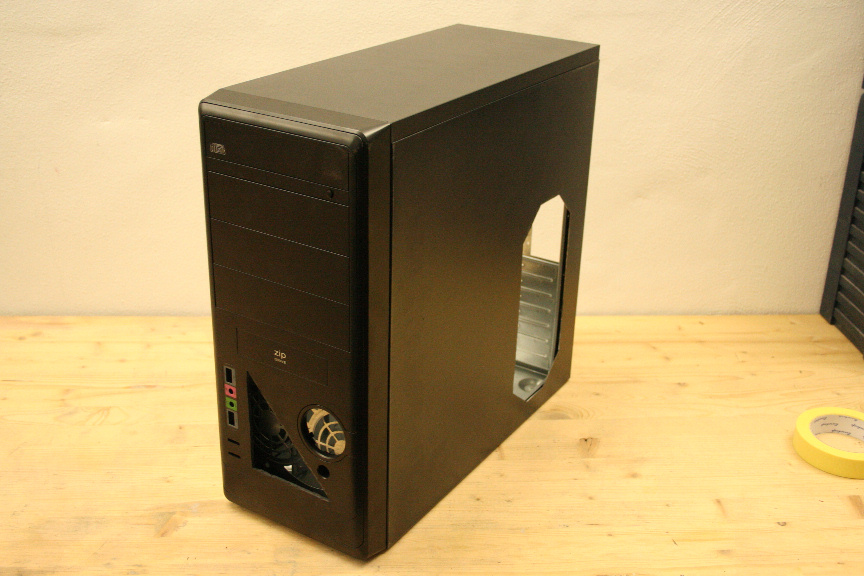
Now, it still needs to be cleaned up for smooth edges but I felt like testing it on the rest of the case to get an idea of the look:
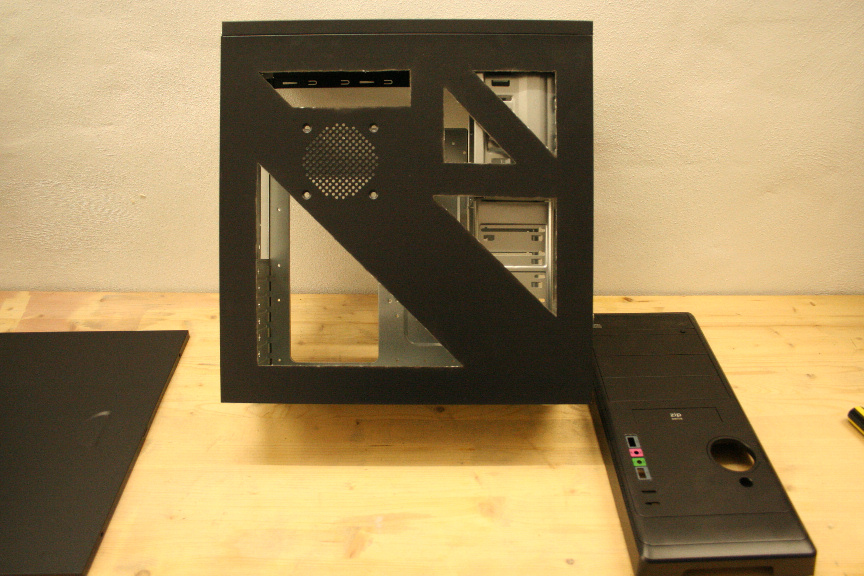
Yeah, I quite like that.
More soon : )