Black Mesa: Deathmatch XEN map [W.I.P] (IMG)

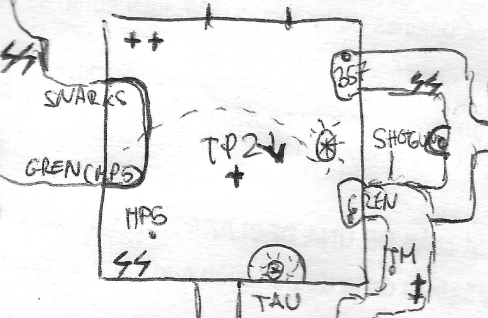
First of all, I want to say that this is a very early WIP map that I’ve started when steam version came out. Every feedback will be very well appreciated!

So, I was tired of comp-layout of CS GO maps, they all are very brush based, lit up and a tons of It’s visual assets depends of it’s gameplay. I expect with this map feel free about that and, truly, I wanted to get to work again with displacements. (I know that they behave in a crappy way sometimes, but it’s worthy).

I really want to work together with you guys, and tell me what is wrong or should be changed.

So I will be publishing screens each time I think that a zone It’s done.

Also, I will not stop working until I reach Dear Esther quality levels. May sound crazy, but if that visuals were achieved that time, will not try it at least?


I spent a while on this zone with sand texture, normal maps are generated with crazybump. BTW Every texture in this area is not in BM files.
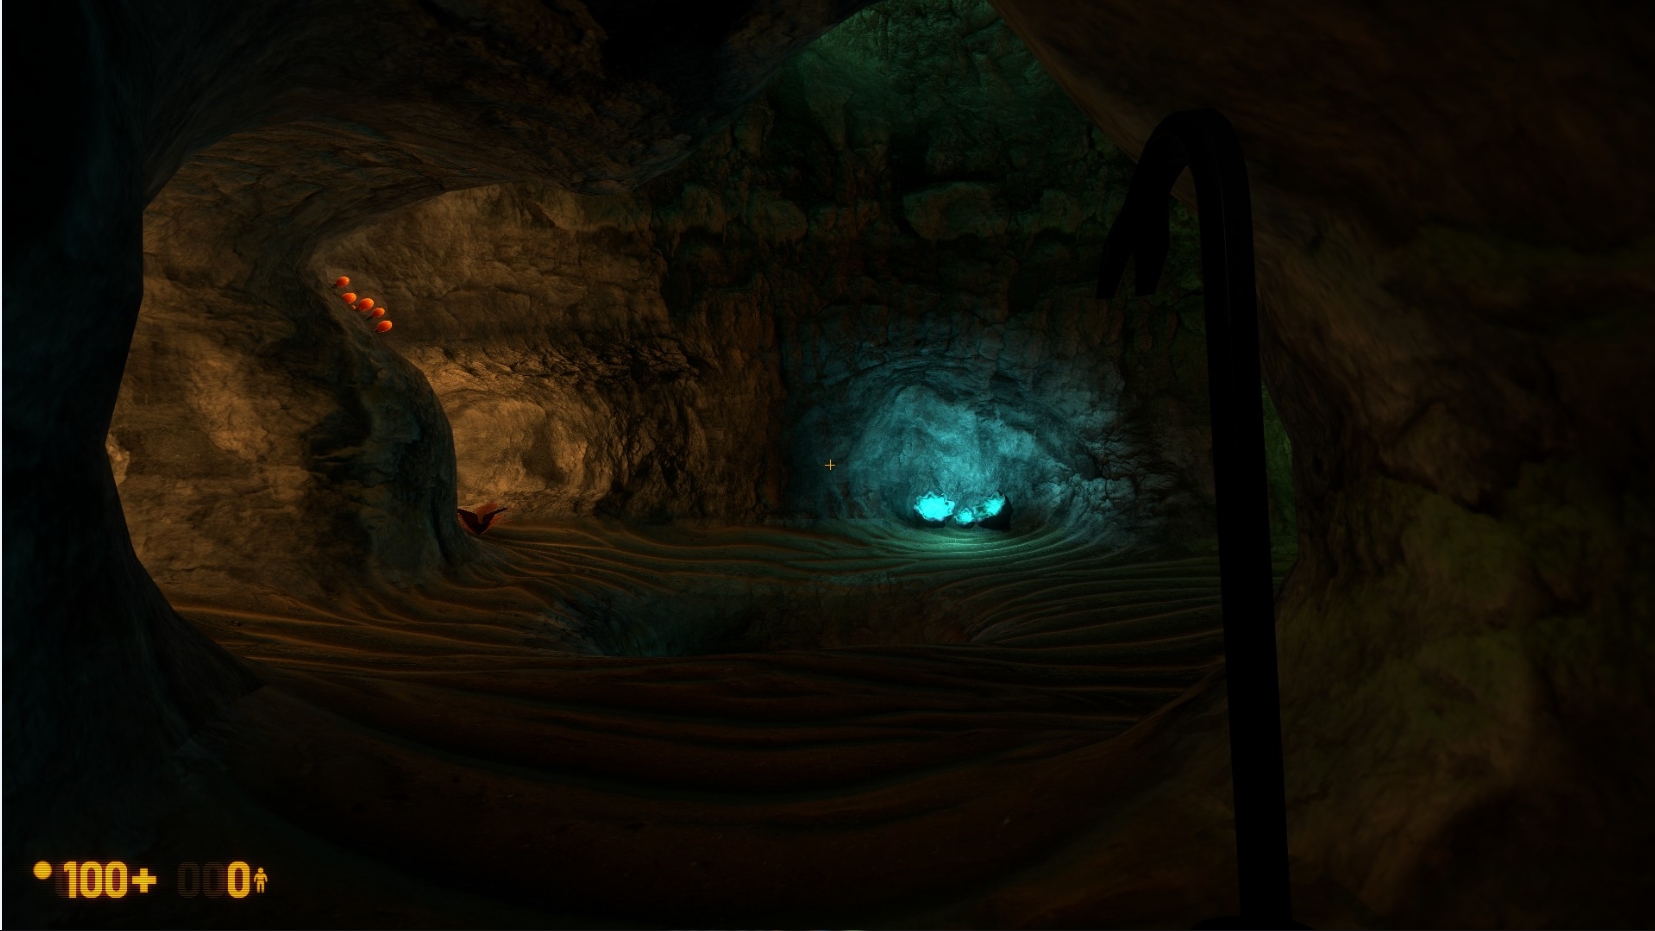

Inside the caves.

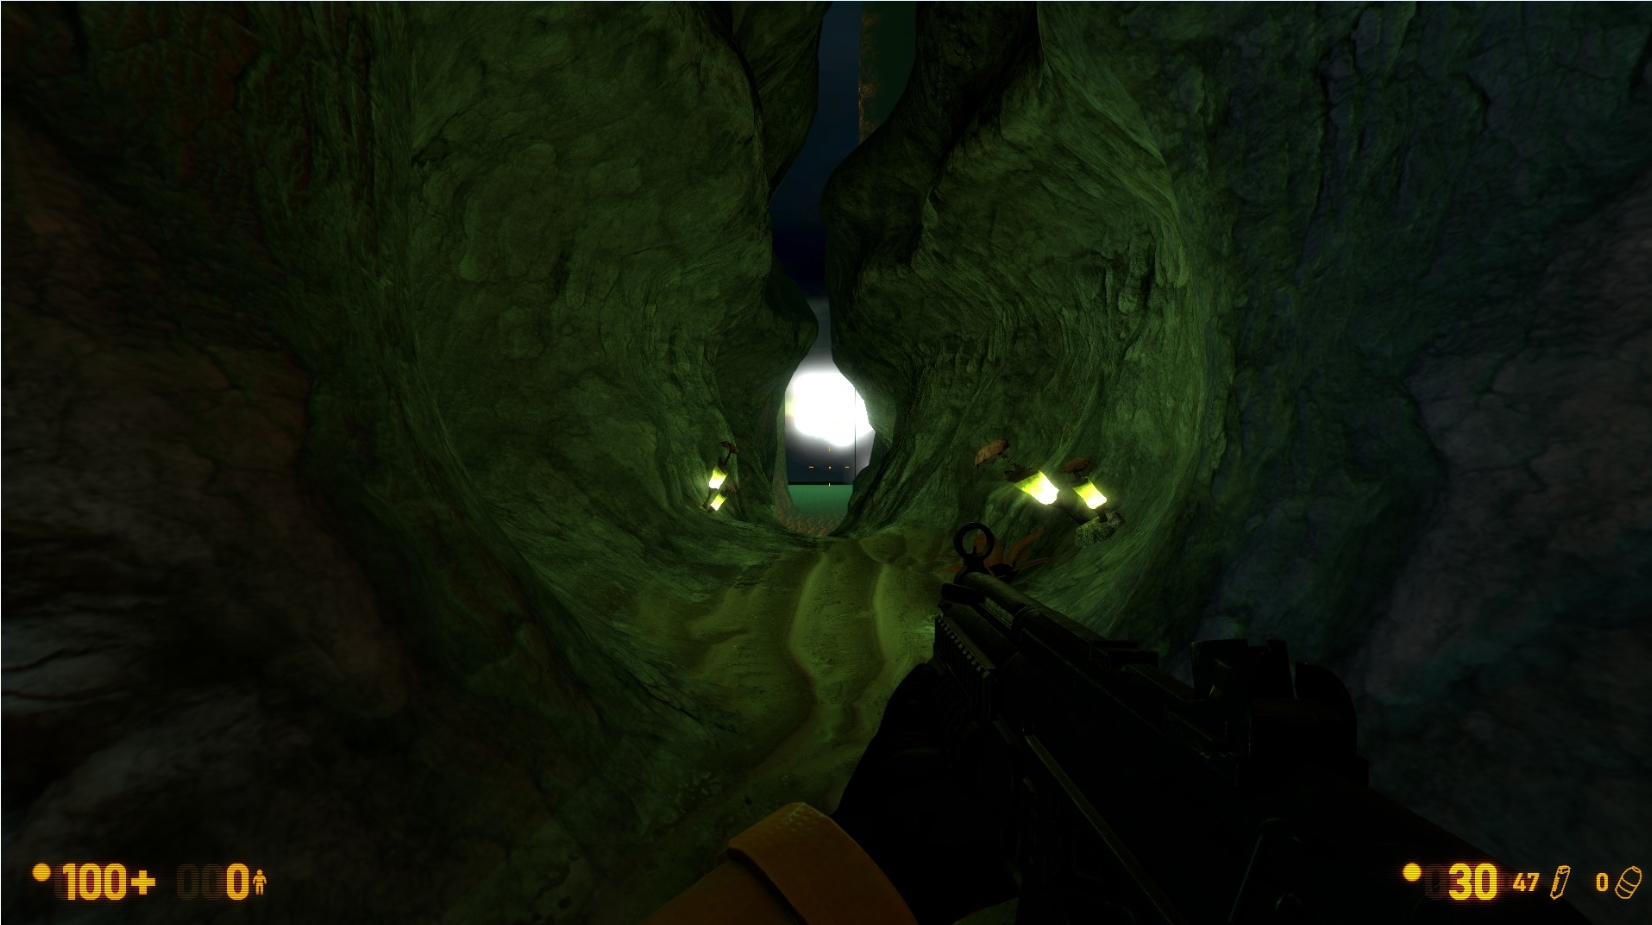
SSBump maps in this area were a pain in the ass. I decided to separate sand vmt from wall’s because seamless textures refuses to work with two SSbumps


One of my goals Is to achieve this look on some of the areas


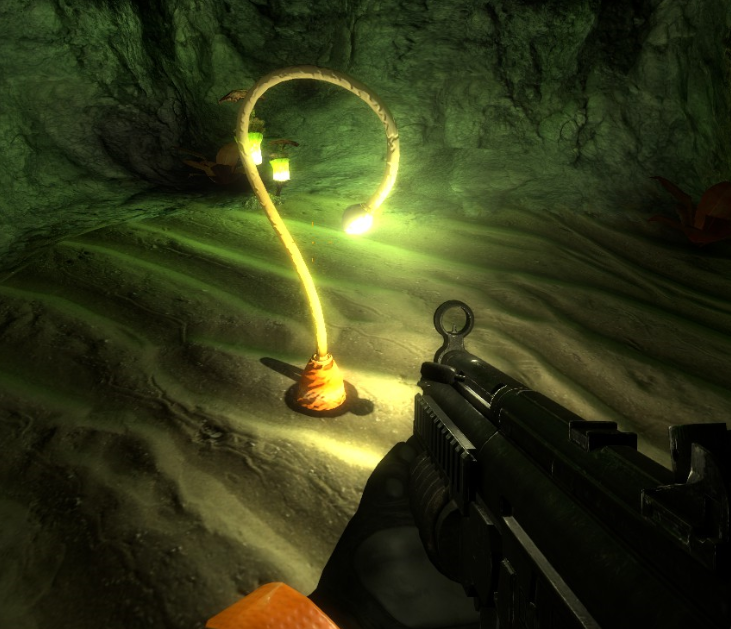
So I started to mess with refract shader. This texture It’s extracted from xen crystal model used in HL2 Black mesa east.

By the way, If you were asking yourselves about what was that trash floating on Skybox…

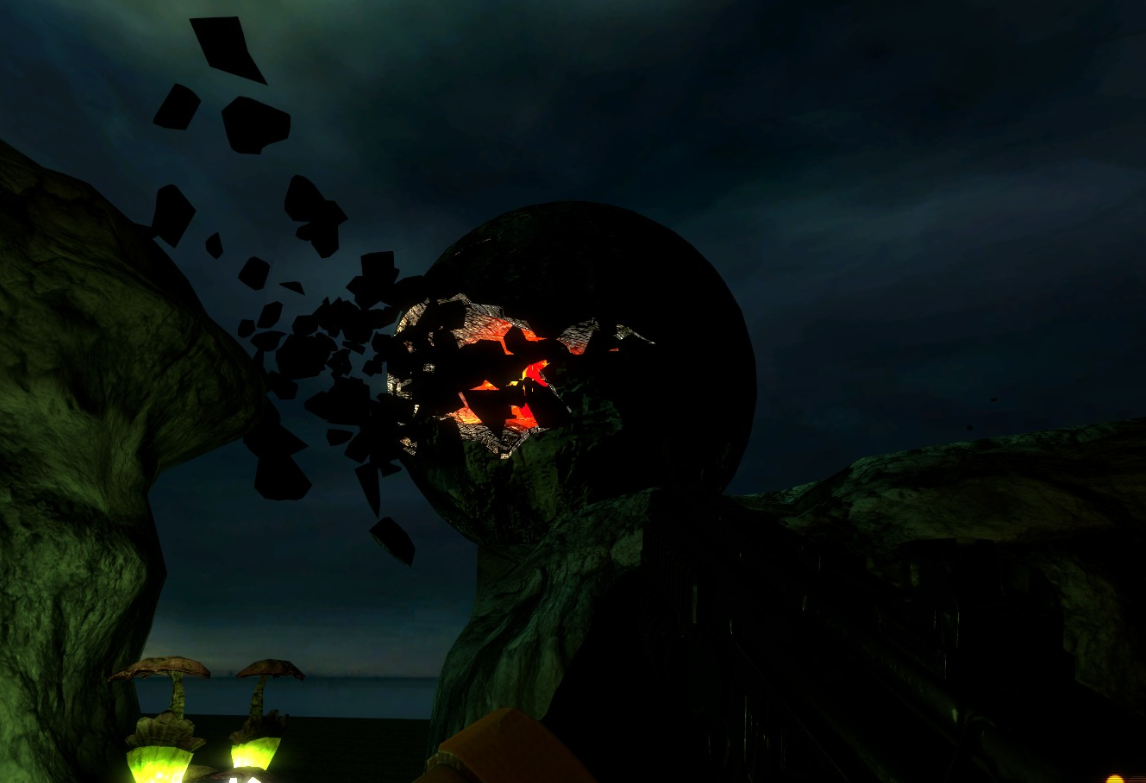
Needs better lighting but I think that It’s not sucking too much. And yes, It’s dynamic.

Now with the cons of this map, I think that are not many xen props in the game files, so I think that I will have to model some of them by myself.
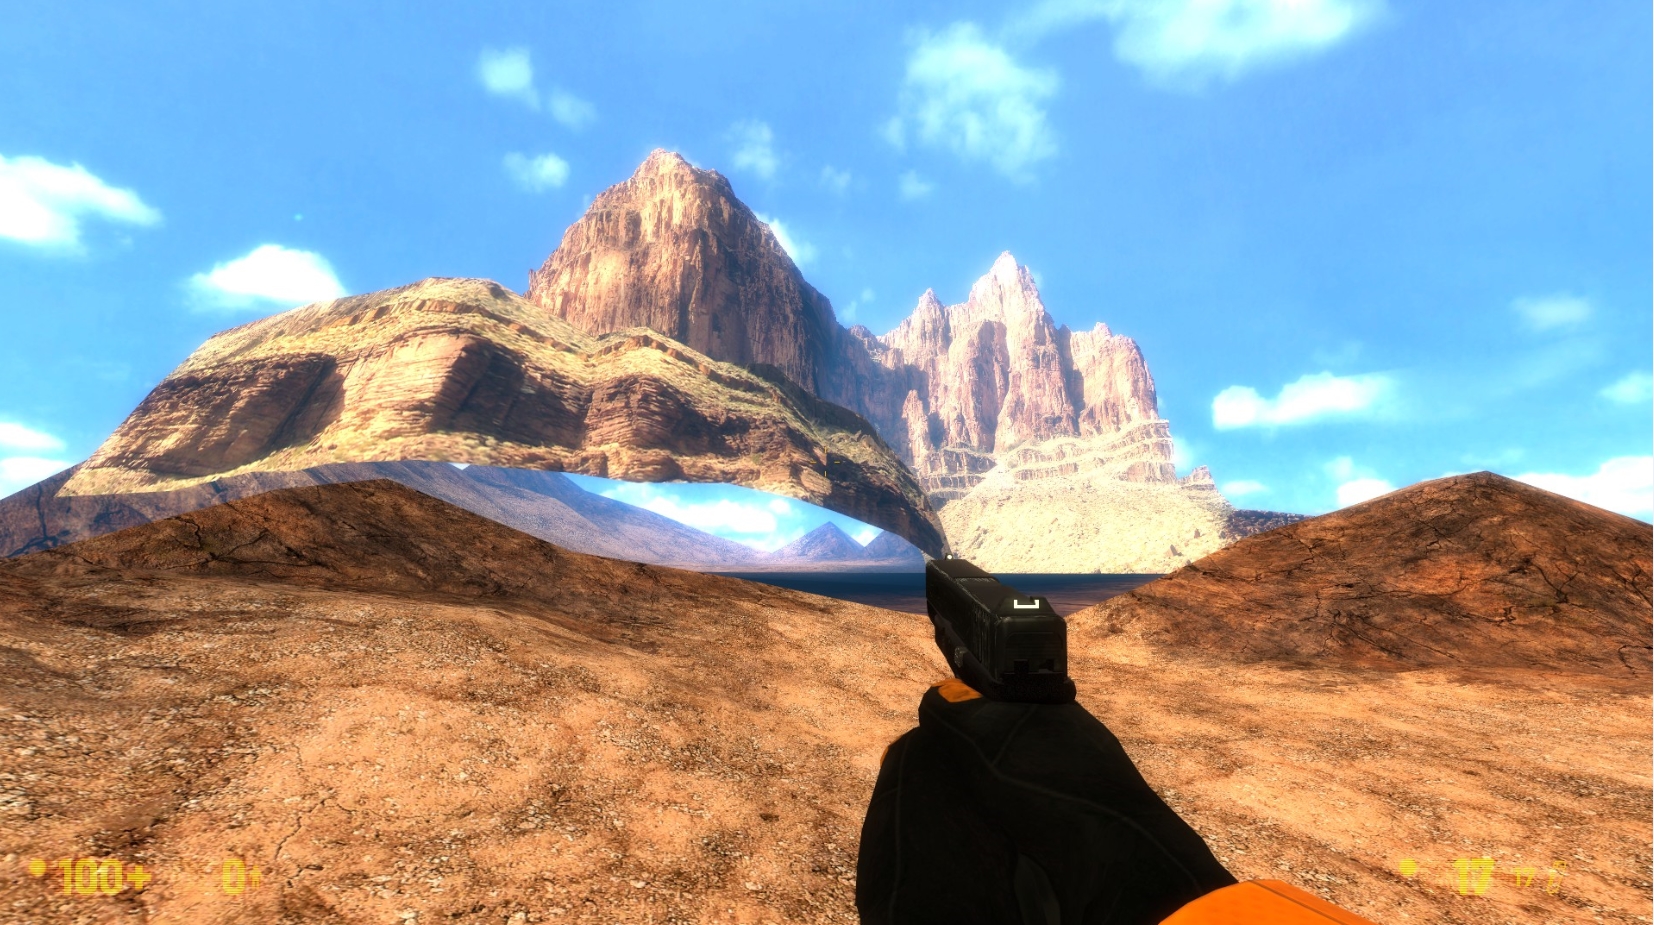
I have no idea of what skybox to use. First I wanted to use something like this

I started to model that cloud in the left side of the screen, but trying to bake those textures and getting it working properly (also animated) in source engine was totally madness. Sadly I had to roll back on this idea, but I don’t trash it for now.

Probably I will use matte painting for some environment models. For those who does not know what is this about …

This is something that I did 2nd day BM was released on steam, so I don’t expect to spend too much time if I do it this way.

Thats all for now! I hope you like these and tell me what do you think!

Greetings :thumbsup:

Your map is looking super cool!

If you haven’t already I would recommend making a sketch of the floor plan of the map. Direction can be critical to making the final version tie together.

I think your displacement work is pretty spectacular so far.

But in terms of being a fun deathmatch level… that’s hard to say. Like Taceo says, you really need to plan this out on paper. Start with the high-level flow rather than the art. And block in areas using brushes instead of displacements at this point. It would be a shame to throw away all this displacement work if things end up being too narrow or too large.

In fact, displacements are the only time I use the “dev texture” technique, as I usually prefer to stub in the actual textures instead. Not only does it help plan the space before you’ve molded the terrain, but it helps to organize how you’ll divide them up so they properly sew and such.

Looks really nice! The only initial concern I have is having the necessary information to not get lost!

It should play like a Dear Esther level to troll everyone

That sky painting is rad, I hope you can figure it out. I like your destroyed planetoid.

Follow your dreams

Thanks for your posts guys!

About the layout of the map, I have some draws but I like to start to mess first with environmental light, architecture types, fogs, ambiance, textures…

Every area that it’s shown in images will probably drastically change when coming to an end. If you pay attention to images, they are all generic areas. First one it’s a simple flat area connected with 2 tunnels!

Of course, I will play a lot black mesa multiplayer, aswell hl1DM maps to see how the final layout should look, but I don’t expect to be harder than a Counter-Strike one.

My last (also only public) map, Kowloon, it’s developed the same way than this one and I was told by the community that played pretty well.

Greetings :slight_smile:

Layout for the map annalysis.

1- GENERAL INFO.
Map (still unnamed) it’s composed by two floors, upper one iit’s exposed caves + outdoor areas and lower one, which consists in a xen crystal mine. Both floors are communicated by a free fall spot and teleport points.

2- WEAPONS + LJ MODULES
I wanted to players use more than respawn weapons. It’s very common in populated servers watching pistol + crowbar kills in you screen, so I will try to put a new weapon near every respawn point, because killing with pistol it’s boring.
Every weapon in the layout it’s placed in the best place according to it’s utility. I will explain point by point, area by area why I’ve decided to place every weapon in that place. Let’s start!

2.1 CROSSBOW AREA + ATTACK SPOTS

From here, the player will be able to snipe all players in the heat point, where all players are shooting between themselves. Since Xbow it’s very broken, I’ve decided to place it in one of the most vulnerable spots. In this area you will also obtain a long jump module, which you can use to jump to the warzone. You can leave this zone too using both jump platforms in there.

If engine lets me make this platform movable, with jumping spots destinies attatched, will probably make this area more interesting,

Now talking individually about all attacking spots…

Spot 1 (central): Not much to say…

Spot 2 (Left one): Here you have a bunch of satchels that you can use to kill xbower in middle area. How? just throw them into the jumping platform.

That will make that annoying guy blow into pieces using one of the most unused weapons in MP. Congratulations.

Spot 3 (Right one): Here you have a shotgun. Blow up your enemy’s head jumping to the platform and fall into it’s face using it!

2.2 MAIN WARZONE + ATTACKING SPOTS.

Everyone knows what to do in the main warzone, just shoot each other! Weapons there are the point…

-TAU it’s on a elevated position and can only be reached with ladder.
-MP5, only for unarmed respawners who need a high ammo waster for killing enemies.
-Random battery/health packs for resupplying your main necessities.

PS: Careful with random gluon users falling from nowhere! (We will treat this later)

Now with attacking spots (Both from above):
-On the left side you can unchain a gib fest with MP5 grenades, but only if you own the weapon already!!
If you don’t have mp5, you can use snarks for making players bounce like rabbits.
If you also don’t have snarks because a random guy picked em earlier, just think about his mother, pick up your crowbar and jump into the warzone shouting Allahu akbar! (Careful with feds)

-On the right side you can use 357 if you have good aim or normal nades to throw into the warzone. Tripmines are spawned near you for your own protection. Since this weapon is hard to take kills with, tunnels in this area will be a little thin for making players step into TM beam easier. Not all will be in your favour, a shotgun it’s spawned right behind you and will probably get you in trouble.

Complete annalysis coming tomorrow. (3:40 AM in Spain right now)

Sorry for not updating. But fortuately, I was not wasting my time. Here is something that I’ve been doing for the whole day.

Now there is a problem. I cannot attach one sprite to each model. Attachment bones are all named “light” and sprite will do not know which model is refering to.

So now if someone of you knows how to fix this issue, I will be very grateful

Hope you like it!!

I think you generally have to do that with I/O, right? If you give the env_sprite’s parent as the stalk, you can use SetParentAttachment to attach it to whatever attachment point on the stalk you specify. AFAIK, you can’t enter the attachment directly on the env_sprite itself.

Hi! First of all, I played your map and enjoyed a lot, good work!

I tried what you explained but only seems to move the env_sprite to the attachment bone in the instant that it’s called (When time delay ends) & light stalk it’s dynamic, so sprite won’t follow the movement, is there something that i’m doing wrong? There is not much documentation on VDC.

Greetings!

Nice light model… I hope “they” use it in the Xen chapters! :slight_smile:

It will probably not going to happen, but it would be a real honor…

Is the Attachment point not animated with the rest of the stalk?

I haven’t set up a model before, but what you basically want to do is tap into the same system that lets characters hold guns, wear hats, etc. It involves adding an Attachment point, which I don’t think is necessarily a Bone, but something parented to a Bone so it moves with it. You would then attach your sprite to that Attachment point using SetParentAttachment.

You can visualize these things in the Half-Life Model Viewer (the HLMV.exe program). You should see something under the Attachments tab if it’s set up right, and be able to see it when you play the different sequences, so you can tell if it’s moving correctly.

It looks like it’s moving correctly. Now in the editor view

I don’t know what I’m missing. I know that it can be done because in BM xen maps ported from HL1 light stalks are prop entities, not entities by itself.

Greetings

That seems like it should work. Have you tried narrowing the time difference? Literally, SetParent at 0.1 and SetParentAttachment at 0.2? I don’t think it would make a difference.

I trust the sprite itself is correct (World Space Glow, etc) and the names of all these things are correct - no wayward spaces or anything?

Just tried, same result. I checked sprite params and everything seems to be OK. BTW, there is no space, is just an underscore that I accidentally hide with red square, my bad.

Then it has to do with the model else parent attachment should work.

Yeah, sorry. I’m out of ideas at this point. :frowning:

Try the r/SourceEngine Reddit or interlopers.net?

You need to ditch the SetParent, only use the SetParentAttachment. The animations for those light should work like the panels in portal 2 do so this valve dev page on them should have similar logic. https://developer.valvesoftware.com/wiki/Panels

Well, after 2 days dumbing around, is now fixed. Default animation was not edited in prop_dynamic entity, but due to .qc properties, animation was starting correctly. Thanks for your help mates! and sorry for this stupid issue…

Founded in 2004, Leakfree.org became one of the first online communities dedicated to Valve’s Source engine development. It is more famously known for the formation of Black Mesa: Source under the 'Leakfree Modification Team' handle in September 2004.