TF2 Mapping - Recreating the rocket facility

Hey all, I’m semi-new to the forums, I’ve been frequently visiting to check out BMS in hopes for it’s release, never really had an urge to register till a few days ago.

Anyhow. for about 8 er… maybe its 9 years, I have played what I and many others considered(those who bothered to play it) to be the best multi-player First Person Shooter; Medal Of Honor Allied Assault. Not sure if anyone here is familiar with it, but, for those who are, you would already be aware that the best way to play it was by finding sniper only servers. currently, the game only has maybe 2 active sniper-only servers; the game has completely died, and it’s time to move on. Before MOHAA, I played Half-Life, and out of nostalgia, I re-bought it, and then decided to buy HL2, ect. ect. and the new multi-player game I’ve decided to pick up and hopefully, will last as long as MOHAA, Team Fortress 2.

For those that enjoy playing TF2(im a fan of KOTH and Arena; And my fav class is the spy), I’ve been playin for around 1-2 weeks now. My steam name is Str555ilol, maybe we can hangout or whatever.

So, a friend I had that has been playin TF2 with me that i met in MOHAA suggested remaking the v2 rocket facility. I decided to do it on my spare time, I maybe work on it 30 min to an hour a day, making it room by room.

For those who haven’t played nor seen the v2 rocket facility map from MOHAA, I created a v2 walkthrough video seen here(for the part of the map I started on first is the allied spawn area which is about 4 min 35 seconds into the video) =

https://www.xfire.com/video/115546/

the website is xfire(multigamer platform like steam or gamespy)

thats the walkthrough, I am frequently updating the videos showing the progress of the map.

I can’t figure out how to make doors correctly. the screenshots ure going to see is from scratch, as in, this is the first time I ever touched Hammer Editor, First time i’ve tried making maps through source SDK. I saw some videos on youtube from making doors, couldn’t understand the concept, I figure, ill make the doors after the outline of the map is complete and then I can shift+click to re-copy the doors over and over.

First video I made= https://www.xfire.com/video/11eb6e/
second= https://www.xfire.com/video/11ee98/
third= https://www.xfire.com/video/128f9a/

some videos I havent uploaded simply cause i forgot and they got deleted.

in the 2nd and 3rd video, most of the time that im shooting the volver, is probably cause im noticing small problems like if a wall should be farther back, ect.

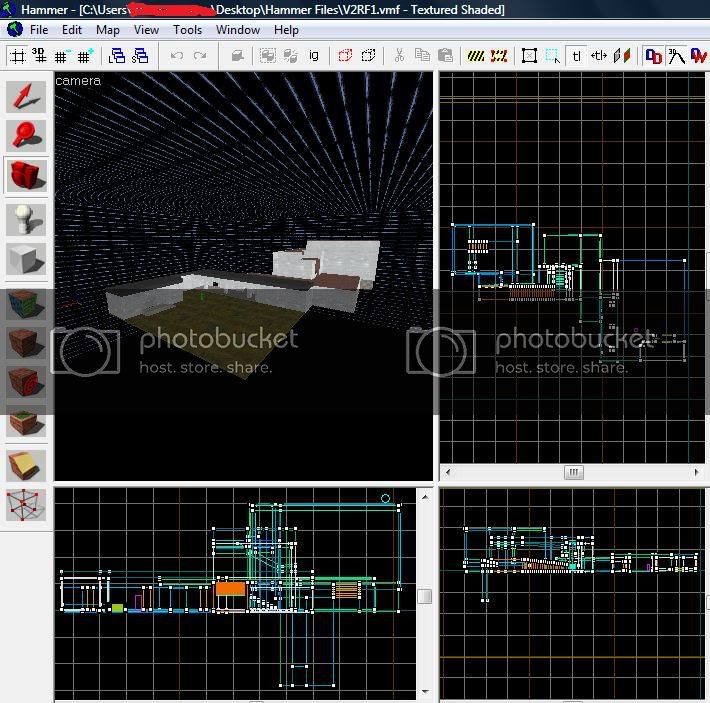
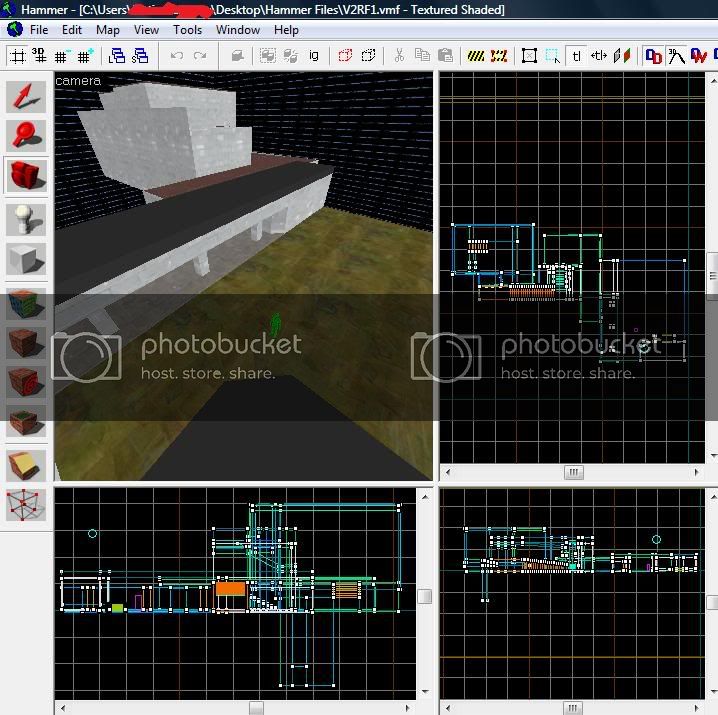
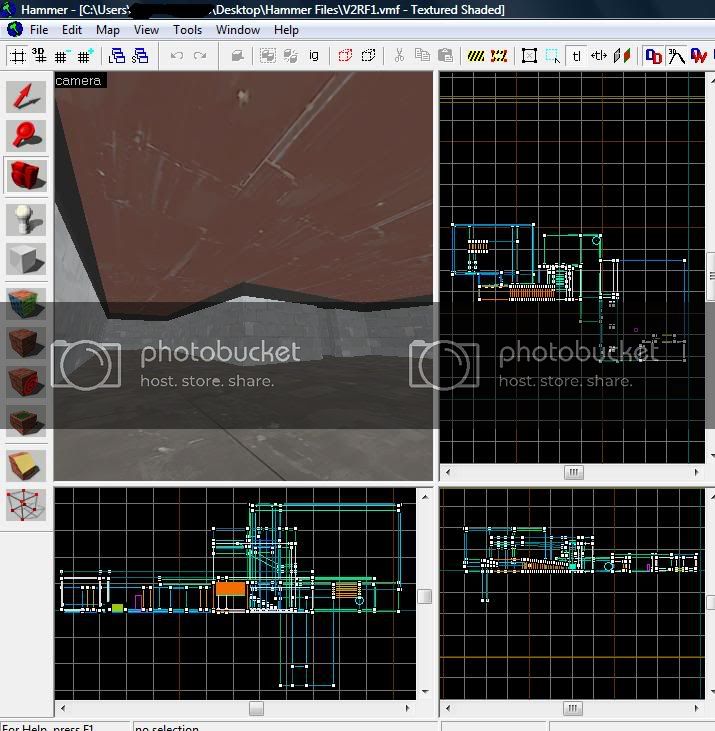
heres the latest screens I have:


fourth video - https://www.xfire.com/video/128f9a/

Latest Update - https://www.xfire.com/video/12b9de/

This is about maybe, 15 hours of work on the map, Im all up for Constructive Criticism :stuck_out_tongue: If you wanna play tf2, im down, and uuuuuh, If you know how to make skyboxes correctly, or doors that don’t look ghetto, that would be cool too :stuck_out_tongue:

-Somatti


I hope this turns out good, cause I love that map :wink:

To make a sky box you must follow these very difficult steps:

  1. Make a giant hollow box around your map
  2. Texture it with the skybox texture (its blue and looks nothing like the sky. Search “skybox” in the texture finder, its at the very bottom)
  3. You are done. Use a light environment for environmental light, and to change the sky texture, go to map properties or some such thing.

On your map, two things:

  1. Put in some lights. I know its a pain to light everything, but things look different when lit. ALOT different. Because of this, I can’t really say anything about your brushwork.
  2. Can we get an overhead view of what you want it to look like?

EDIT: FYI, there is no default use button in TF2 so user opened doors are impossible.

Thank you for the skybox tutorial, I’ll try it out when I get back to working on the map.

1- I will be putting in the lights, but I really want to get the outline of the map completed first(walls, floor, buildings, ect…) sort of complete the big picture first type of thing. along with lights I plan to put in the crates, the ladder, the truck, ect.

2- overhead view, hope its what your looking for - https://www.xfire.com/video/12bff6/

as u can see the majority of the map is within the facility, numerous hallways and rooms, followed by a v2 rocket which you would plant a bomb onto and the control room(when u get to the outside view with the rocket its the room with a long strip u can see out of in it) where u would plant a bomb there as well.

how the map is played, 2 bombs, 2 teams, 5 minutes on the clock, the “allies” team or I would make them the blue team must go through the facility and successfully plant both of the bombs and have them explode OR kill all people on the opposing team before the time runs out. if the time is 0:00 and a single bomb is planted, the game continues untill that bomb explodes or is deplanted, giving you enough time to get to the other bomb and plant that as well.

the “axis” spawn near the rocket; their job is to kill all the allies OR successfully protect the CR and/or rocket. if one blows up and time runs out, allies still loses, both must be destroyed. There is no respawn and is obviously round based(like arena) because of that.

I like your idea, but I feel like you might want to get some practice mapping before implementing it. When I started mapping, I immediately went into a big project and screwed it up, and just restarted trying it recently, where I screwed it up again. So you may want to get some practice, work on your brush work, displacement, and the like, then reattempt to make the map. You will find the finished product is much better.

BTW, this is the source wiki: https://developer.valvesoftware.com/wiki/SDK_Docs
It has all the info you could possibly need about source.
And these are some tutorials that got me started mapping:
https://www.interlopers.net/tutorials/

Needs more nodraw… But I guess I look forward to seeing this, I loved that map too.

i dont understand what no-draw does so i havent been using it… at all, can u explain what its used for, the tutorial i watched on making sliding doors used it, and i made it the way this guy showed me, but it didnt work when i tested it out…

heres the youtube i watched for it=
https://www.youtube.com/watch?v=ki537GqKJmk&NR=1

^This, in particular, the first one.

Nodraw is basically the the most essential texture that can be used in a map. It should be applied to all brush surfaces that cannot be seen by the player when playing the map.

Nodraw does exactly what it’s called. It does not ‘draw’ so it’s completely invisible and won’t be rendered by the graphics card. Any faces that are outside of the map (touching the void) should be nodraw, the outside of the skybox should be nodraw.

I recommend selecting all of your map and making all of the brushes nodraw and then retexturing the surfaces that will be seen by the player. It shouldn’t take too long. Pro mappers like myself always build level geometry out of nodraw before texturing the essential surfaces, it saves a lot of time and is basically means you’re doing it right.

Holy shit, no, don’t do this. Not only is this hollow box method very poor technique; but it actually can contribute to lag and unnecessary rendering in your map because the ‘outside’ faces of the map (which would normally be deleted) are being drawn. It also bumps up your VIS and RAD time significantly because there is more ‘space’ that needs to be portaled and more faces that need to be lit!

What you want to do instead is to make your map enclosed like an indoor room; the only difference is that the ‘walls’ that separate your buildings and map features from the ‘sky’ should be textured with the toolsskybox texture. You can get creative with placing these ‘skybox’ walls and can even extend them somewhat to allow for inaccessible geometry and detail within the map’s boundaries itself; before transitioning to a 3D skybox.

You don’t have to crazy texturing unseen faces with NODRAW; world brushes with touching faces, or parts of brushes that are touching the void space upon compile will be culled (which is another reason you don’t use a hollow brush for a skybox). It’s incorrectly textured entity brushes and detail brushes you should really be careful for; but in general it is good practice to start with NODRAW as a base texture. What I like to do is start off with a /dev texture pass, and then once the map has been actually textured, do a search and replace operation for all developer textures, and replace them with NODRAW.

I was trying to simplify it… :frowning:

I understand, but it’s good to learn proper techniques like this early on; especially if you are new and may not understand some of the reasons behind why the map is running poorly. Using, literally, a sky ‘box’ around the map is never a good idea in Source, HL1, or any other hollow-world engine unless you understand the effects it has on performance and want to quickly test a portion of a map that is early in development or something; in which case the cordon tool is probably a better idea since it basically does the same thing.

Founded in 2004, Leakfree.org became one of the first online communities dedicated to Valve’s Source engine development. It is more famously known for the formation of Black Mesa: Source under the 'Leakfree Modification Team' handle in September 2004.