And so work resumes on OaR Uncut, starting with finishing off B2.
B2 has been really difficult for me as I am creating an environment I am not very comfortable with at all. It’s very open, very bare, and altogether very difficult to work with.
You may have read in the ST Uncut thread that I was planning on scrapping most of B2’s outdoor area in favour of creating a layout more faithful (read: basically the same as) HL1’s F map instead of “reimagining” it into a large open outdoor space. Having spent some time looking through B2 in the editor today, I am no longer so sure about which is the best option. The current layout is actually quite good, it’s just very different from HL1, and quite tricky to work with.
So, I’m here for a second opinion, before I start doing anything drastic. Here are some previews of how the map looks currently in the editor (no lighting), I’d like to see how much the community likes the existing design, to try and determine whether I should scrap it or not.
B2 is supposed to be an amalgamation of HL1’s F and G map, combined together. They way it’s designed currently is that the second half of the F segment (after the first room with the crates moving overhead) is now outdoors. The actual layout - purely in terms of the path the tram takes, is actually the same as on F. You’re on a loop around the “warehouse” area until you flip a switch, which takes you along the track instead and indoors for the G segment (with the broken tram lift).
Here’s a step by step breakdown of the current layout. Please comment on it and let me know what you think. Would you rather I went with a more faithful, indoor HL1 design, or stuck with this?
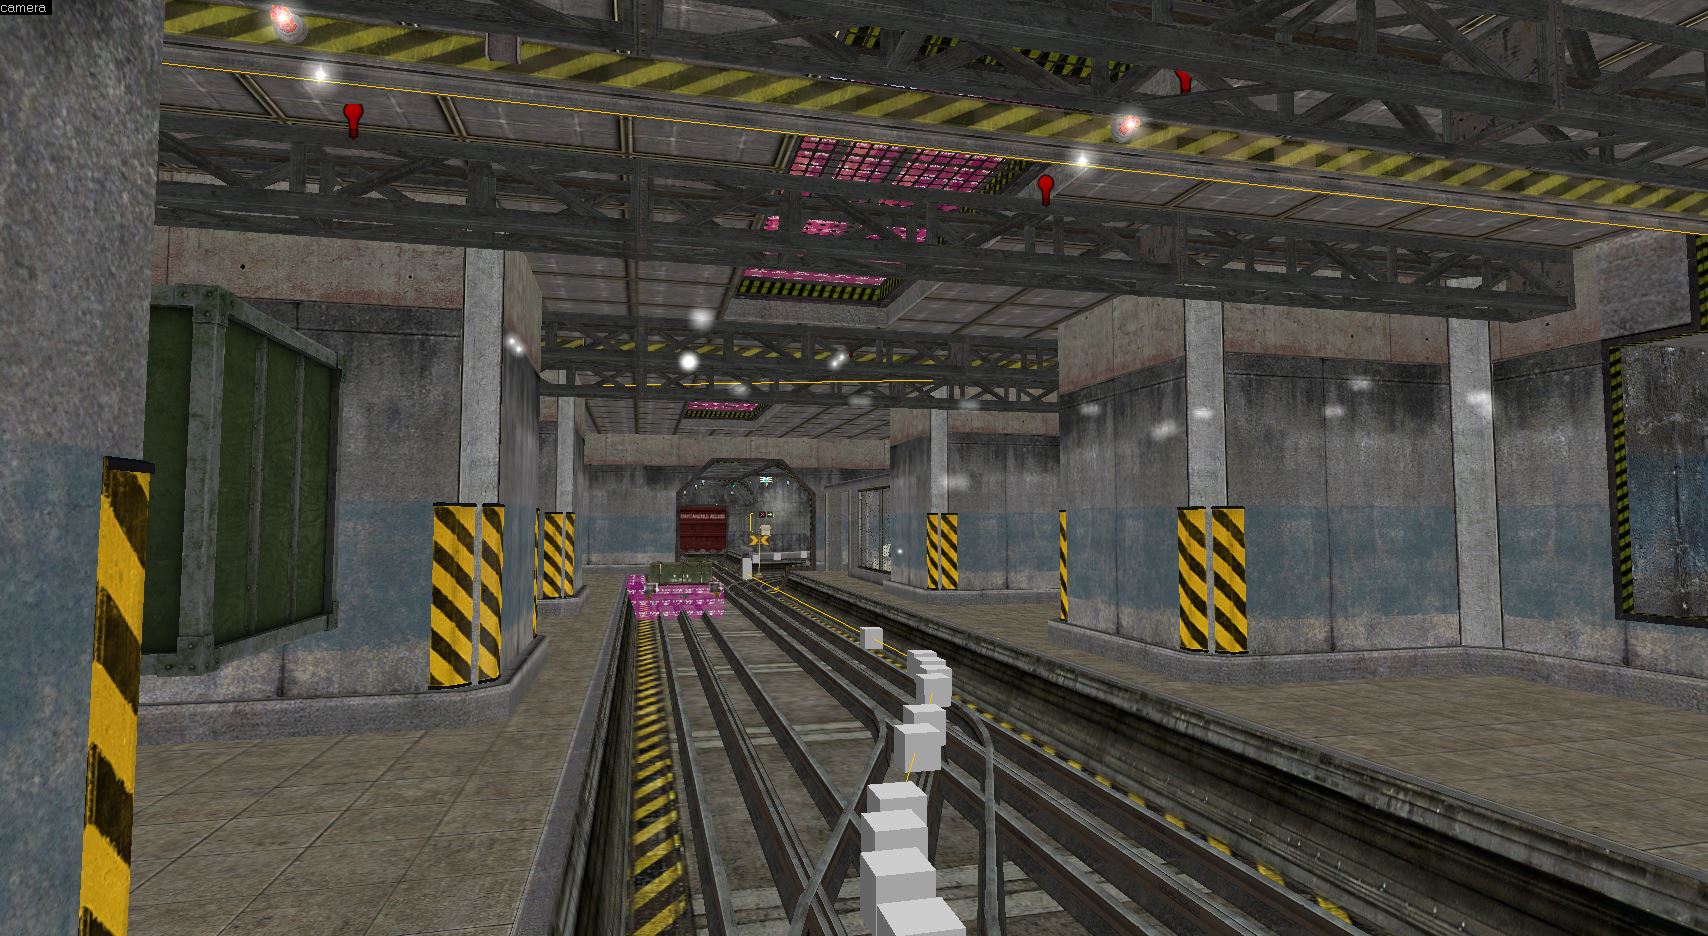
This is the part which immediately follows the friendly sign at the end of B1. The crates run along the track, across the overhead railings. There will be a boom gate by the little parked tram at the end which the player has to lift, like in HL1. The HECU will be waiting in ambush.
There is a right turn at the red secure door right at the end. This leads to a ramp which takes the tram up to the surface. This path leads to:
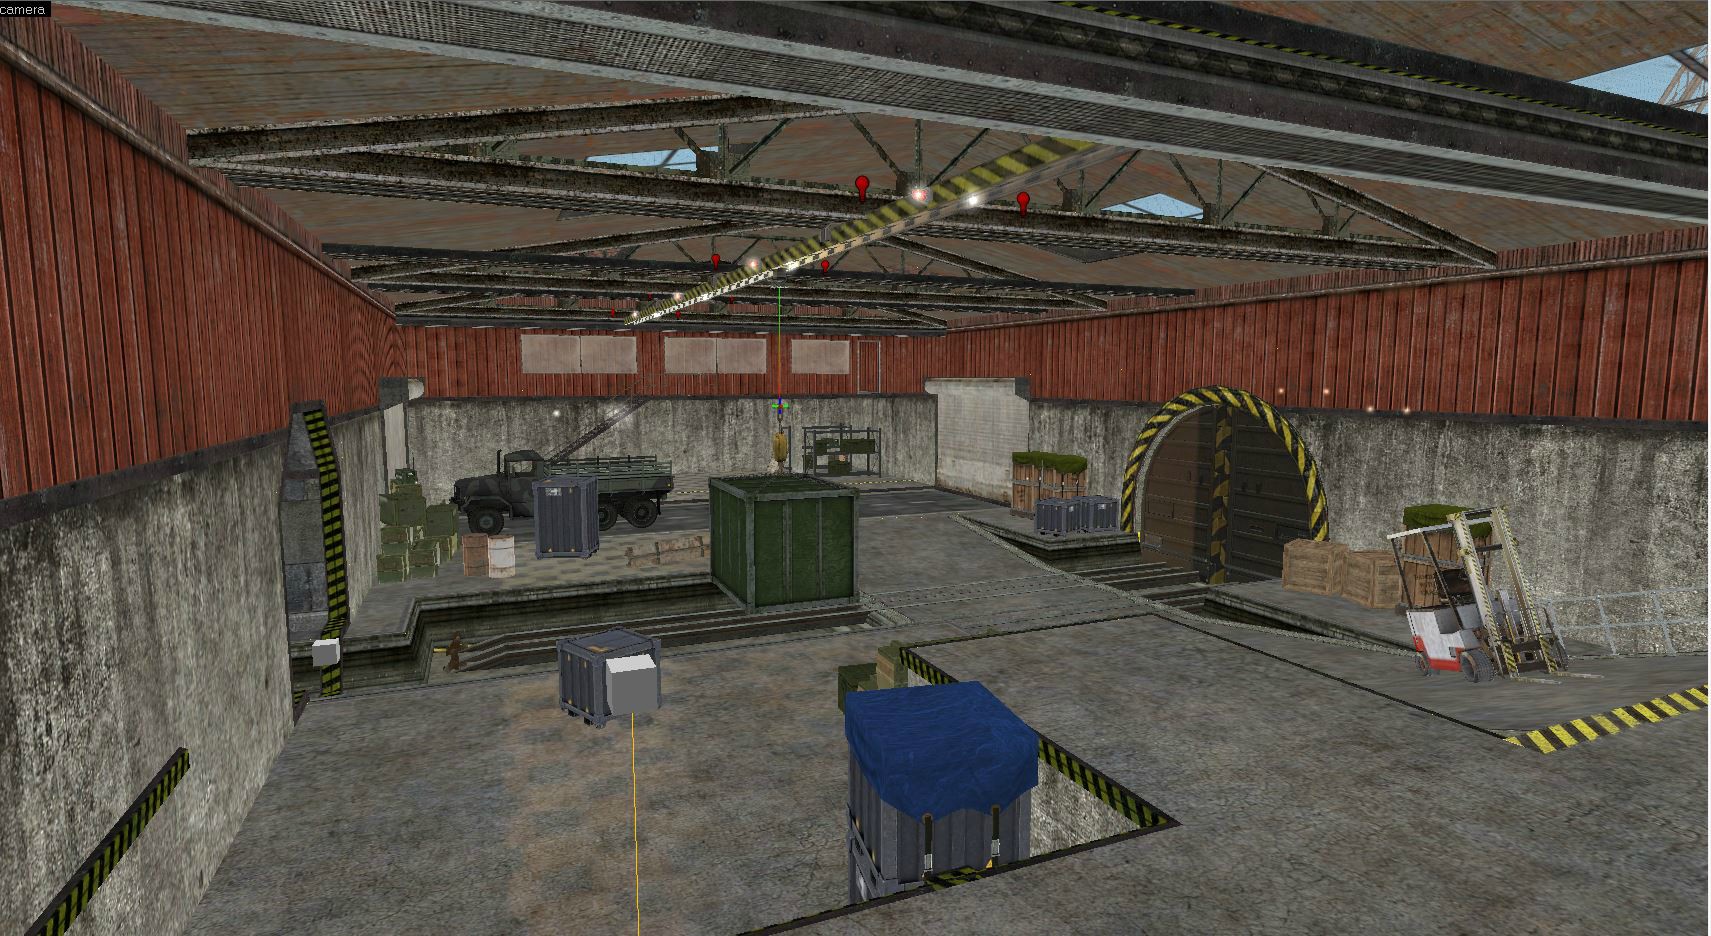
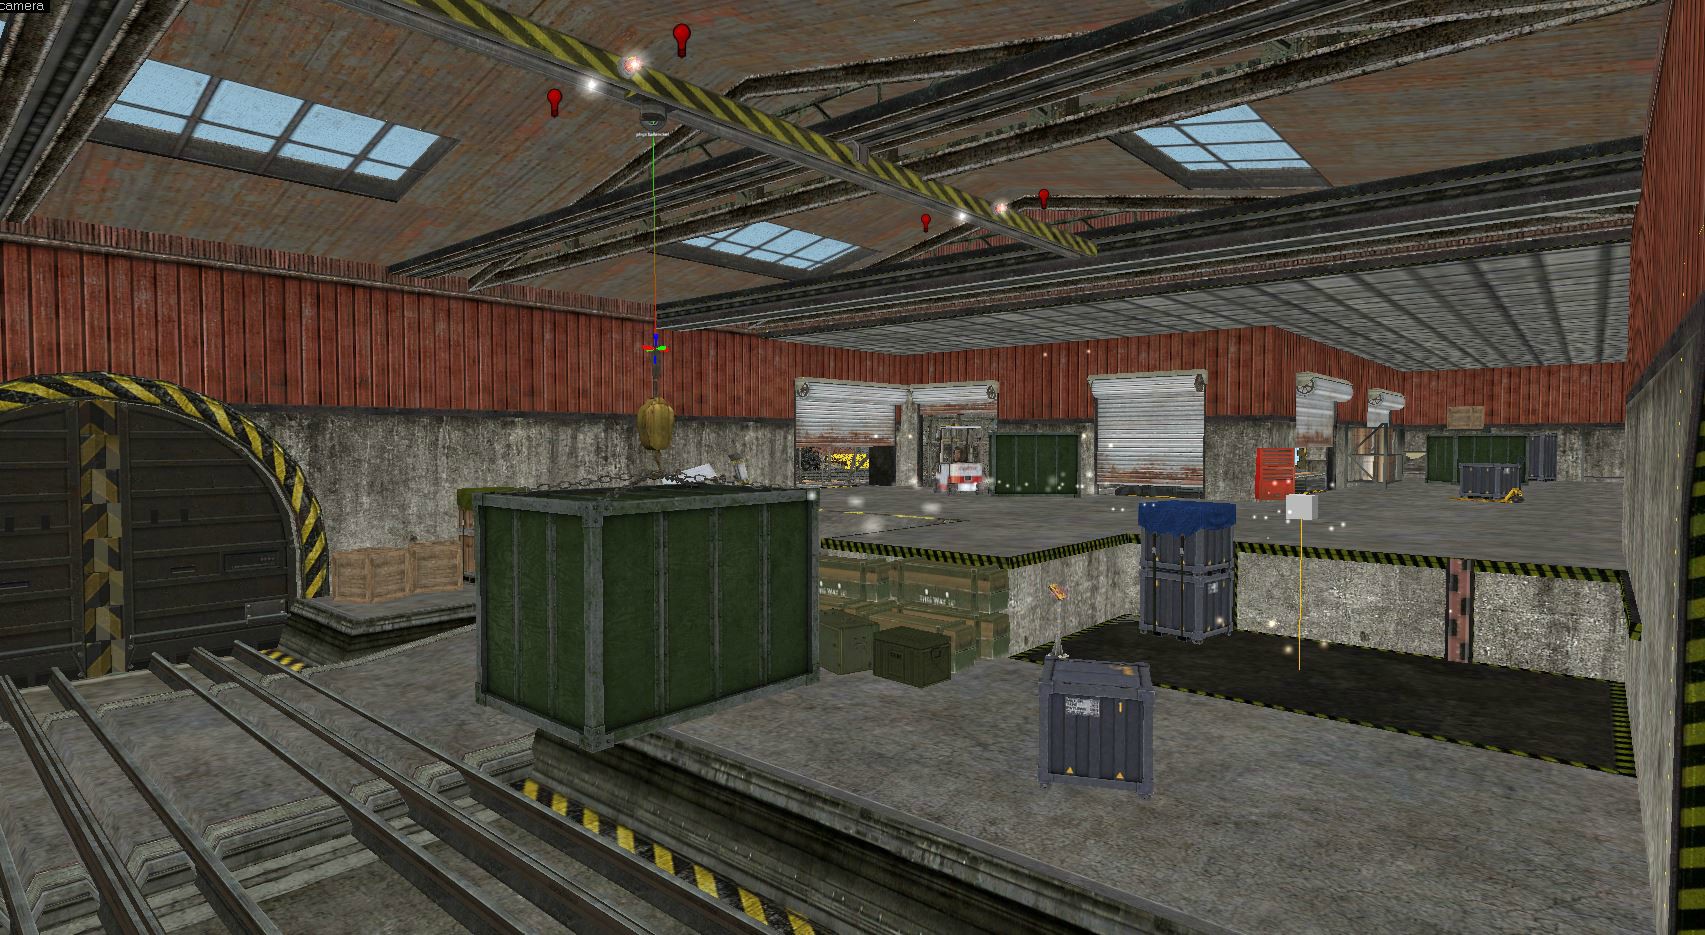
This warehouse, whose design is based heavily on the warehouse found in “We’ve Got Hostiles!” It’s supposed to be like a central hub for loading and unloading via trams, so features another overhead crane railing, crates and shelves everywhere. See where the windows are by the stairs at the back? Inside there is the crane control room - and the button to open the big blast doors to take the tram outside is in there. This was just a blank boring tunnel in HL1, so I’m likely to add some kind of cool fight scene in here. I have yet to determine what it will be.
Alternate view of the same area.
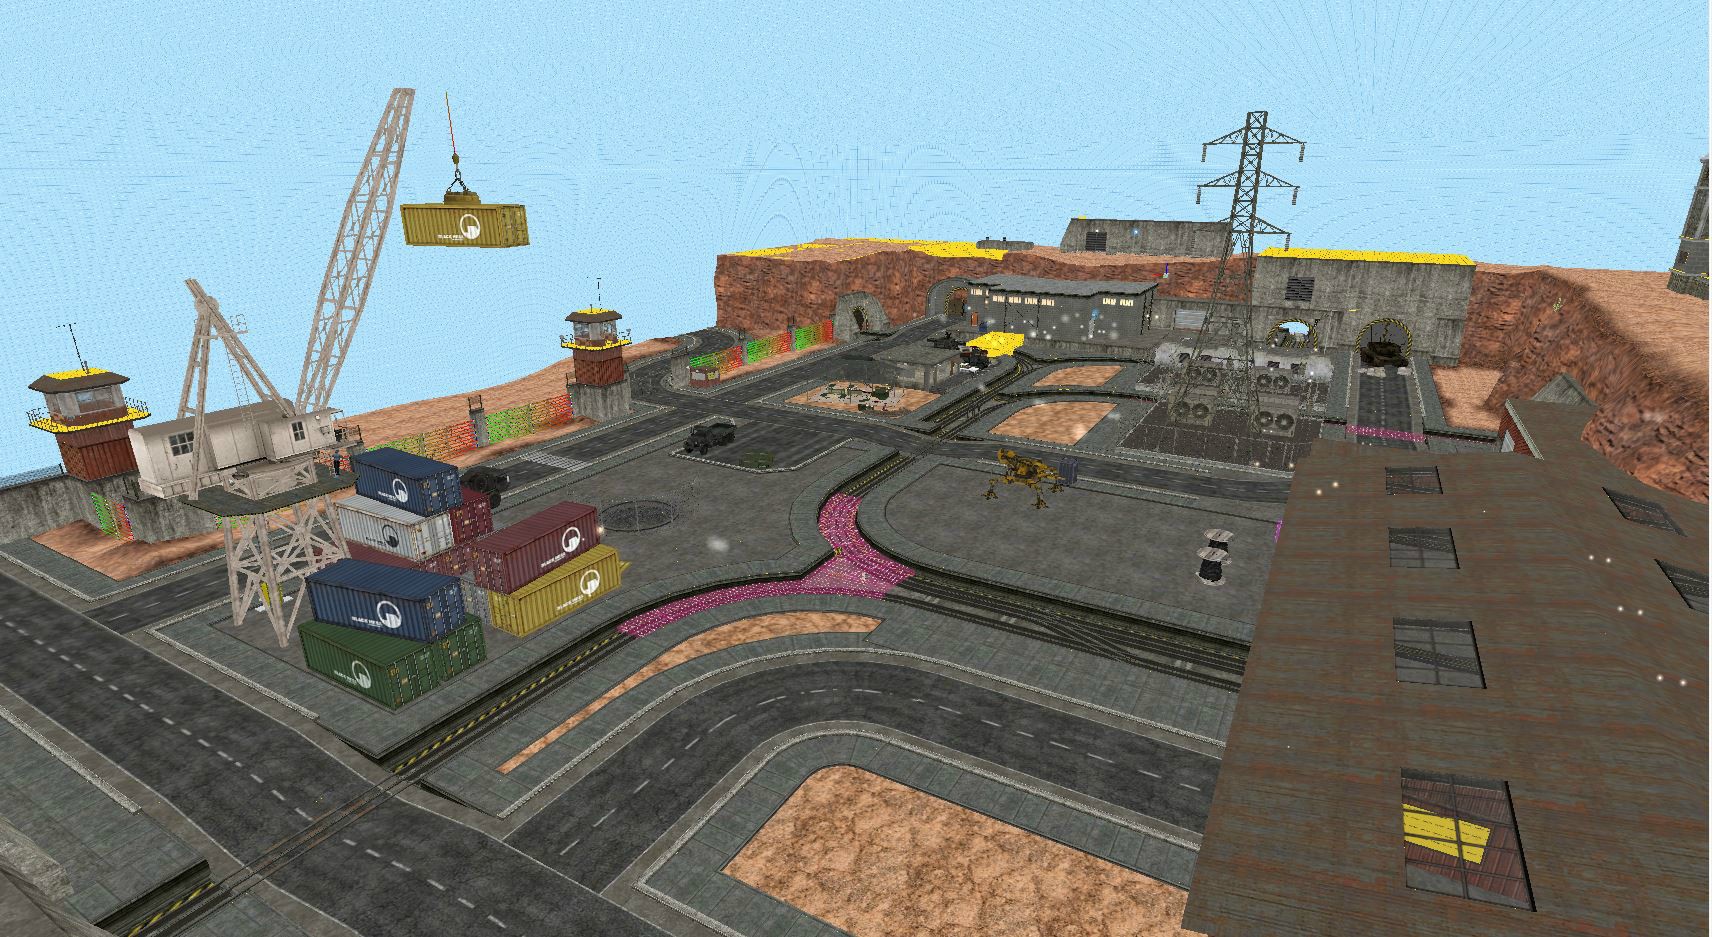
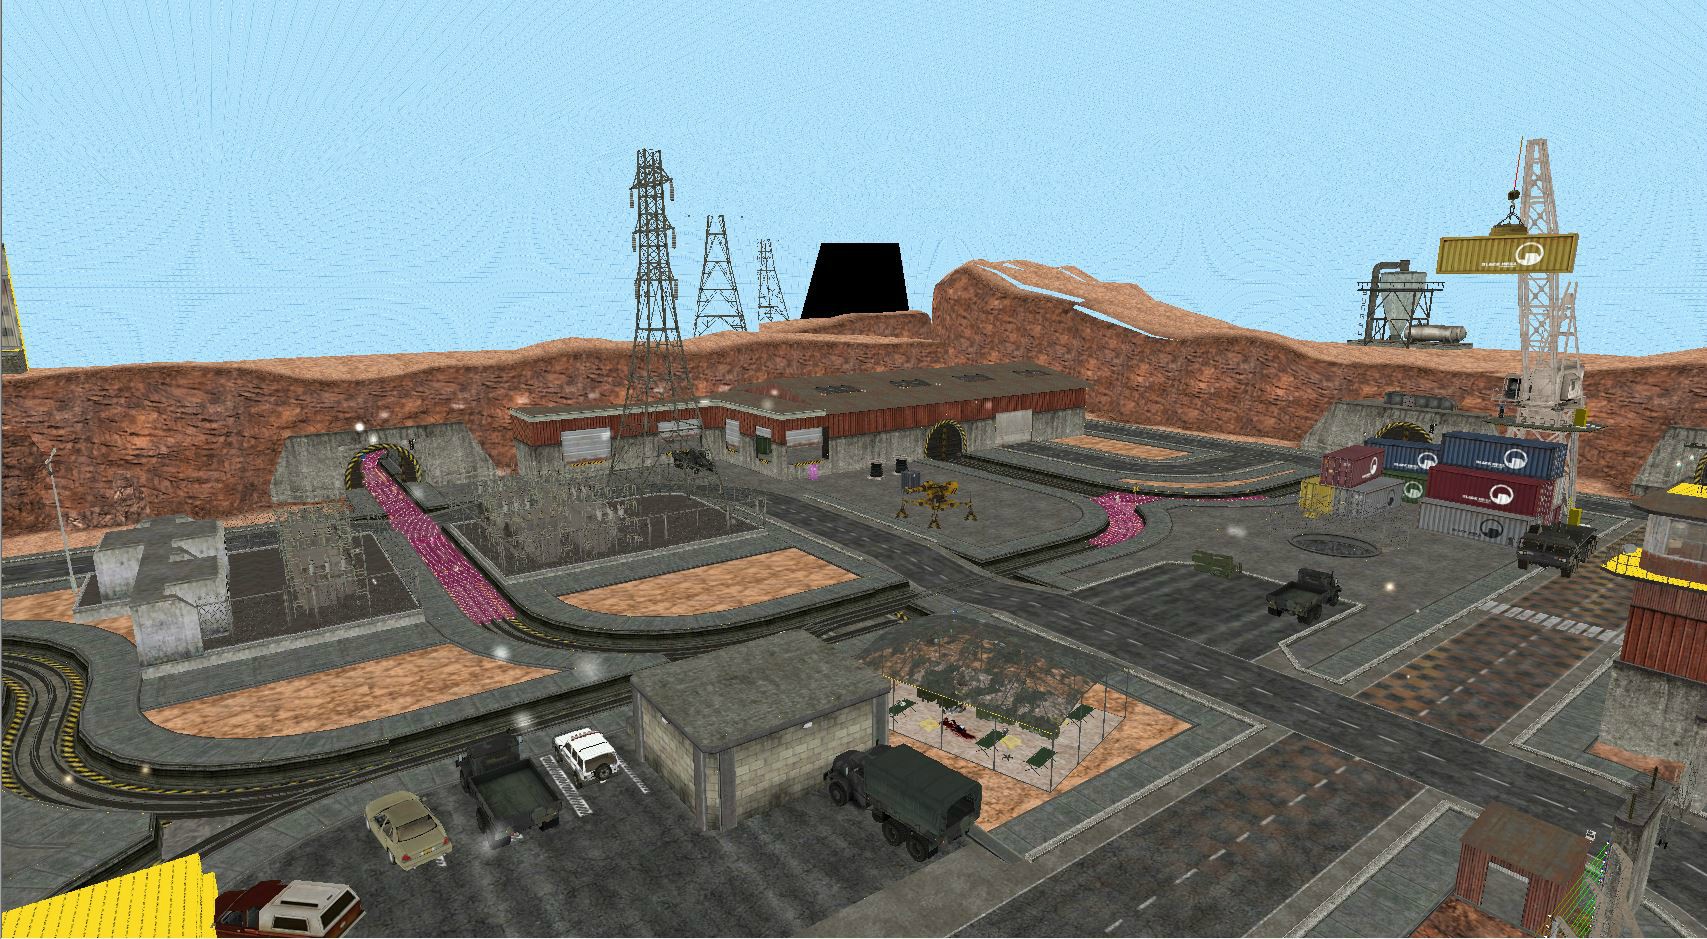
This is the large outdoor area directly outside of the warehouse. Again this is meant to be a major, busy loading dock - a vital part of the Mat Trans system. Barely visible on the far right of the shot is the actual loading dock where the trucks park. You can see the orange loaded found in BM Inbound in its own little empty lot for now - but I’ll find something cool to do with that.
The big security wall around the perimeter on the left side give way to the view of the 3d skybox (which you can’t see just yet). Behind that will be a (hopefully!) gorgeous view of an expansive and vast 3d skybox. I have yet to figure out precisely how I’m going to make that work. My current concept for the 3d skybox has been scrapped, and I have to do that bit again.
In terms of the path the tram takes - follow the path coming out of the warehouse. The tram’s path curves to the right (the left track is non functional), and goes past the orange loader. You see where the huge pylon is? By default the track curves to the right there and heads towards the building you can see in the right hand cliffside. This loops around and connects back to the warehouse track, meaning by default you’re on the loop going through the power generators. The very little hut you can see near the middle by the army tent houses the track switcher - and on pressing this the track switches so you go straight on during that bit instead of looping to the right. This takes you towards the Surface Tension style building and into the building on its right, which is the indoor G (broken tram lift) segment.
If I’ve explained it well enough, you’ll realise the actual layout is VERY true to HL1’s style of layout.
Alternate view of the same area.
So, whaddya think guys? Scrap this design and start again, or keep pushing through it? Here’s my current lines of logic around it:
Advantages of current layout:
-Unique and interesting. No other section like it in BMS OaR.
-Flexible and large outdoor area allows for exploration and loads of interesting scripts.
-The basic layout is completely cemented and done (a lot of the work is already finished), all that’s left is detailing and scripting.
Disadvantages of current layout:
-A little unfaithful to HL1.
-Very open. If I put a lot of detail into areas, it might run very poorly - and I can’t do much about it because it’s so open.
-I’m not so comfortable with the current layout. The vast cliffsides surrounding the area are not something I’m terribly happy to work with.
