Interested in modding? Made a mod and want to share it with the world? Here’s a guide on how to use the new Black Mesa Mod Publishing tools. If you have any questions, feel free to ask in this thread.
To access the Black Mesa Mod Publishing tool:
Navigate to where you have Black Mesa installed in the Steam Apps folder.
Double click on the bin folder. (So the file path will be Steam Apps/Black Mesa/bin
Double click on“blackmesa_publish.exe” - this is the mod uploader for the BlackMesa Workshop.
What each thing does:
Your Published Content is where all the mods you’ll upload will go. When you want to update your mod, its title or its thumbnail image, you can relaunch blackmesa_publish.exe and select the mod. Reupload whatever you need, then click “Apply changes to UGC”
In the “UserGenerated Content Title:” field, put the name of your mod. This is the display name of your mod. Keep it short!
In the “UserGenerated Content Description:” field, put a description of your mod. You will be able to edit this later, on the mods Steam Workshop Page. You can just put something short in there to remind you to update it later.
In the “UserGenerated Content Tags:” field, write tags that describe your mod. These will help players find your mod! You can put whatever tags you’d like in, but it helps to put the ones we have officially supported on the workshop. For example, Single Player or Multiplayer tags will automatically be picked up by our workshop system. If you tag your map as “Multiplayer,” then when someone selects“Multiplayer” as a search term, your map will be in list with all other mods of the same tag. Our currently supported tags for the workshop are: Multiplayer, Singleplayer, Weapon, NPC, Environment,Creature. We will be expanding upon this in the near future. If you’re going to be adding multiple tags, separate them with a comma.
In the “UserGenerated Content folder path:” field,you’ll locate the .vpk of your mod and tell the uploader whereto upload it from. While we do support non-vpk mods, it’s strongly and very highly recommended that you use a .vpk! If you don’t know how to create a .vpk file of your addon, read the section called “Howto make a .vpk.”
Step by step instructions on how to add your mod to be uploaded:
- Place the .vpk of your addon into its own folder.
- Click “Choose Content Folder” in the Black Mesa Content Publishing Tool.
- Navigate to the folder where your addon’s .vpk is.
- When you open that folder, you will see that it is empty. THIS IS NORMAL. When you’re inthe folder, Click “Select.”
- When you’ve returned back to the main publishing tool window, click “upload.”
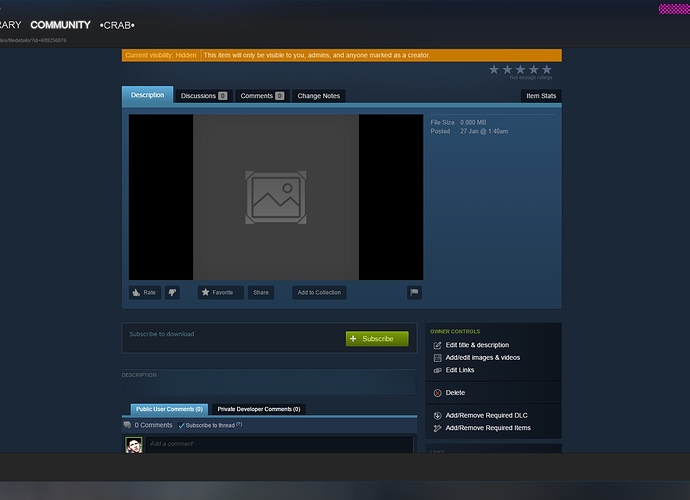
- The file will be uploaded to the Black Mesa workshop, as a hidden file.
In the “NewThumbnail path:” field, you’ll upload a thumbnail imageof your workshop item. This is an important image! You should makesure that it clearly shows what you’re mod is. This is the firstimage people looking for mods will see, so make it count!
Thumbnails need tofollow certain rules for uploading, or uploading will not work.
- The thumbnail imageneeds to have a 512x512 resolution.
- The thumbnail needsto be of the .png or .jpg filetype.
To access/modifyyour mods workshop page:
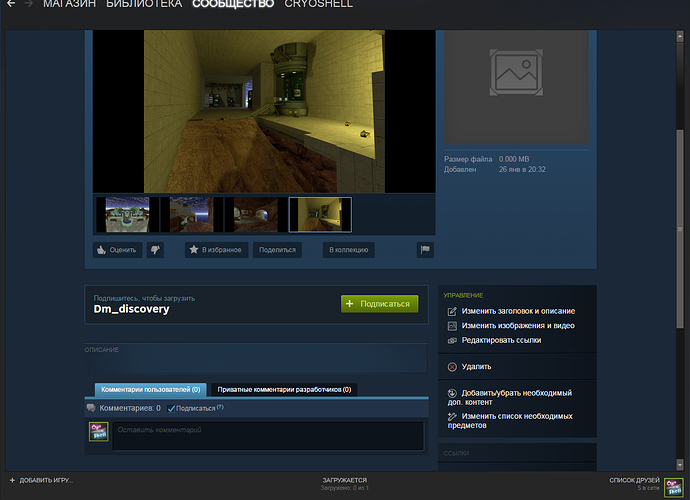
- Go to your Steam Profile, click “Workshop Items” on the right hand side of your profile. You will see your mod on the list of uploaded files!
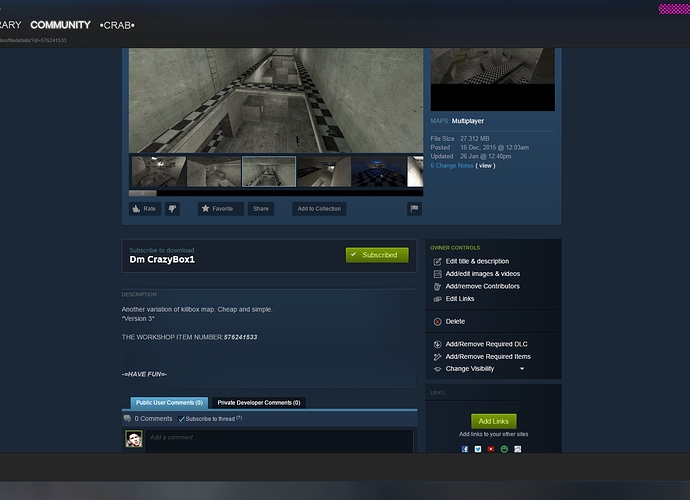
- Click on the image of the mod to be taken to its page. From here, you can upload screenshots, edit the description, add contributors and more. You can find all these options on the right hand side of your mods workshop page.
- When your mod is ready to be seen by the world, change the visibility settings to public, and it will show up for everyone on the workshop.Congratulations! You can also set its visibility to “friends only”if that is what you prefer.
- When you subscribe to a workshop mod, it’s not placed in the black_mesa/bms/addonsfolder like before. It is put in the Steamapps/Workshop/content/362890 folder. It will appear in a numbered folder.
How to make your mod a .vpk - Make a folder thats the name of your mod.
- Inside the folder,place the appropriate files in their proper folders. For example, if you’re releasing a map, your file structure would look like[[mymodsname]]\maps[[mymap.bsp]]. If your mod is replacing existing assets, then the mod files need to copy over the files you’re replacing. This means they need to be the same name, and with the same file path.
- Once you’ve done that, navigate again to the SteamApps/Black Mesa/bin folder.
- Scroll down and find vpk.exe
- Click and drag the folder that has your mod in it on top of vpk.exe
- A few seconds later,a .vpk file will appear in your mods folder (the folder you just dragged the mod from).
- Congratulations,you’ve made your first .vpk. It’s that easy!
Other notes:
- The old bms/addons folder is no long supported.
- There is no filesize limitations on what mods can be.
- If you want/need to modify existing official Black Mesa maps, checkout the mapsrc folder in the Black Mesa steam folder. We have the source files for all the single player earth-bound maps there.
- For development of mods, you’ll want to work through the workshop system. This helps you test and develop your mods in the environment that those playing your mod will be getting it. Lots of things can change when you upload a mod to the workshop. It’s best to work through that, to eliminate any possible bugs that could occur.
- The workshop addons menu addition doesn’t work at the present moment,this will be fixed in a subsequent update.


