Papercraft

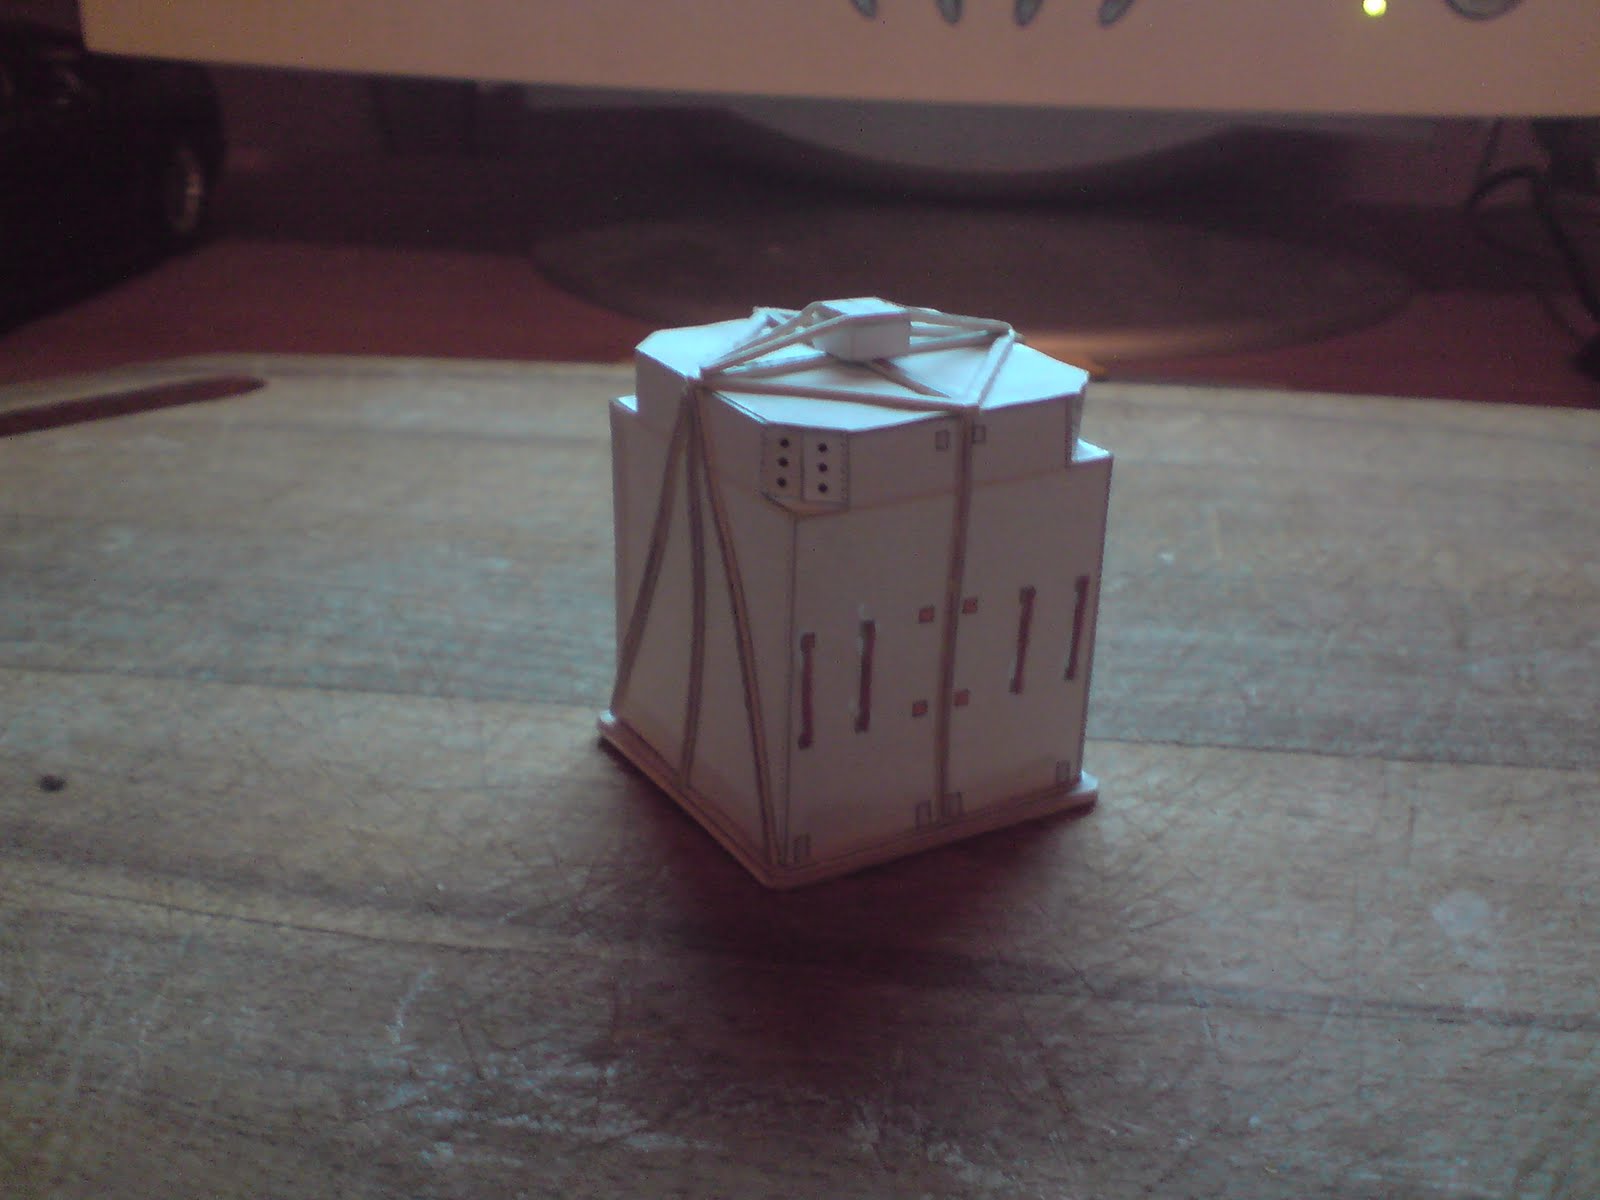
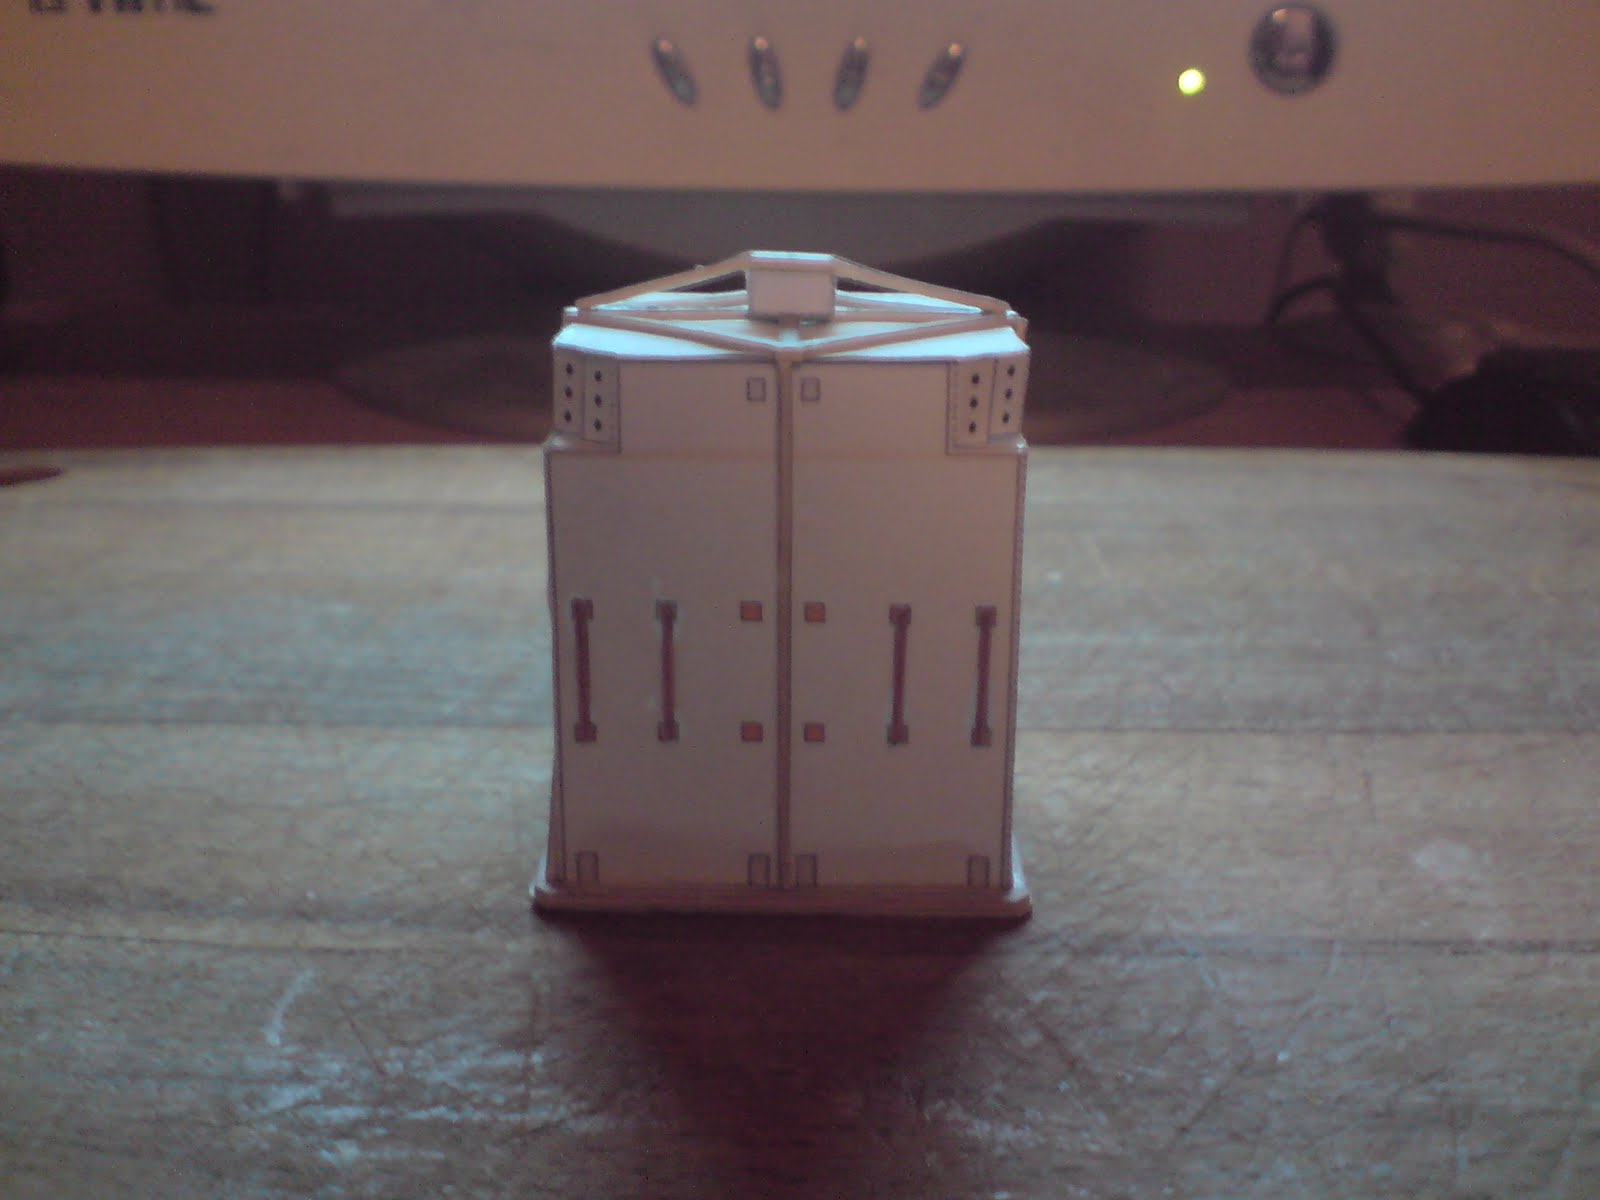
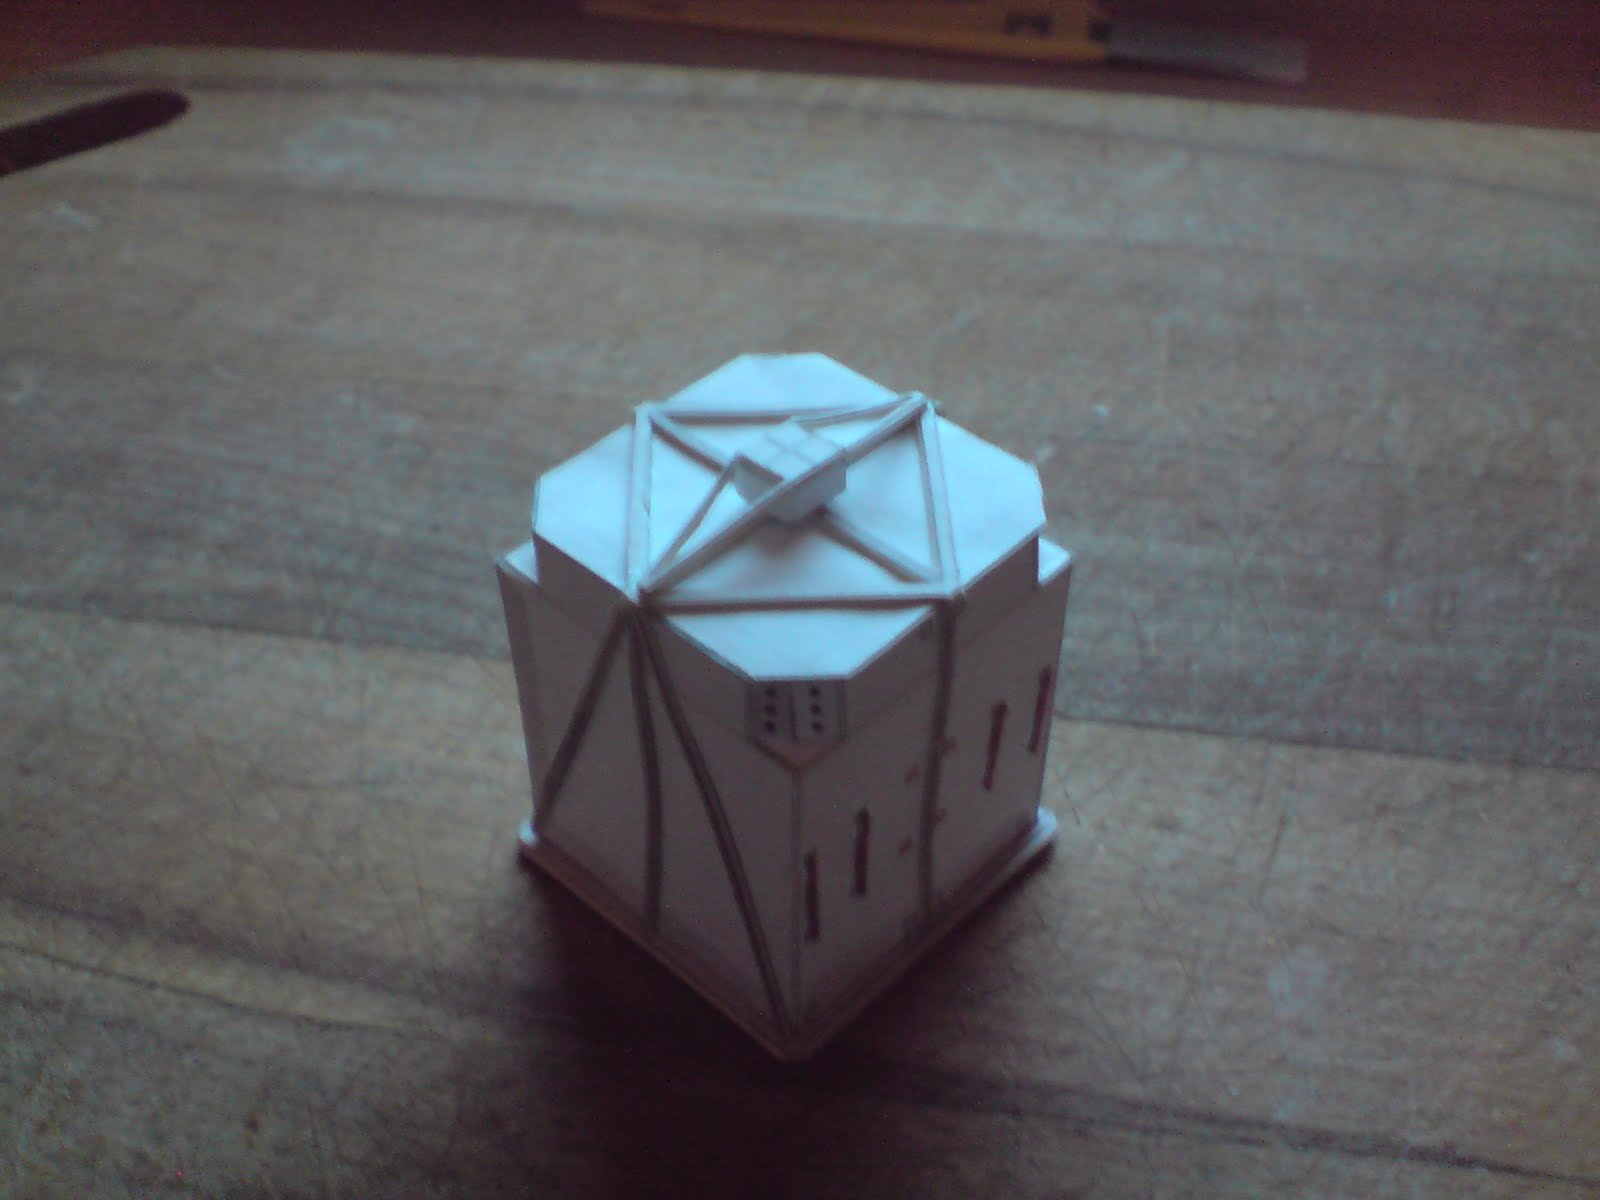
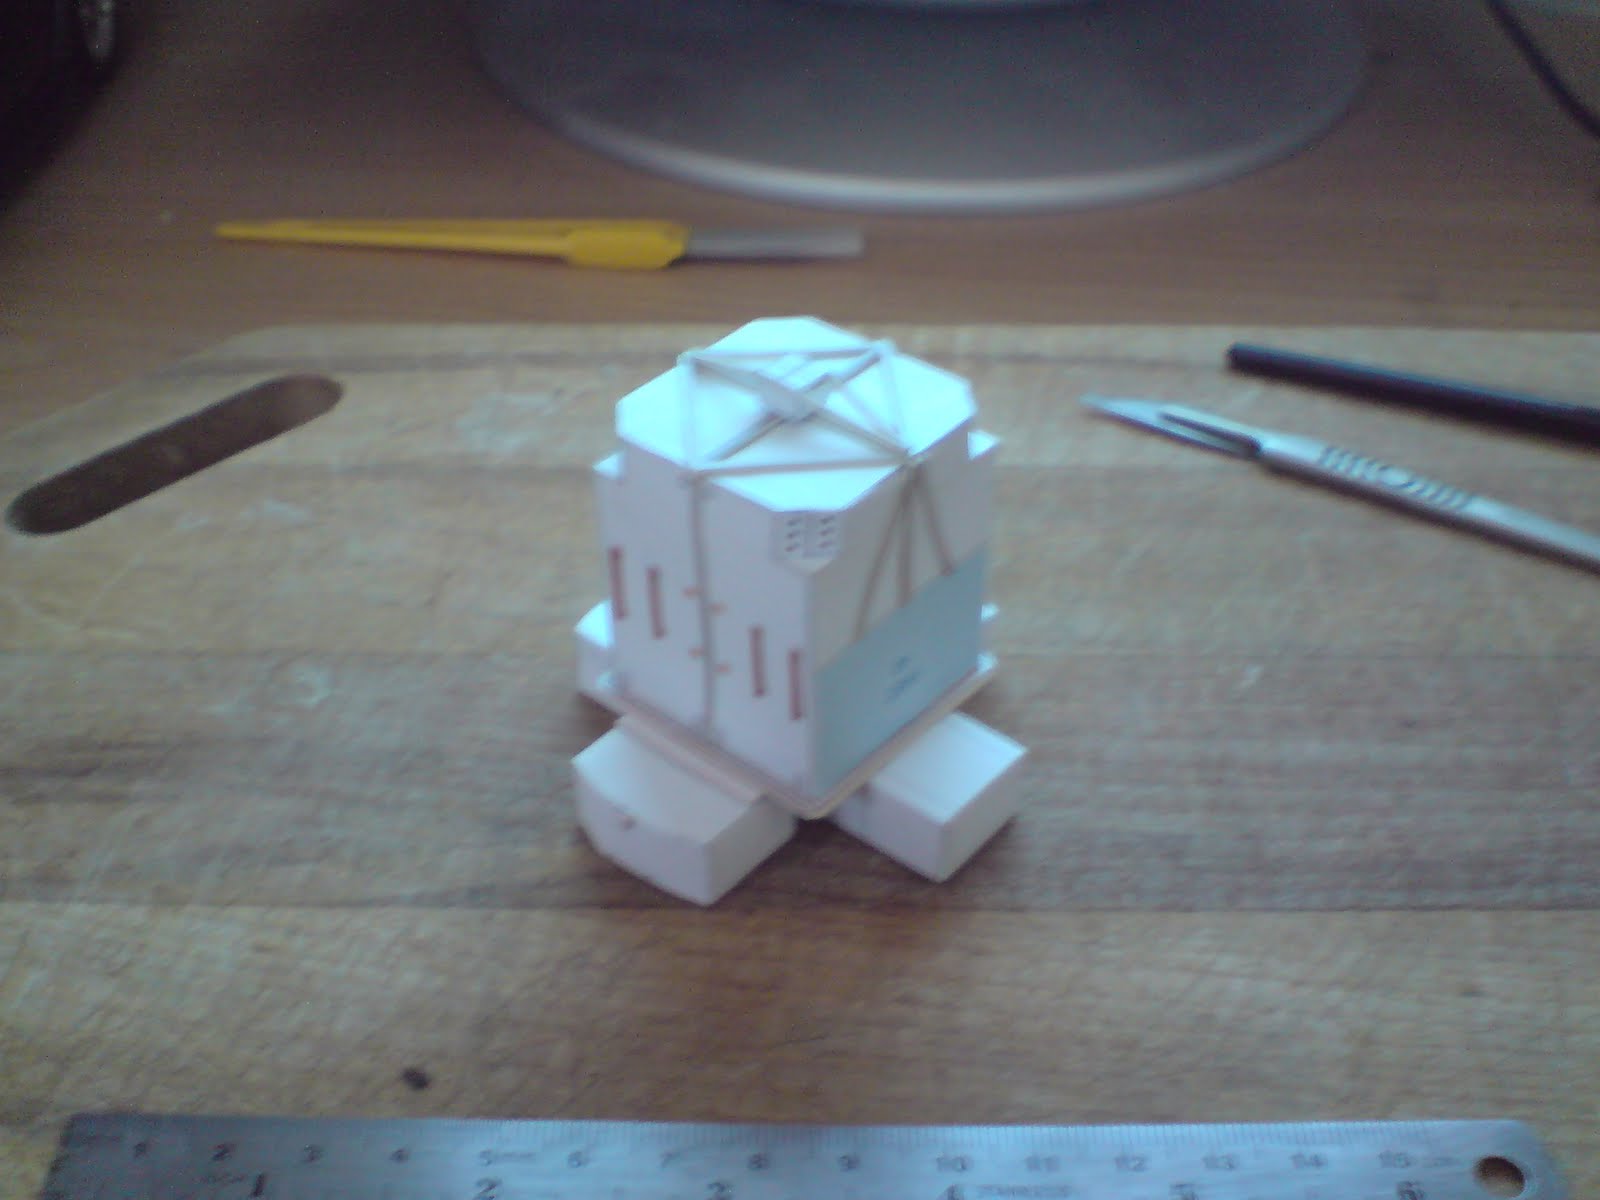
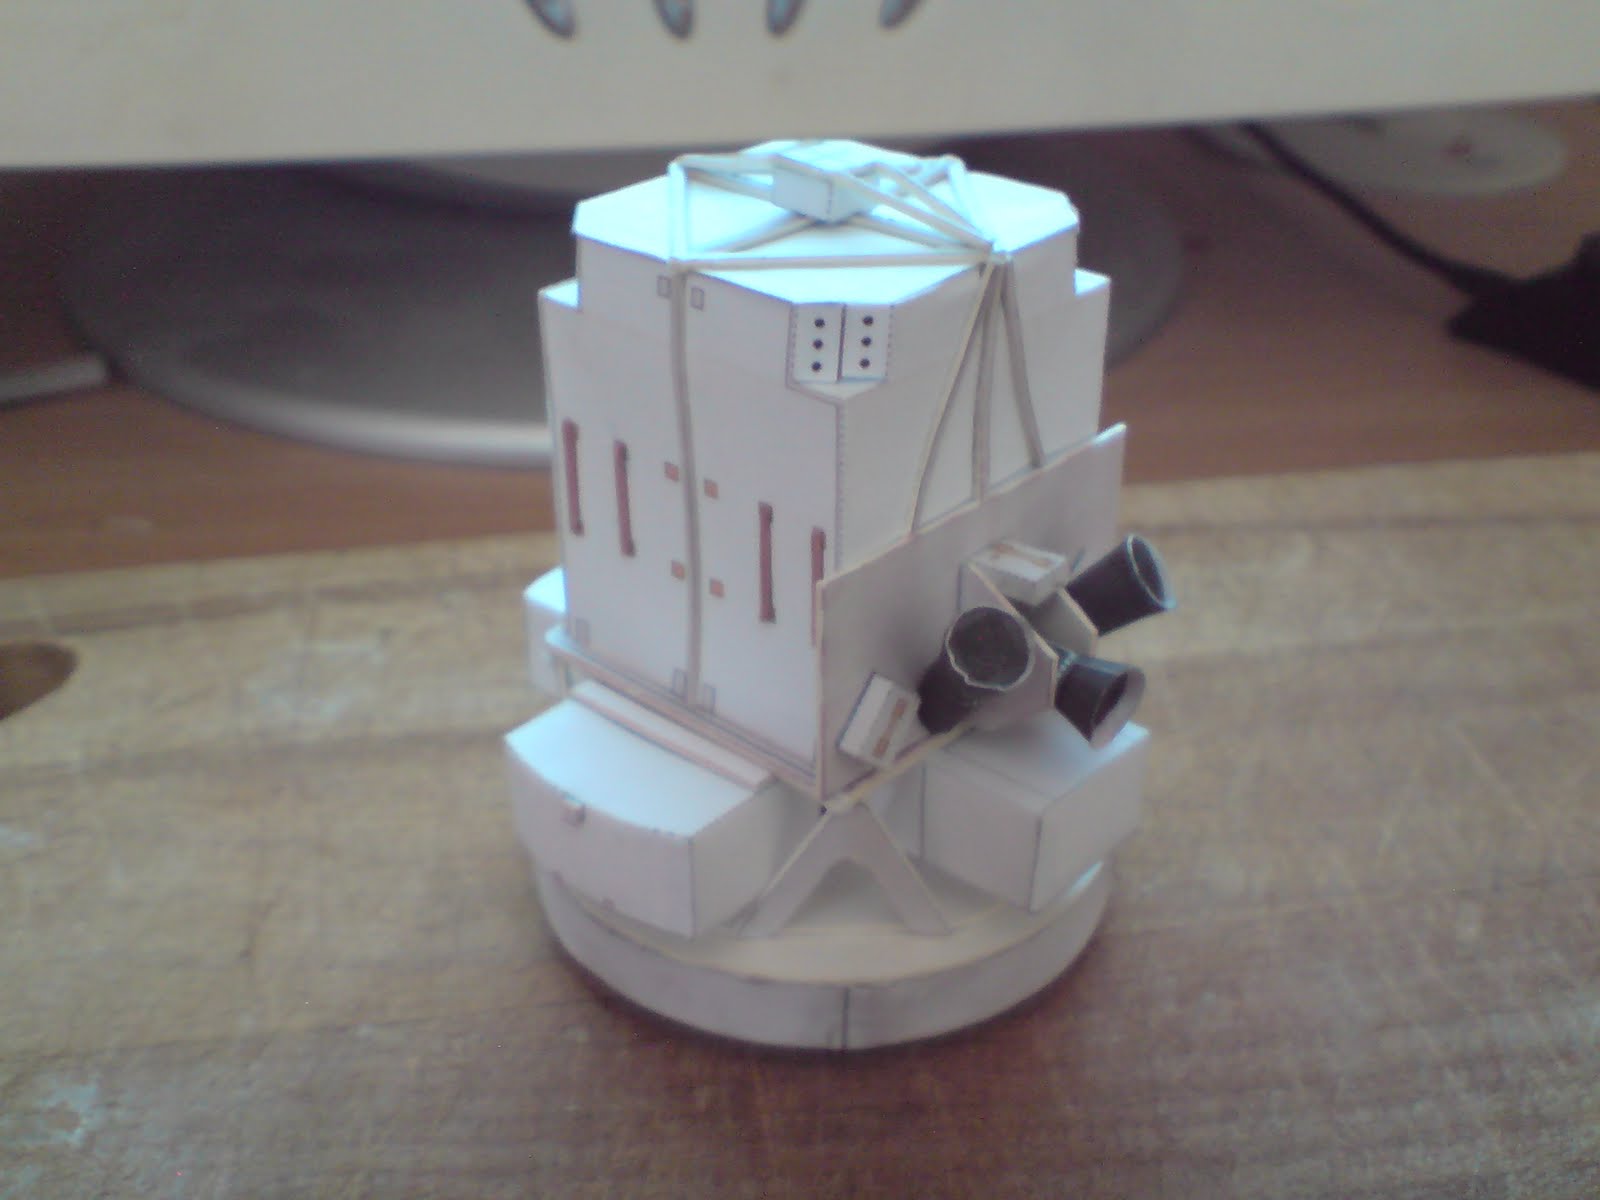
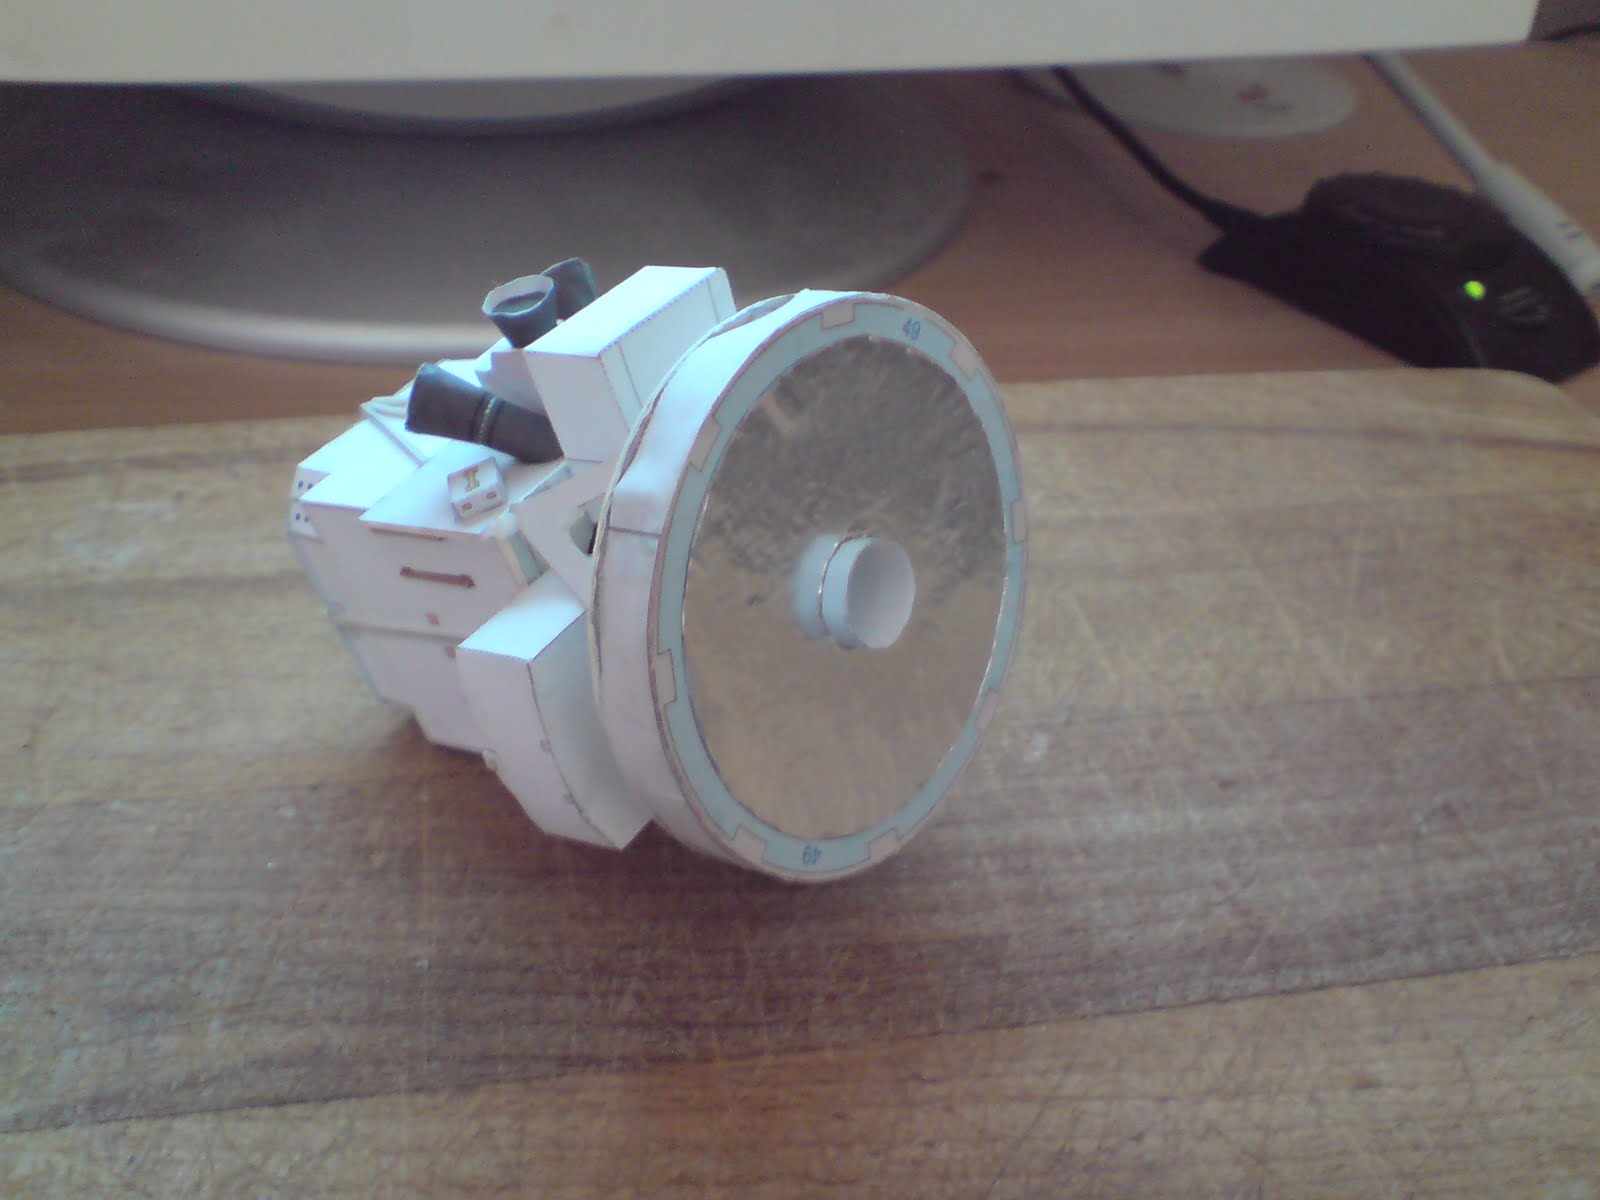
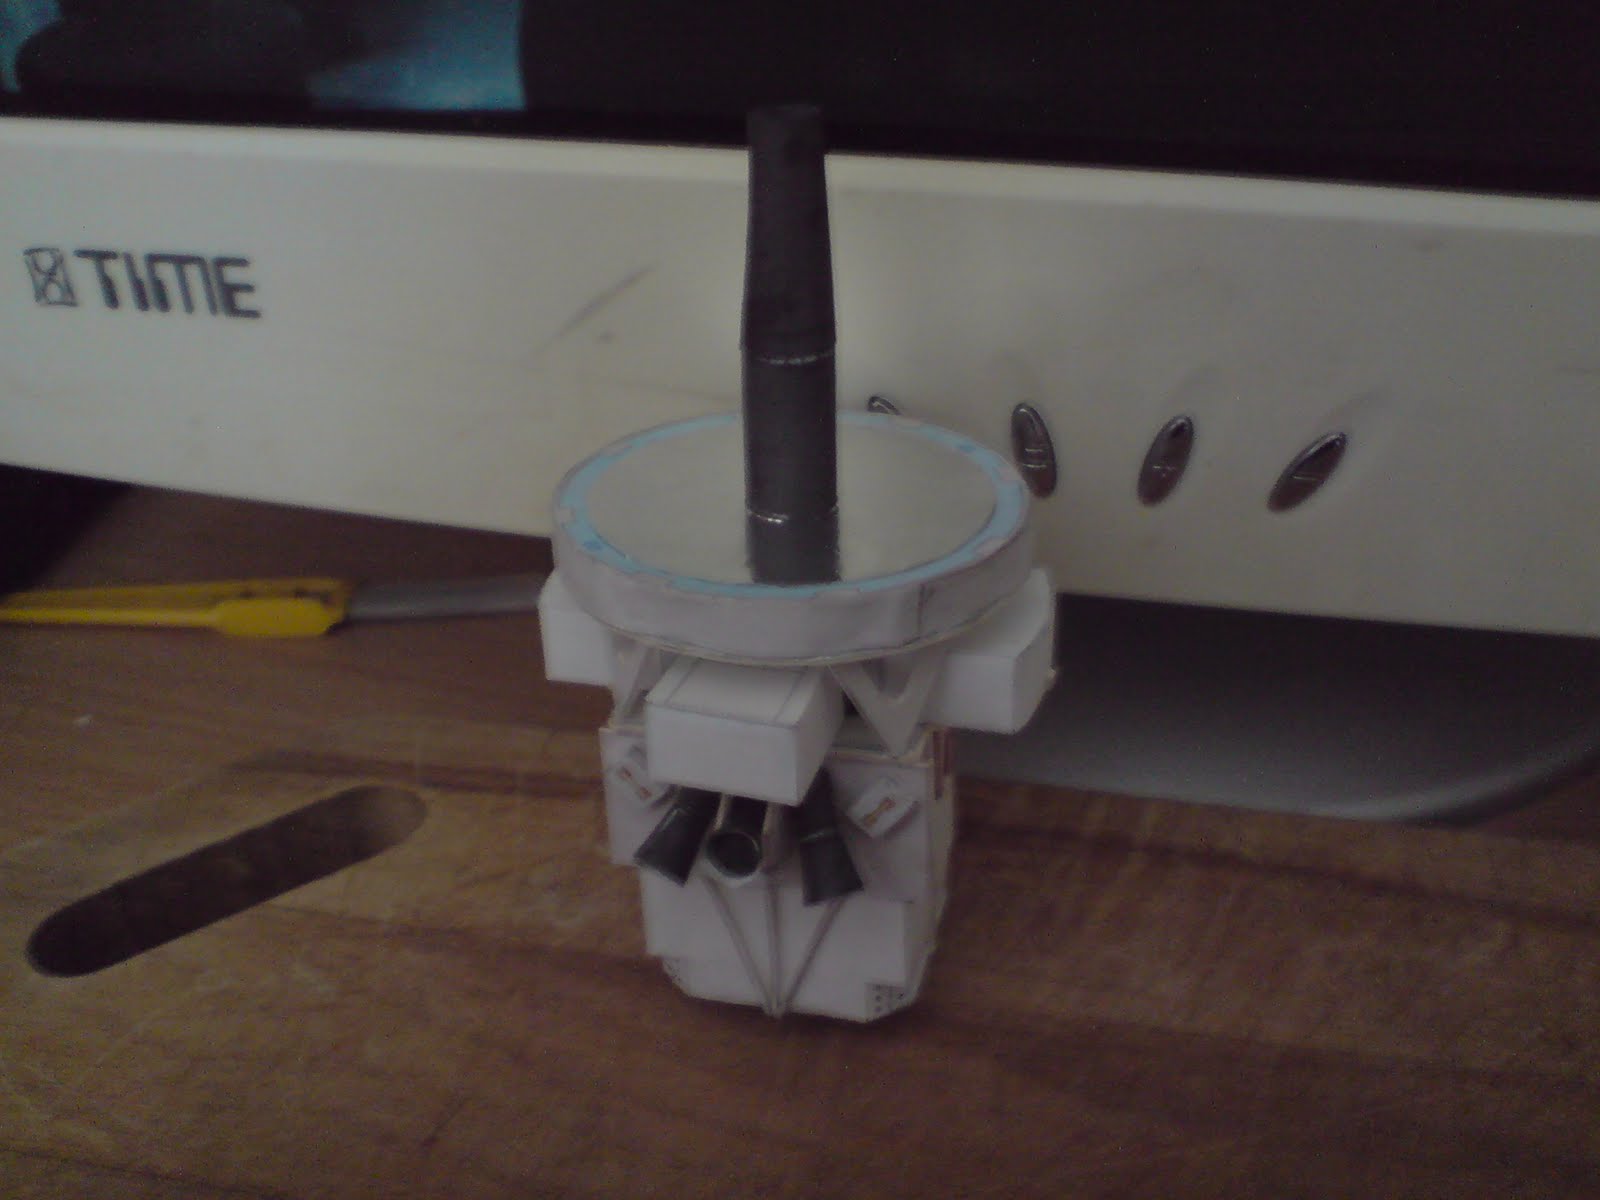
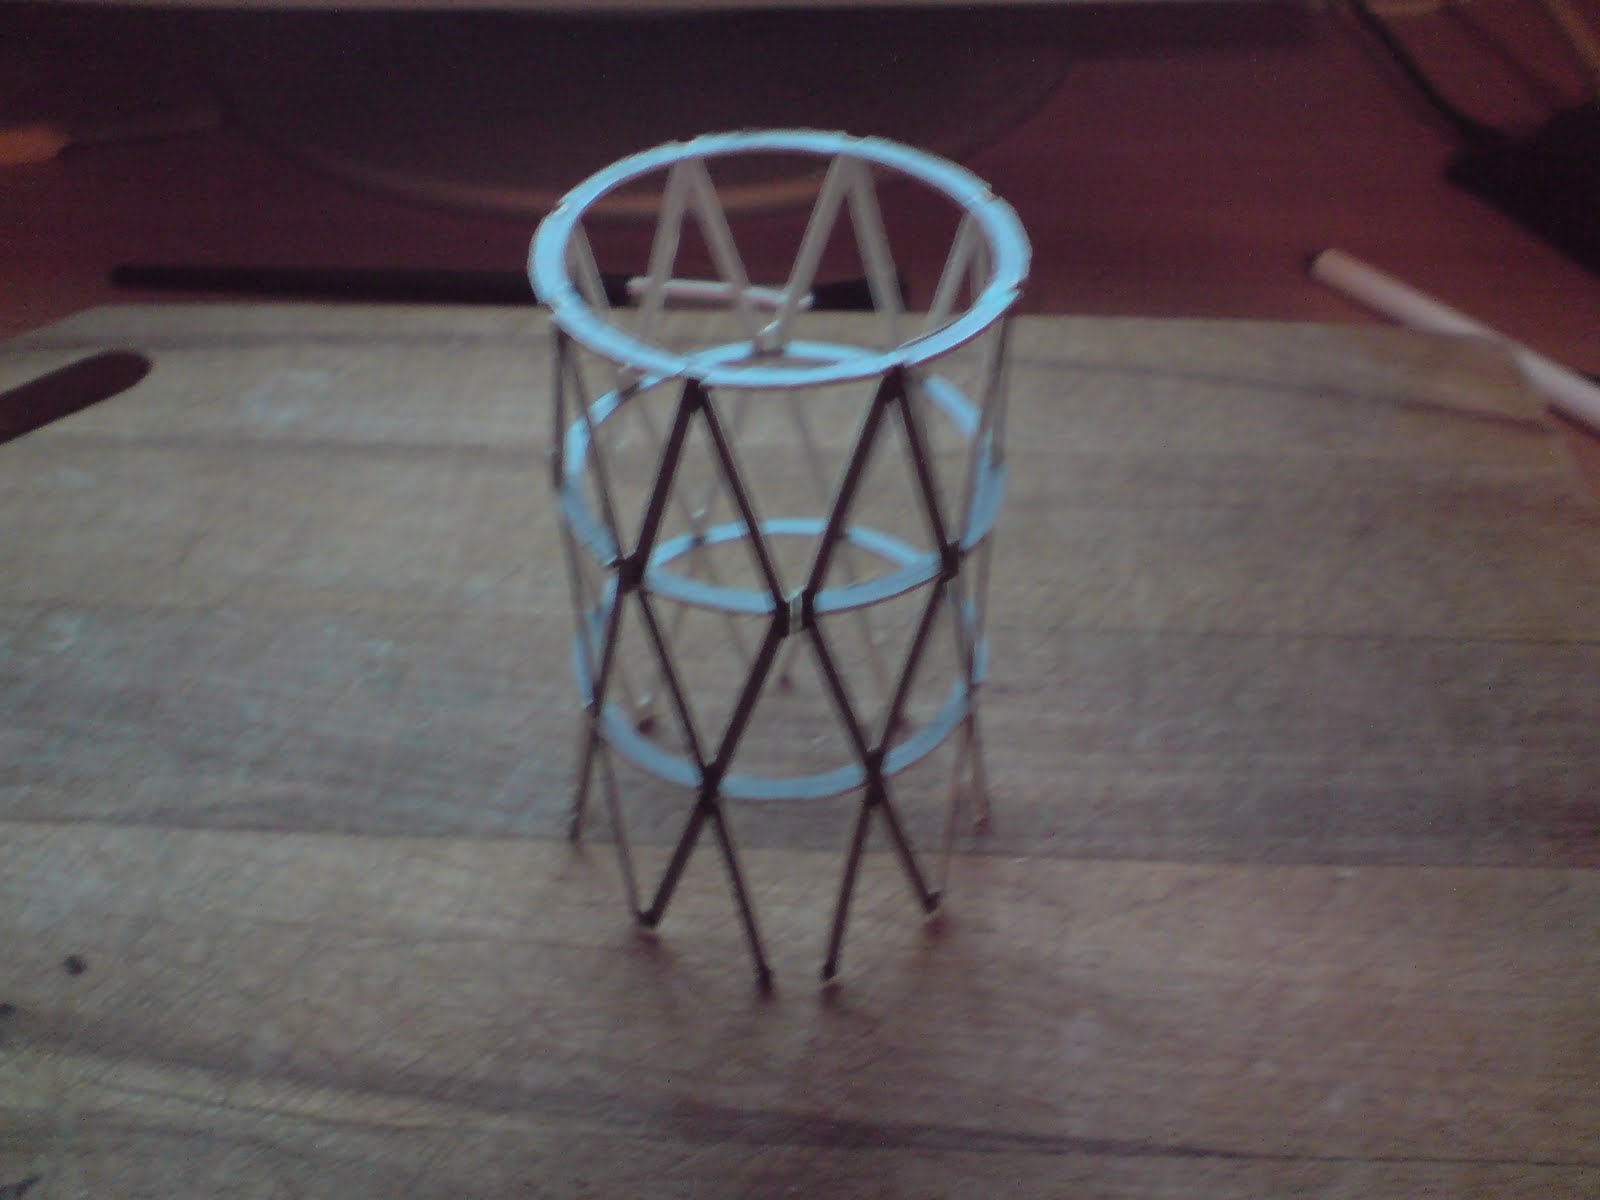
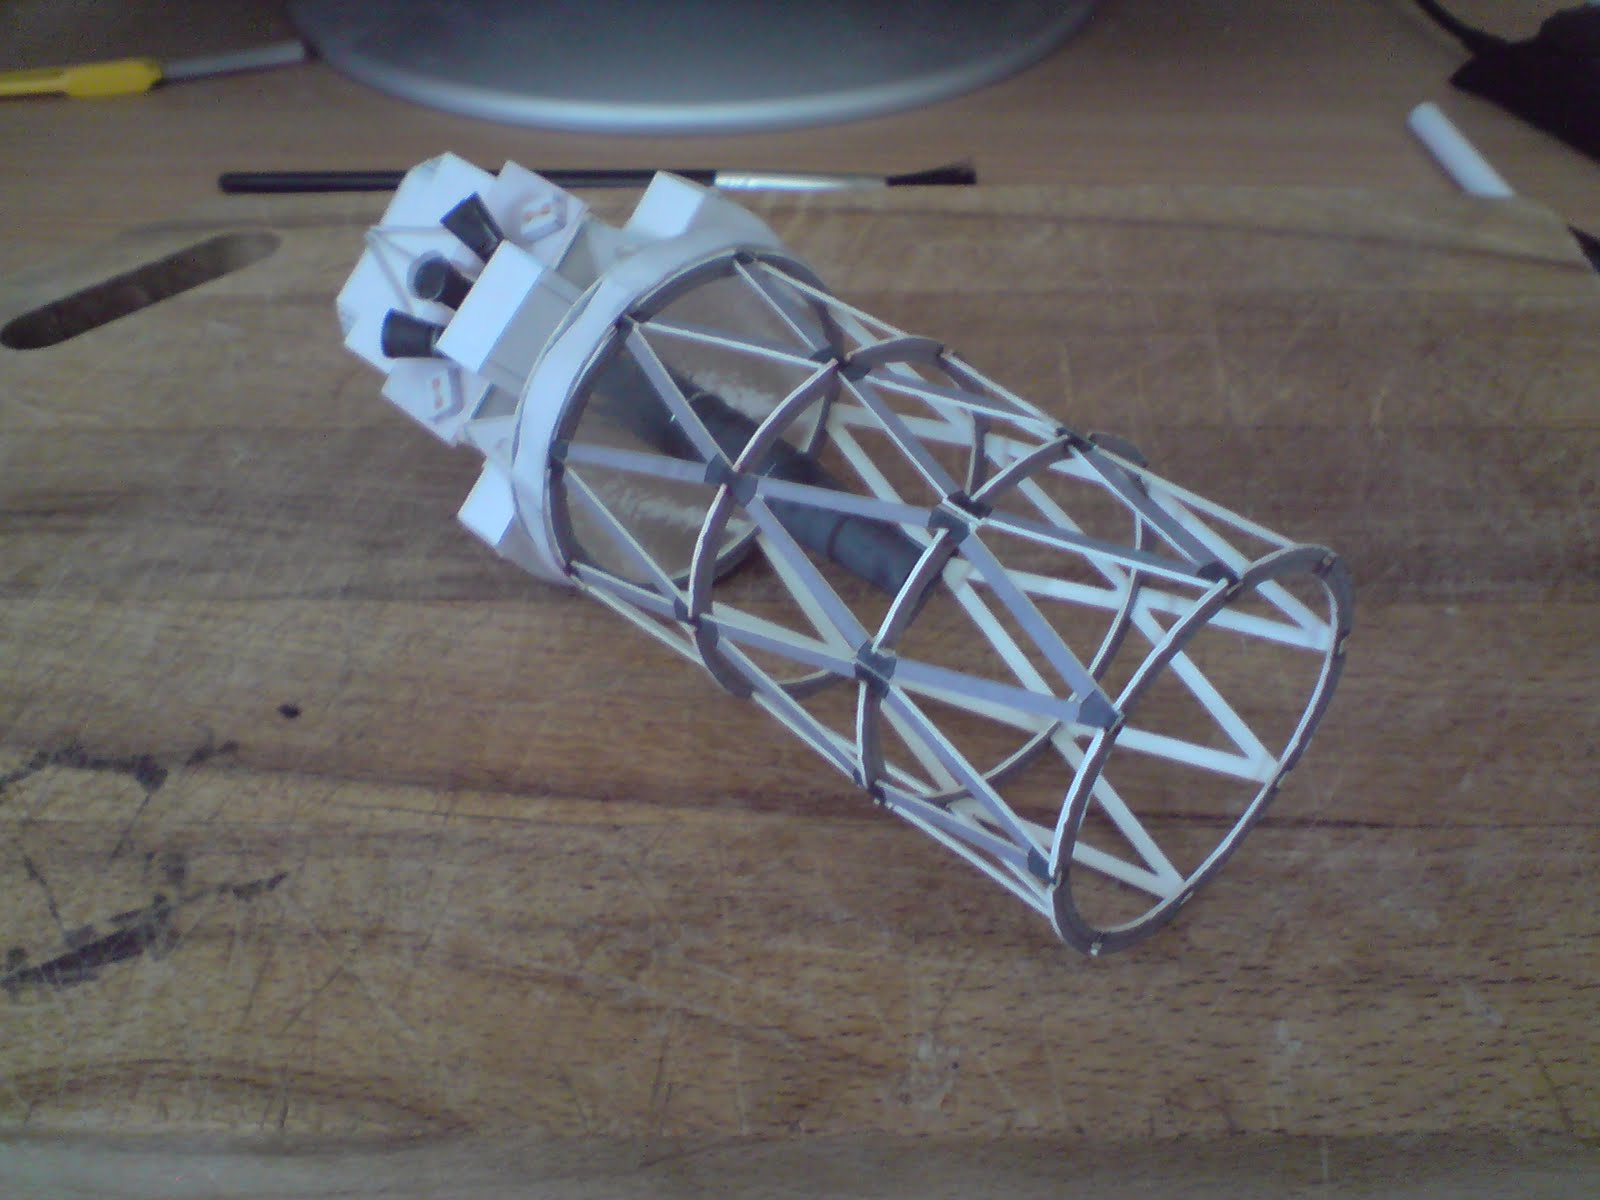
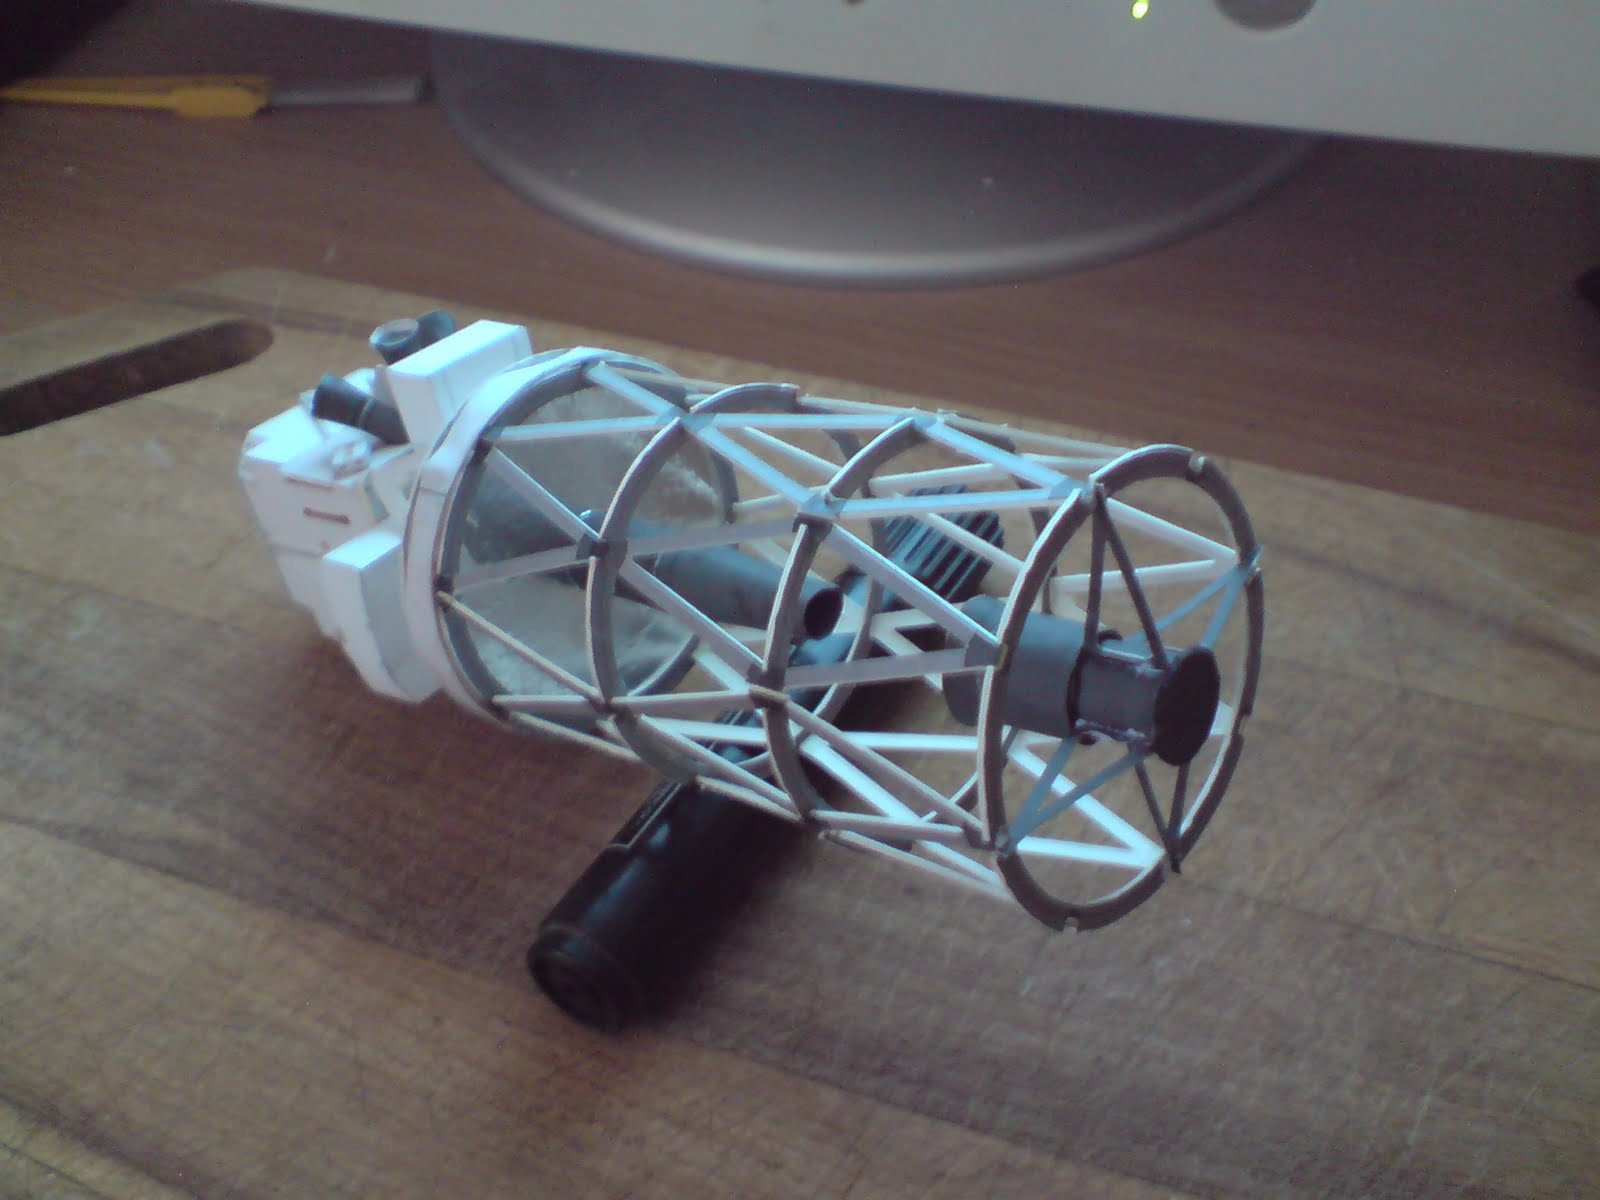
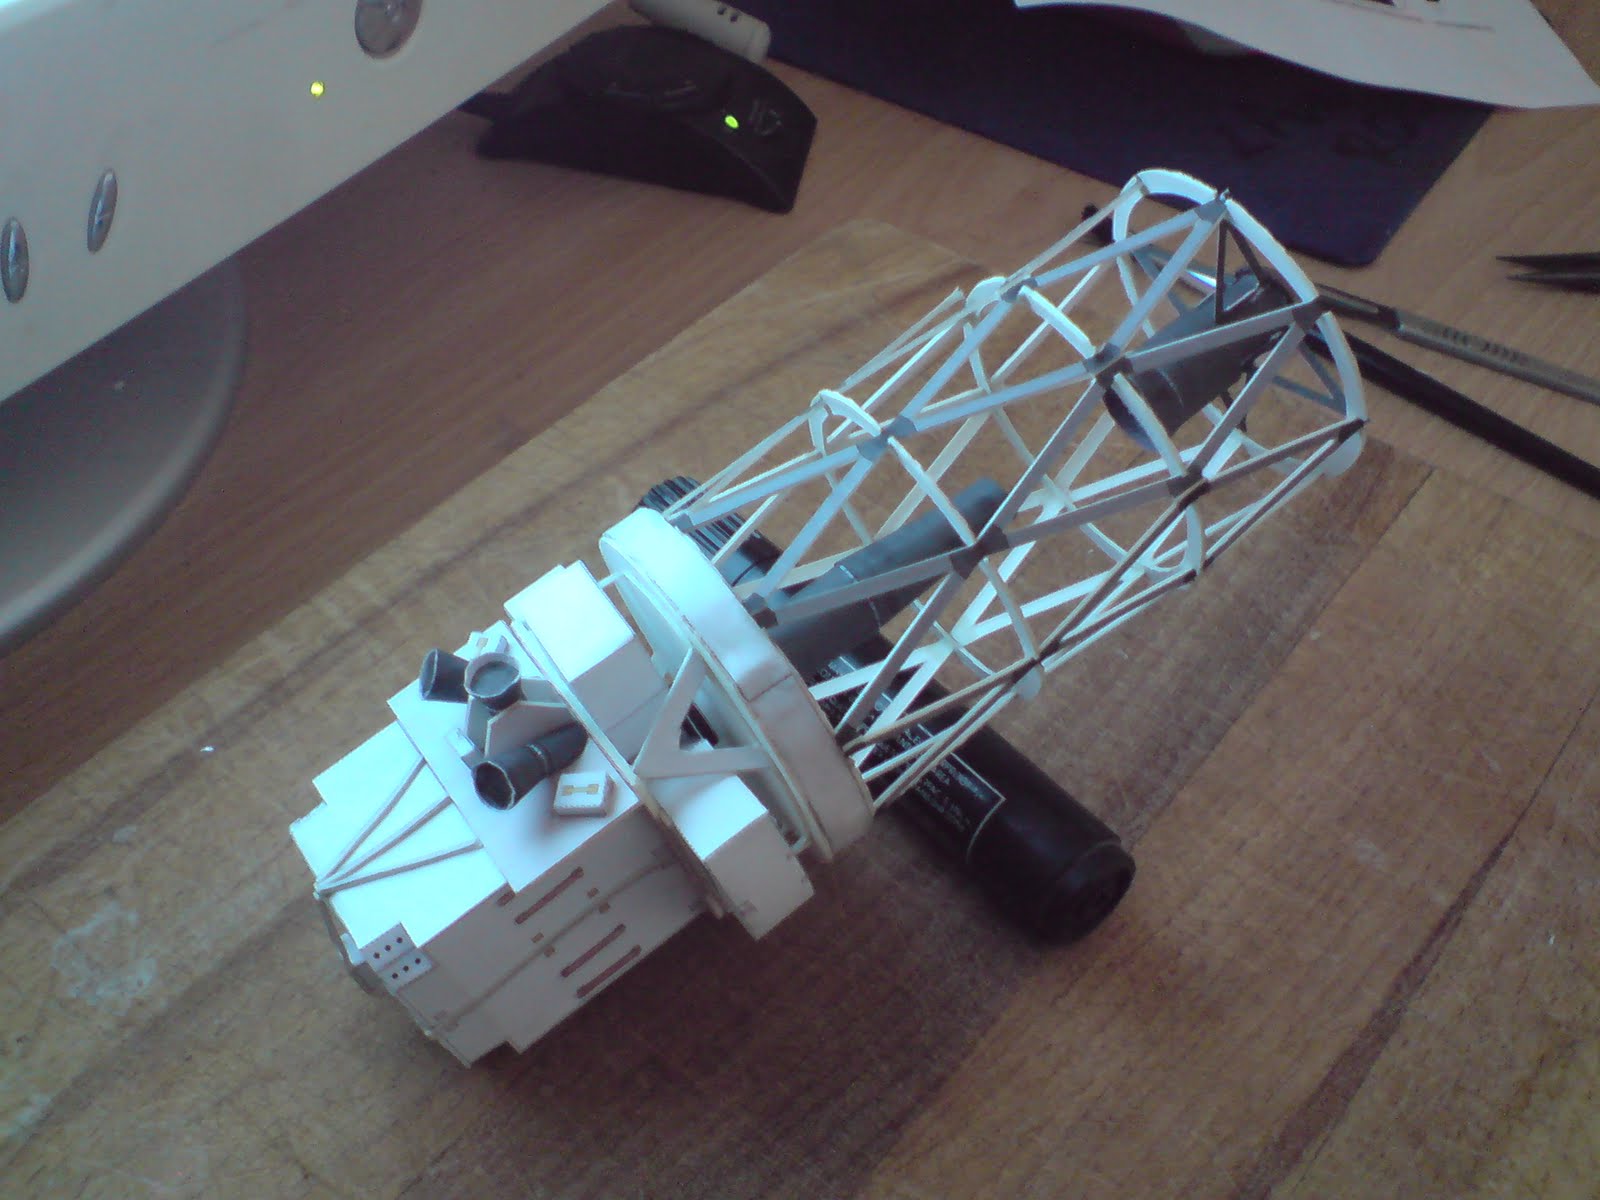
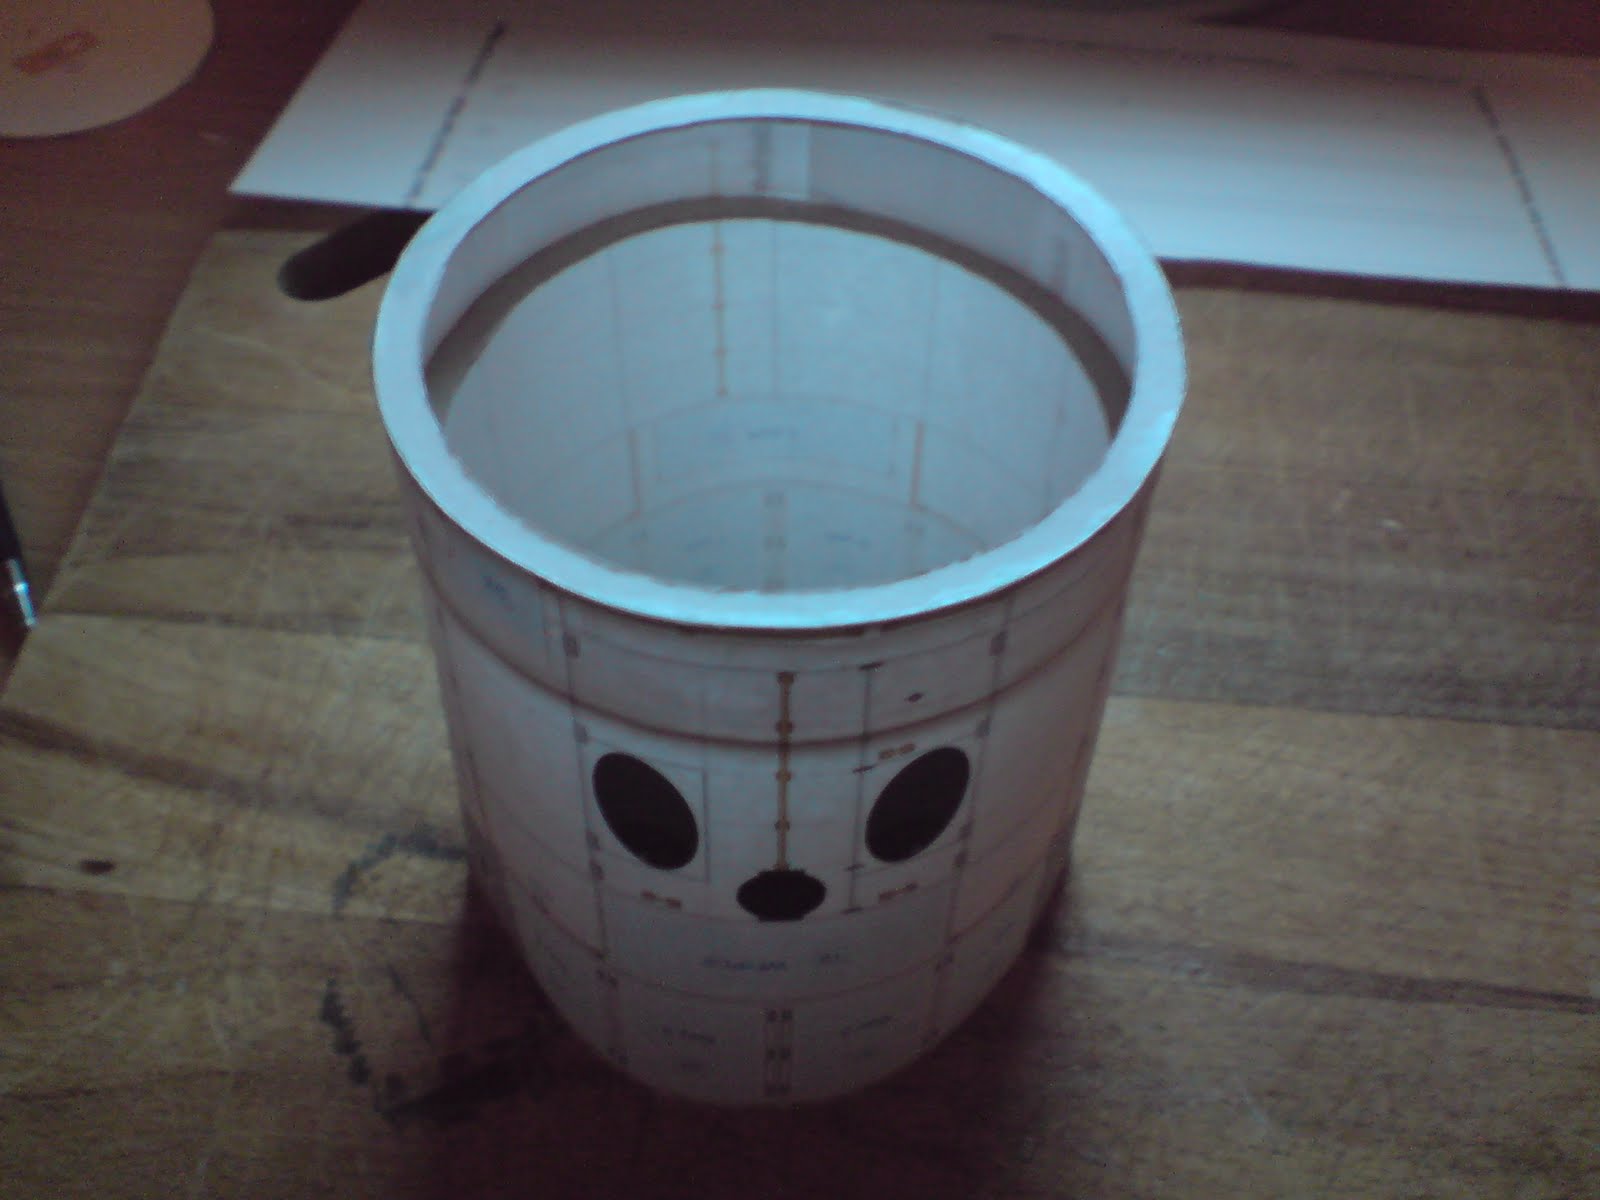
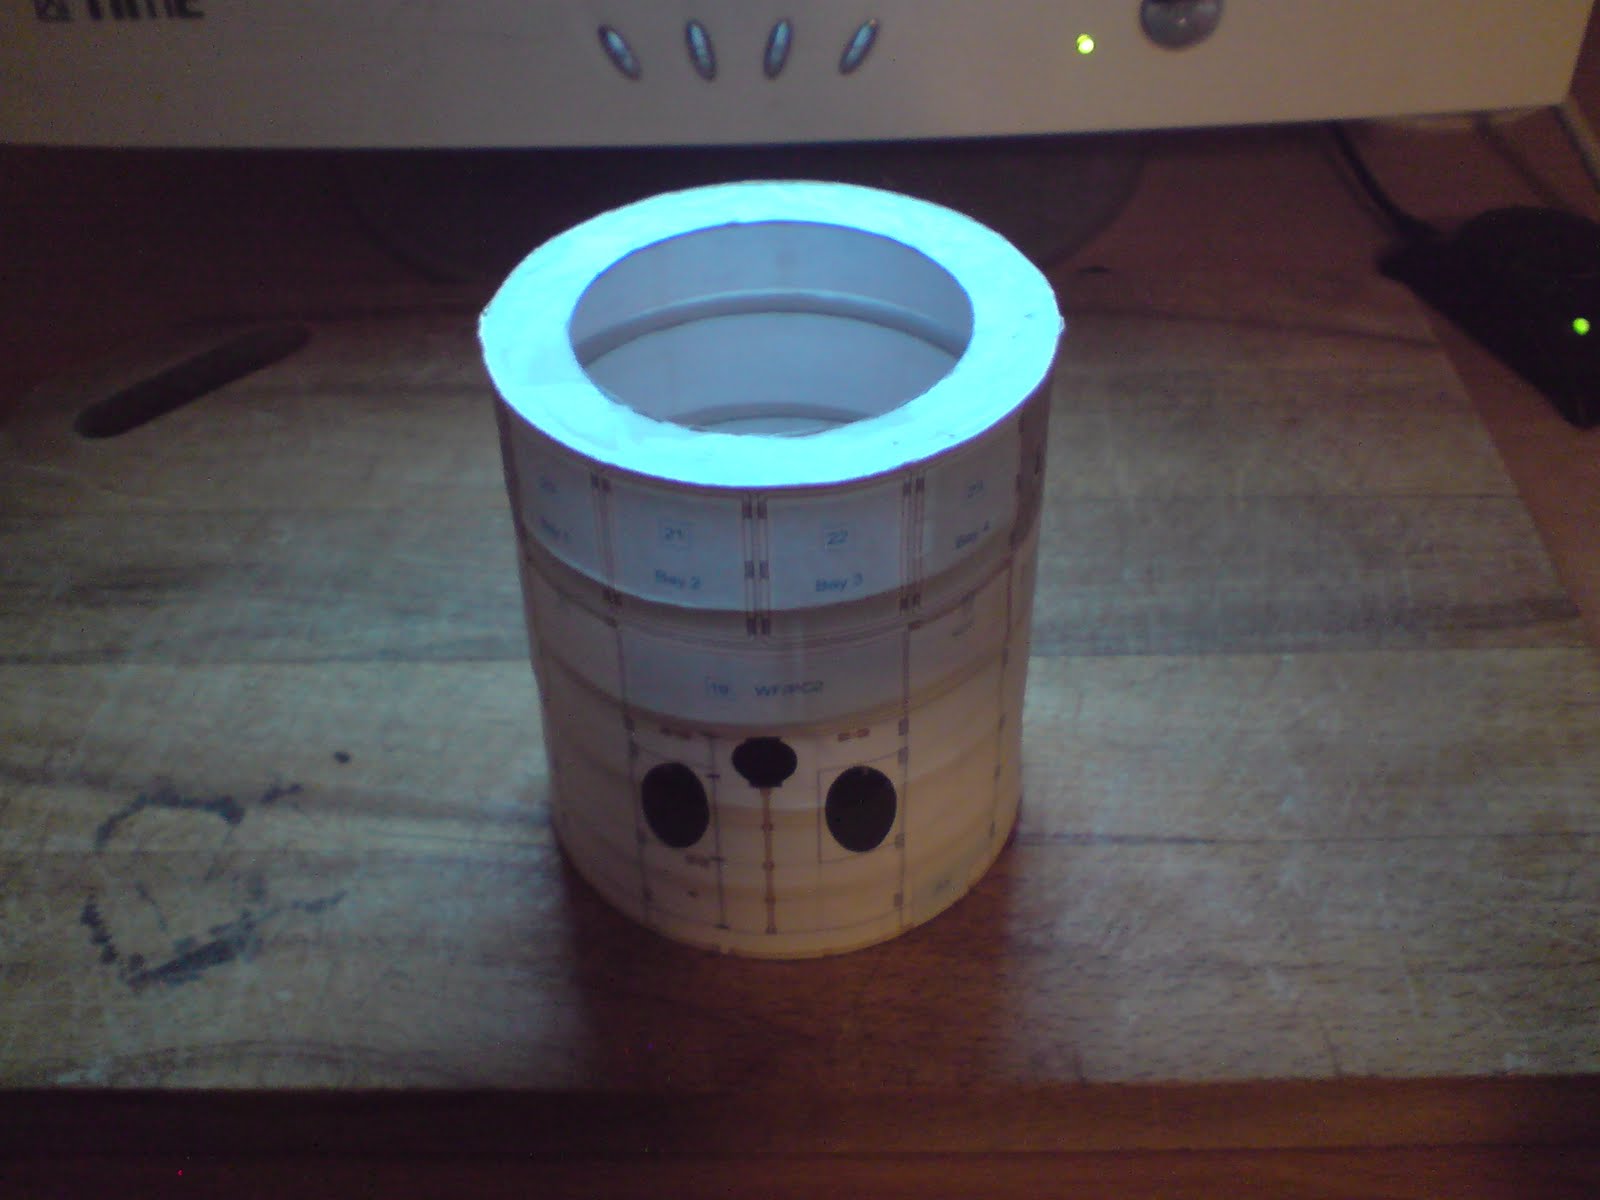
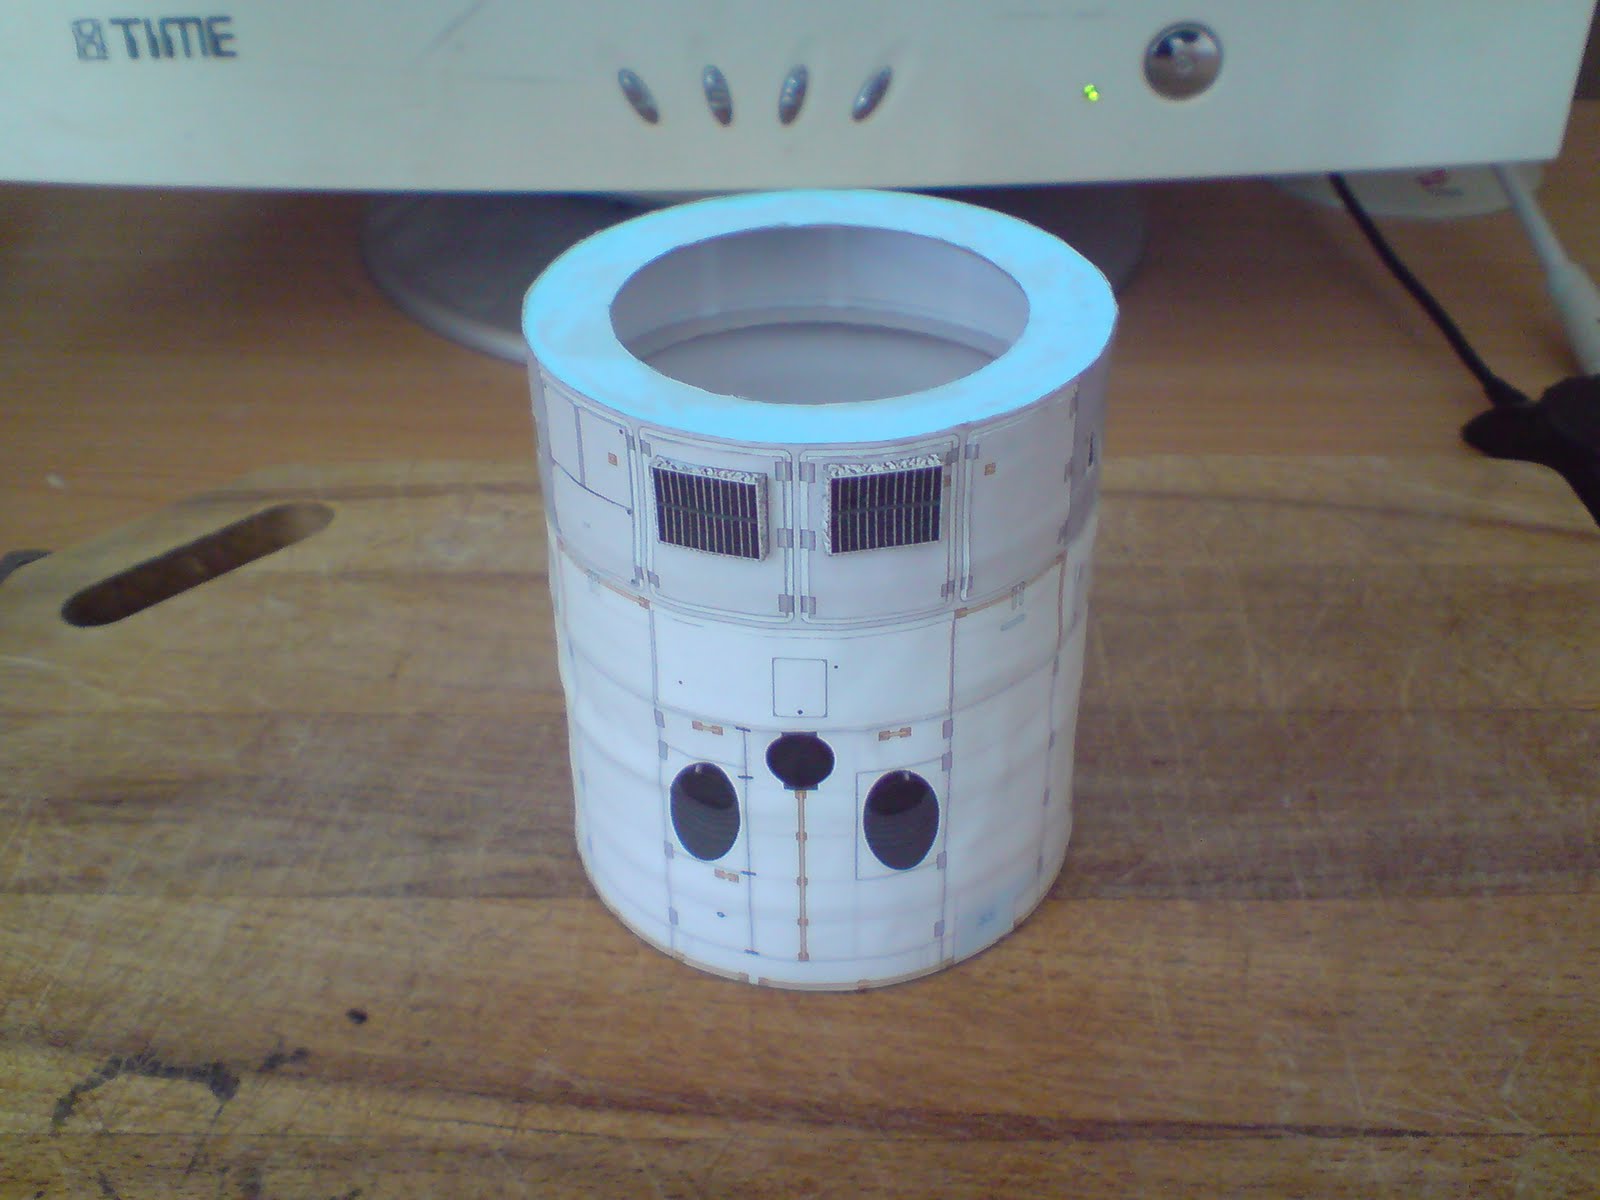
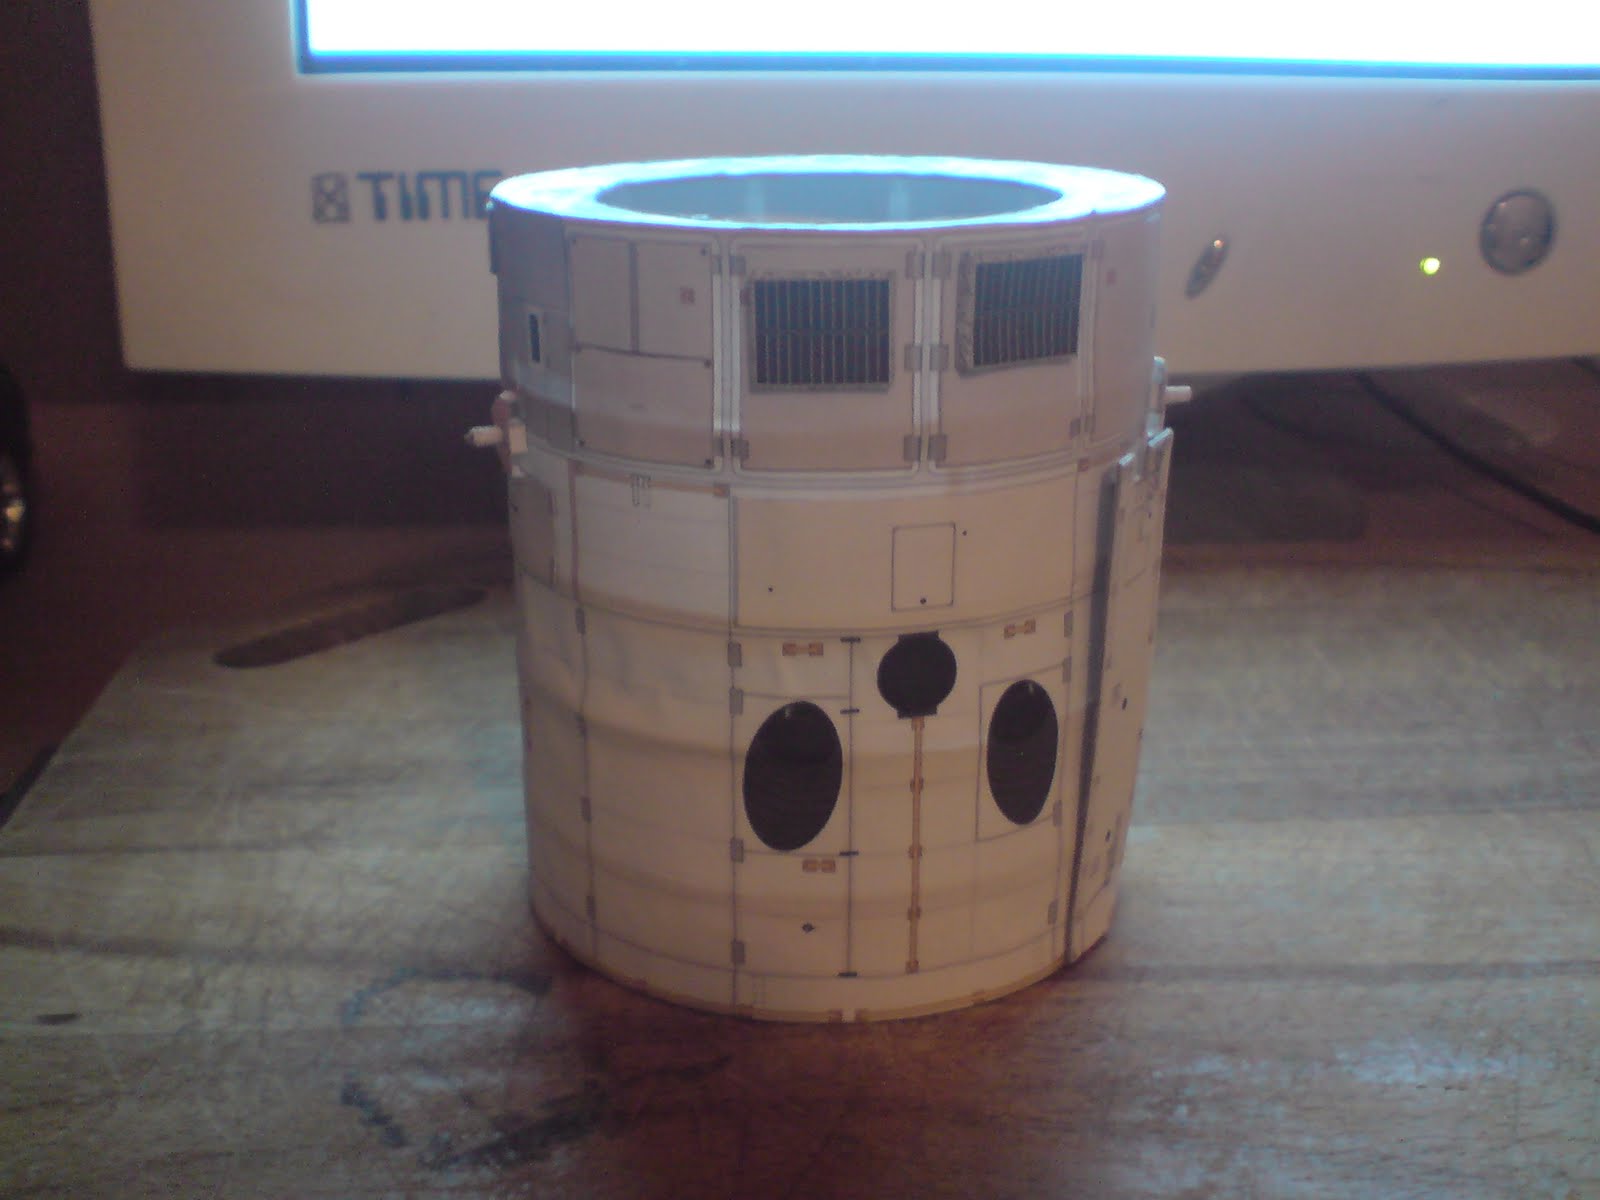
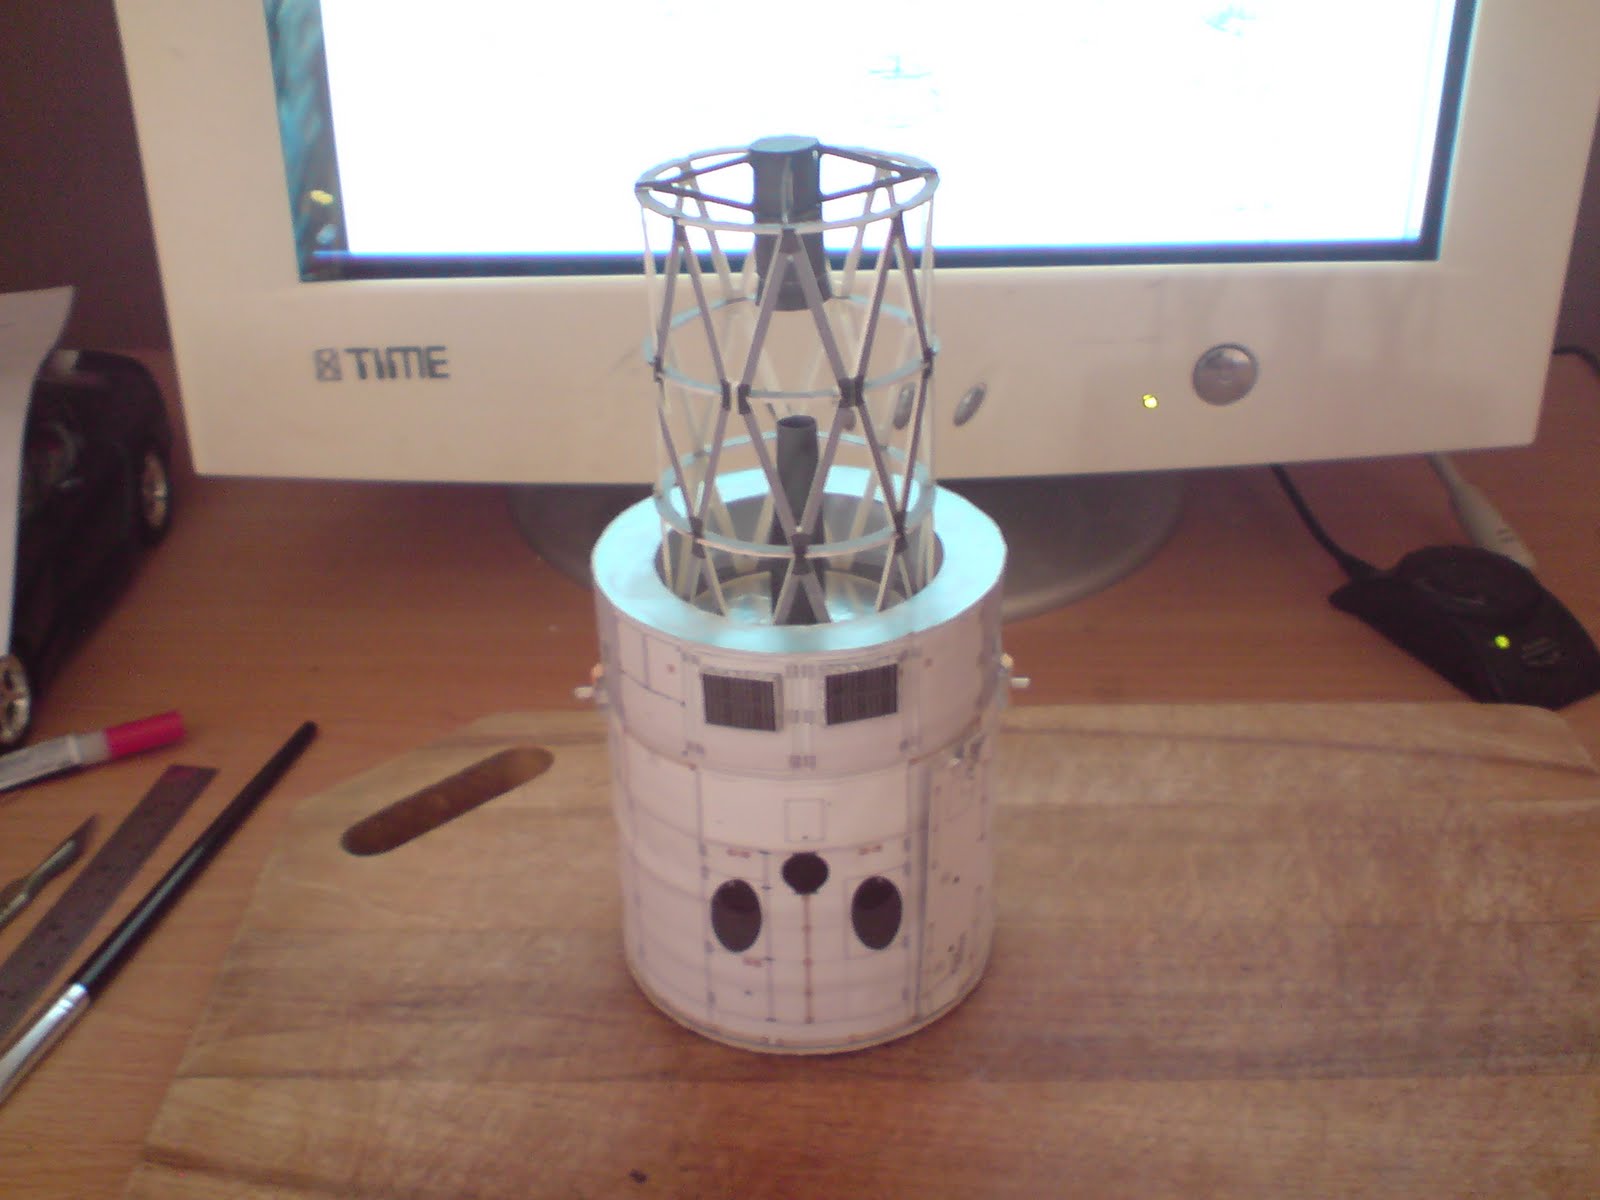
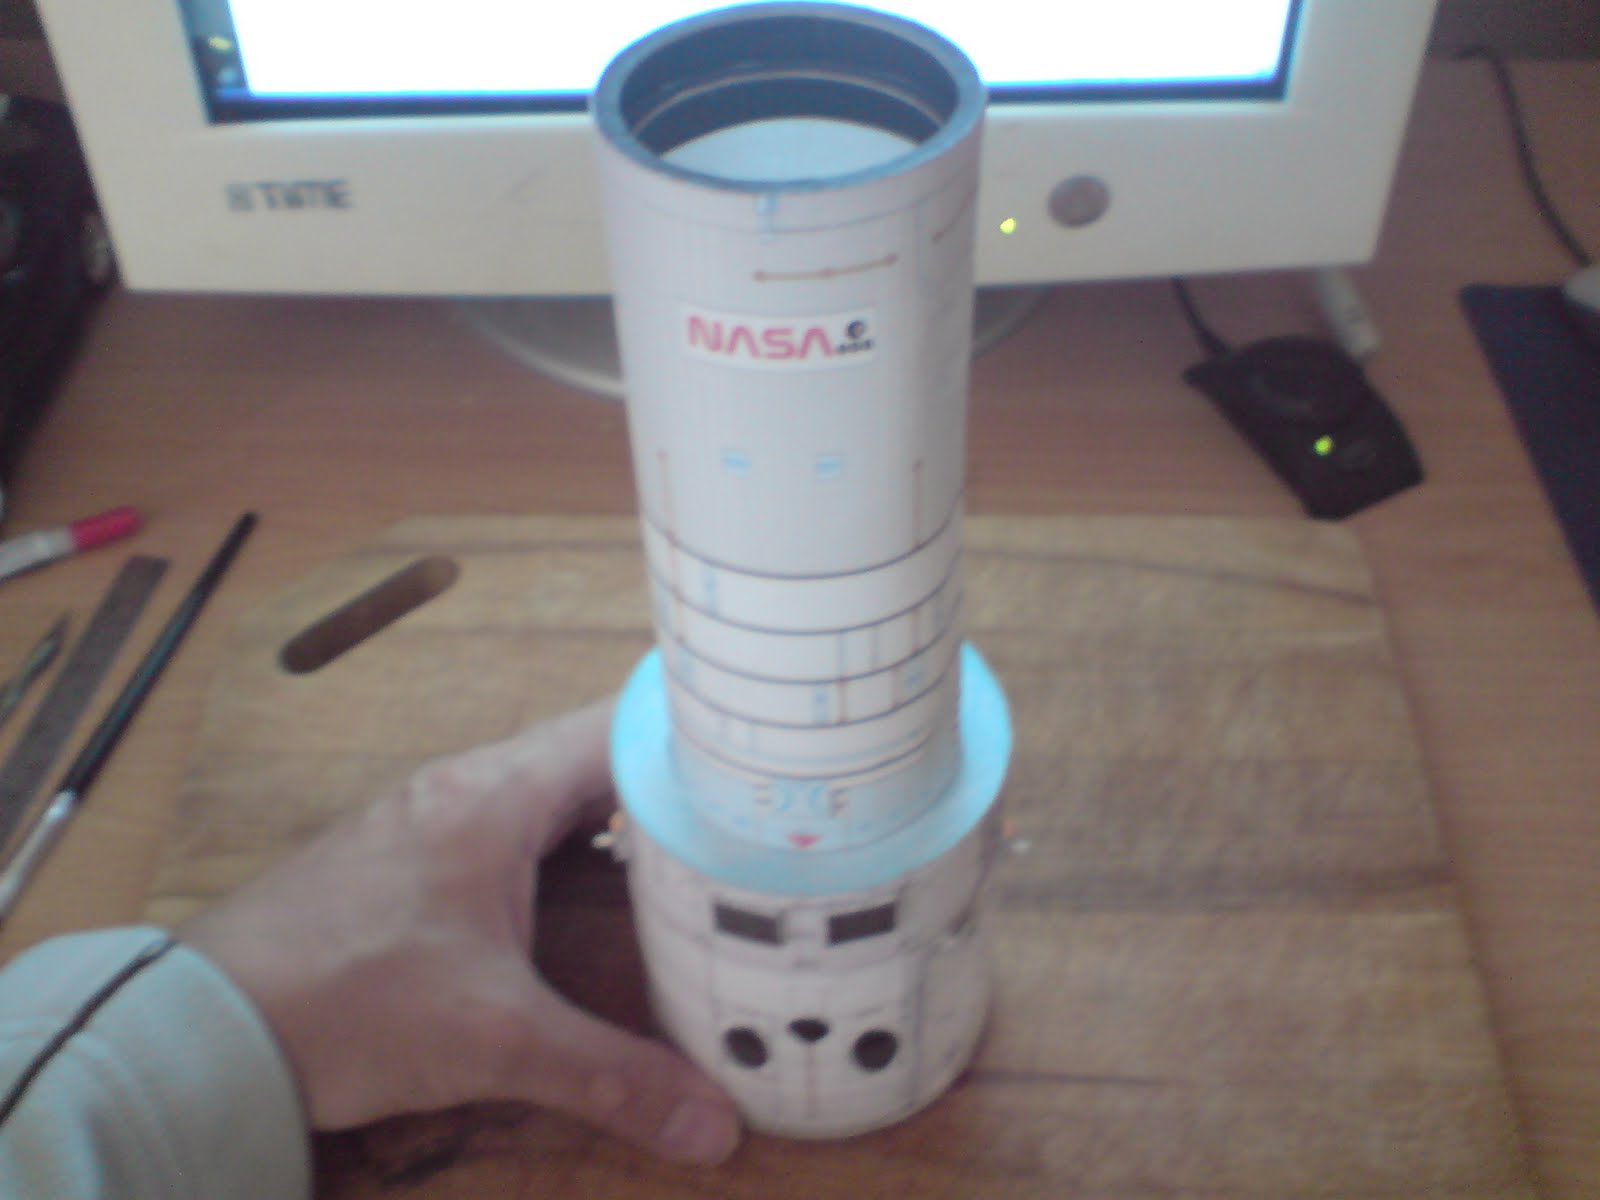
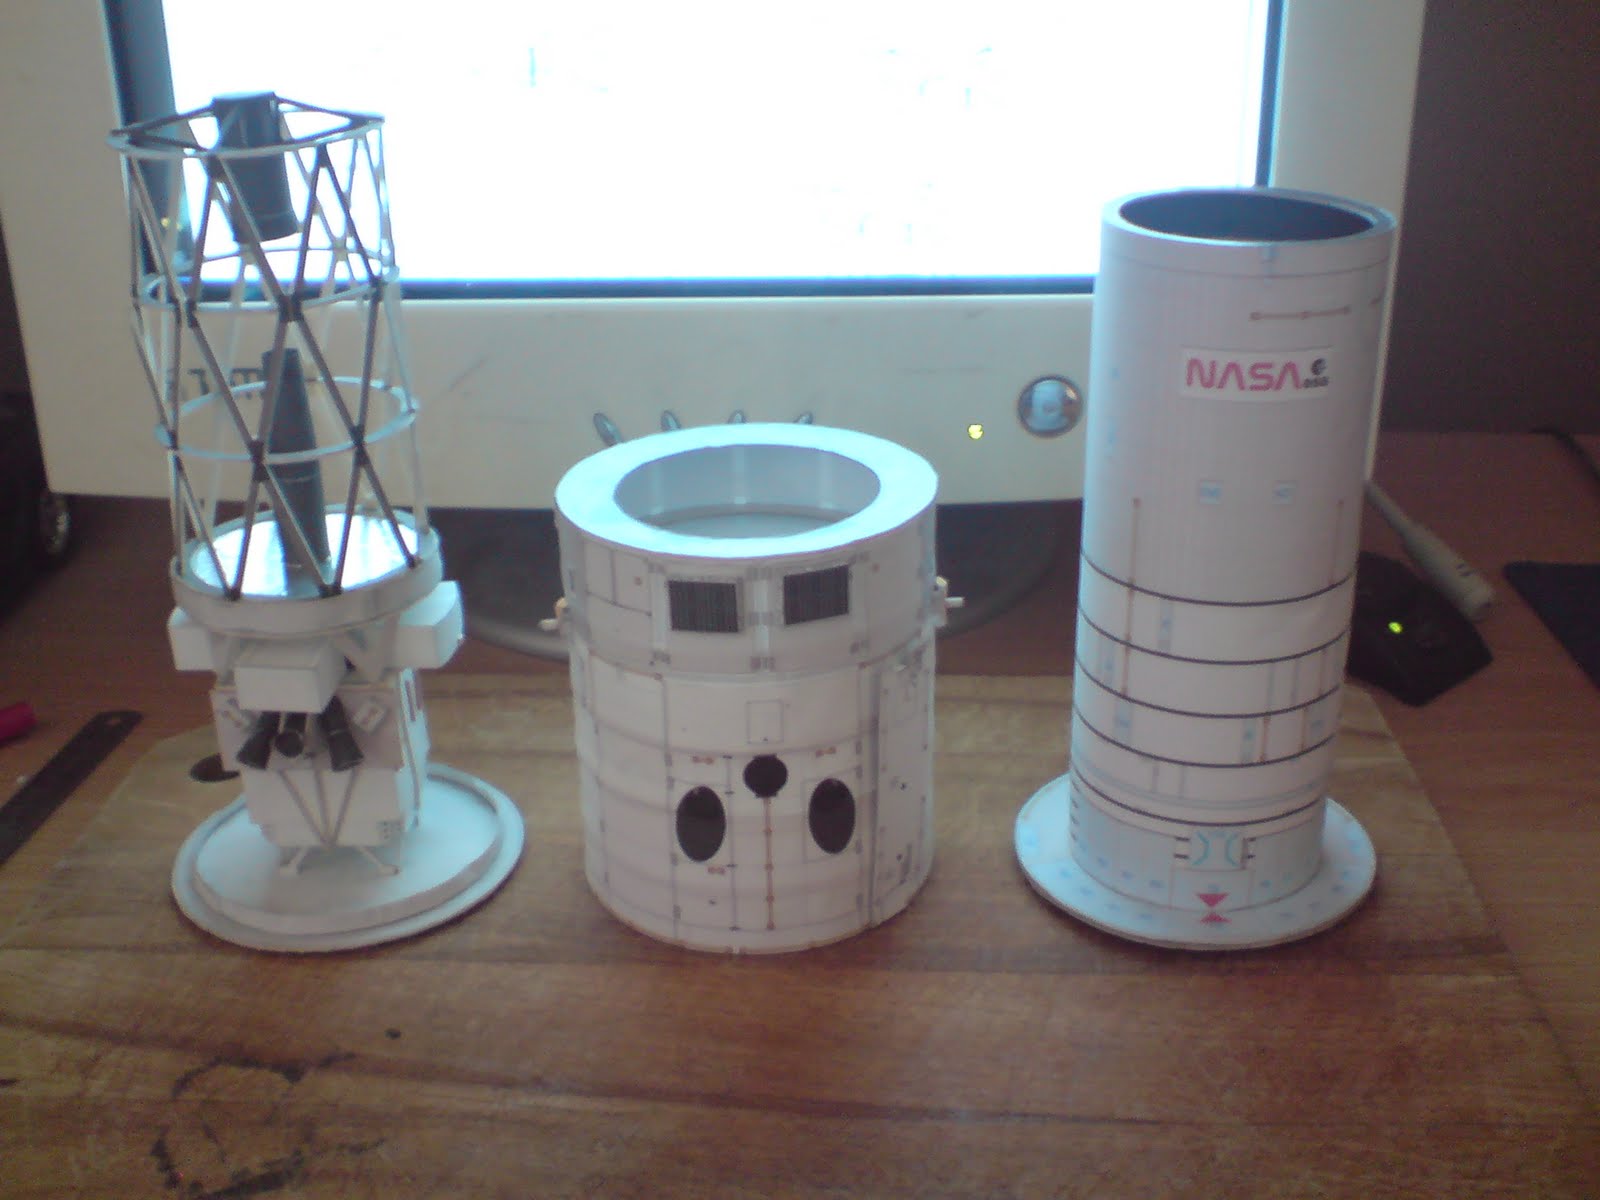
I decided to go for it and downloaded the templates and instructions for the Hubble Telescope papercraft model I was thinking of building. The model comes in two sections; the exterior of the telescope and the interior which shows the workings of the telescope and slides into the exterior section. They can be displayed either seperately, or together.

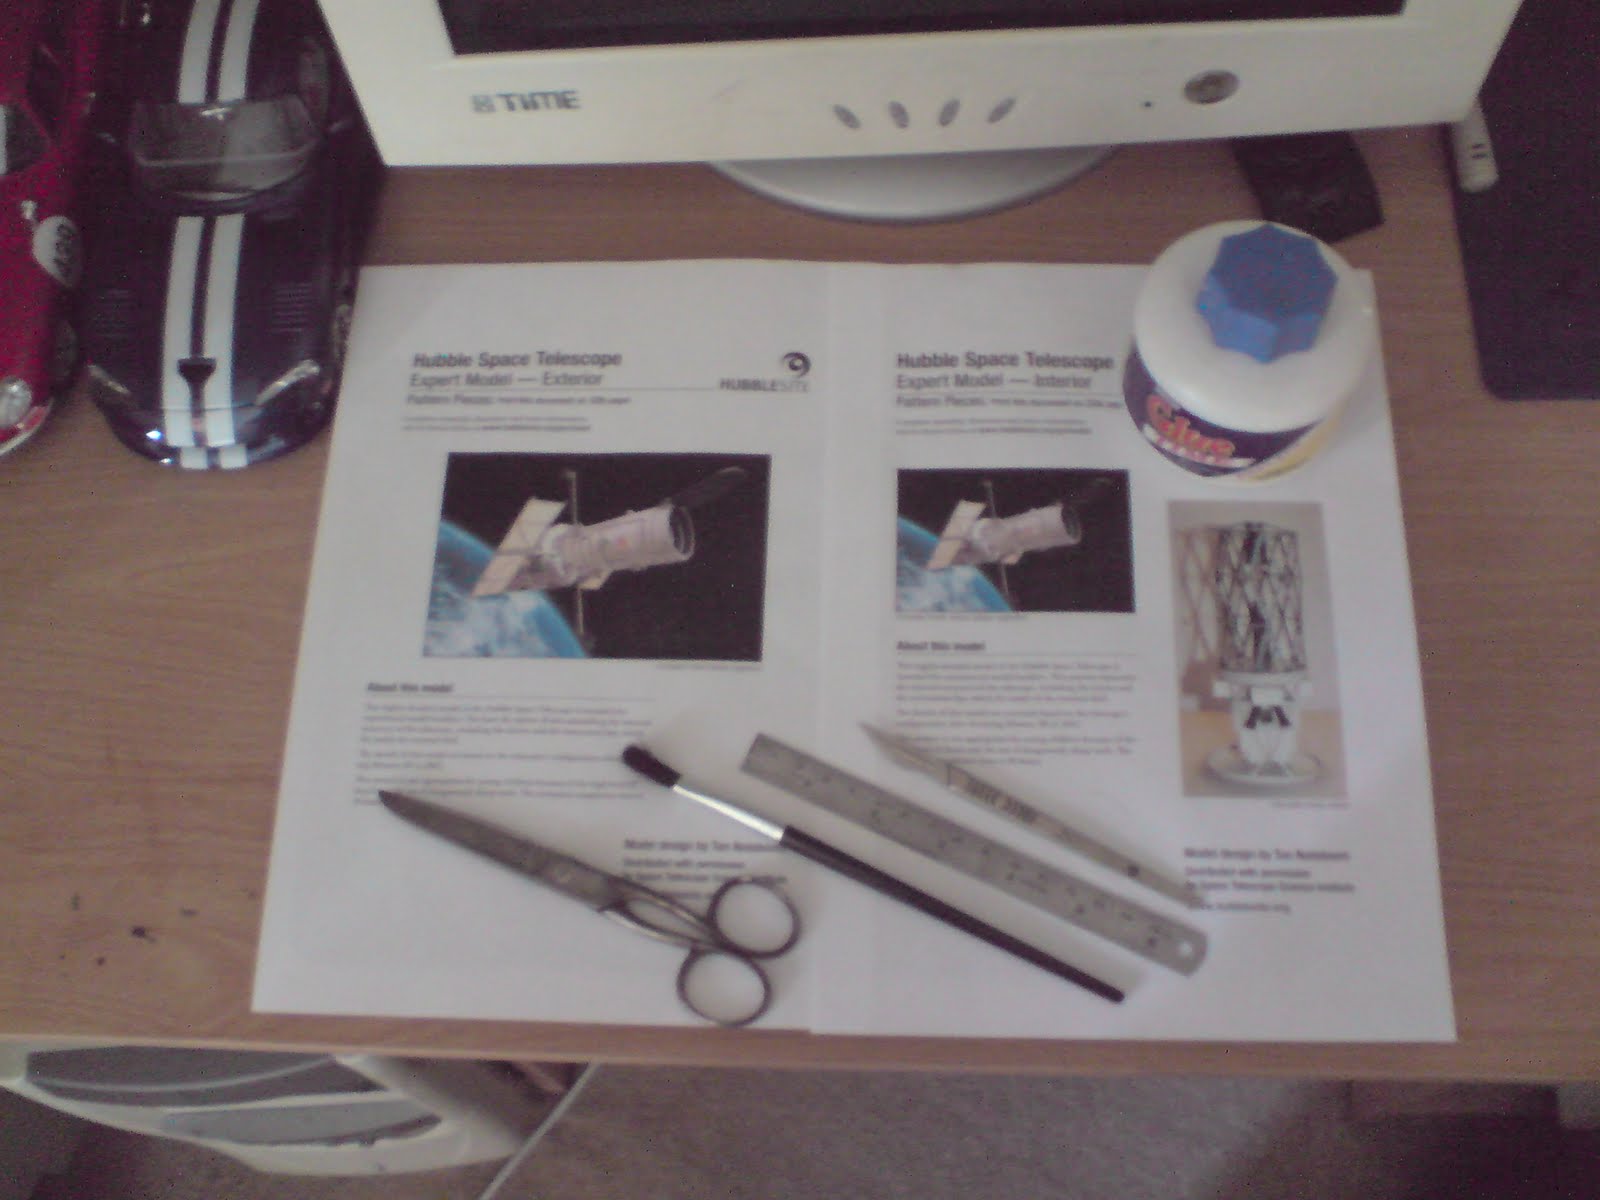
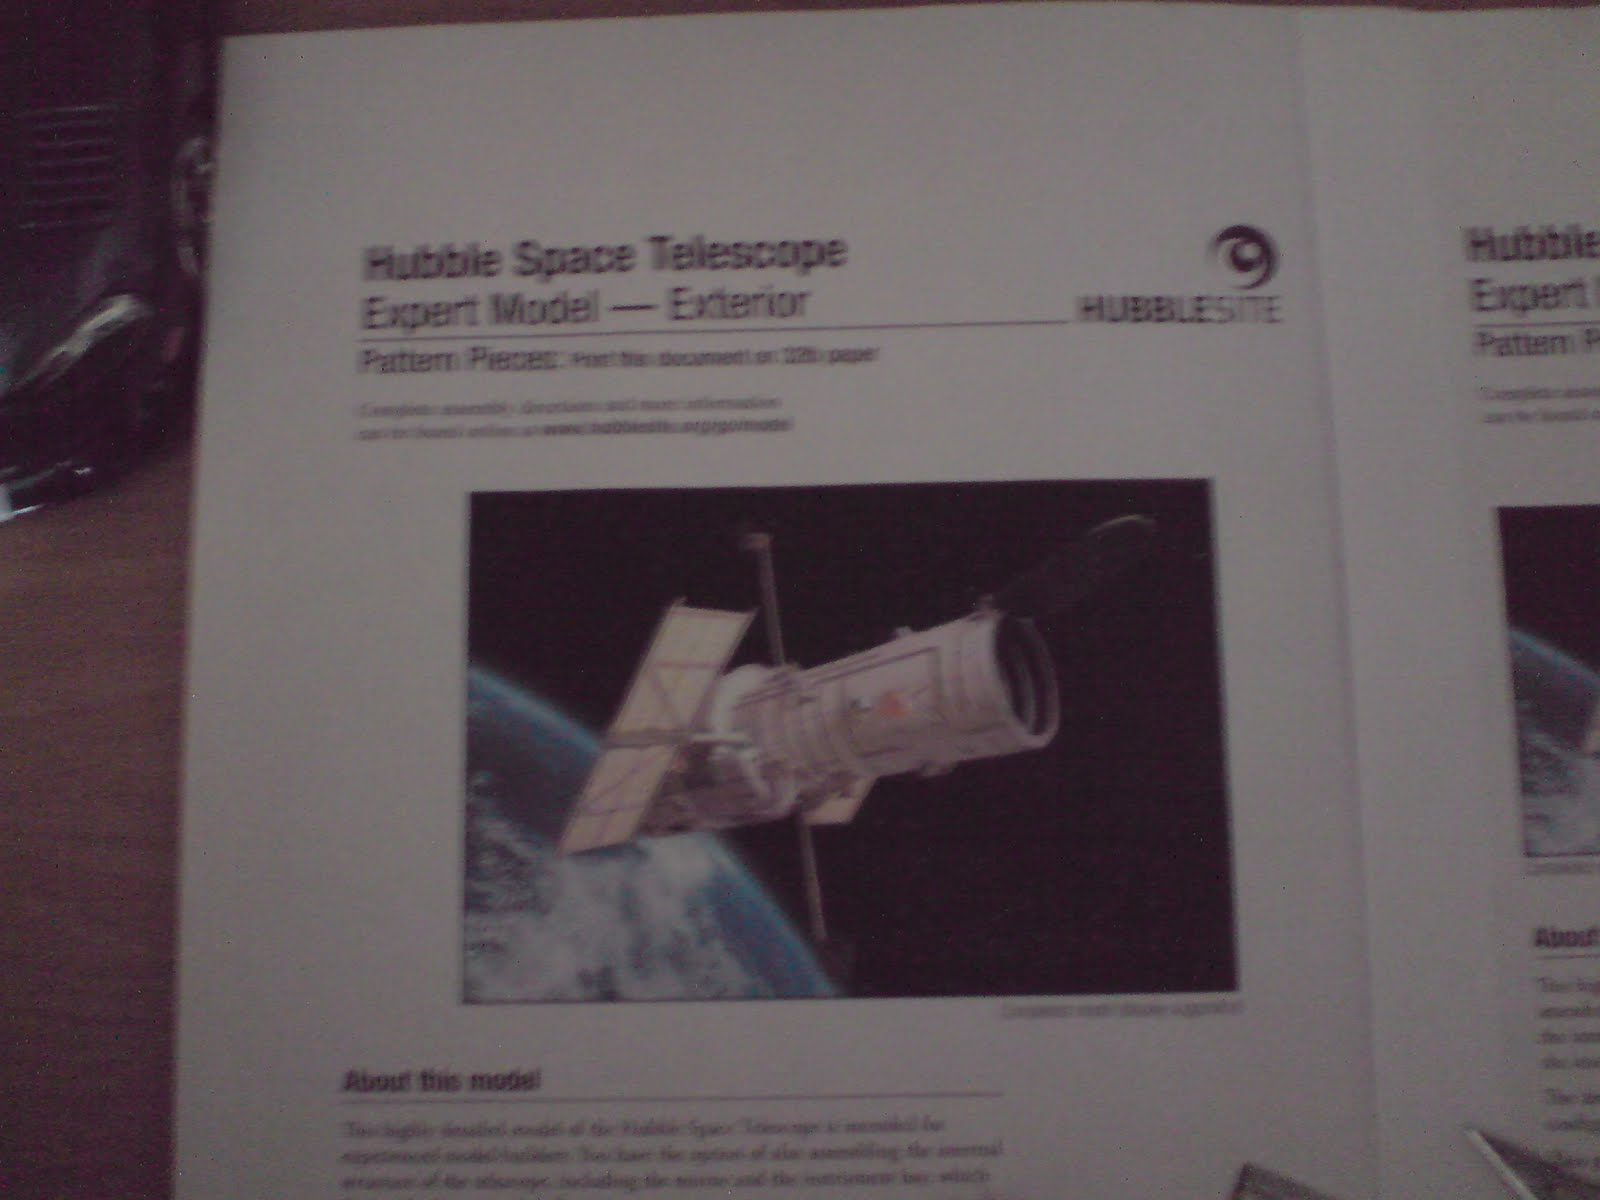
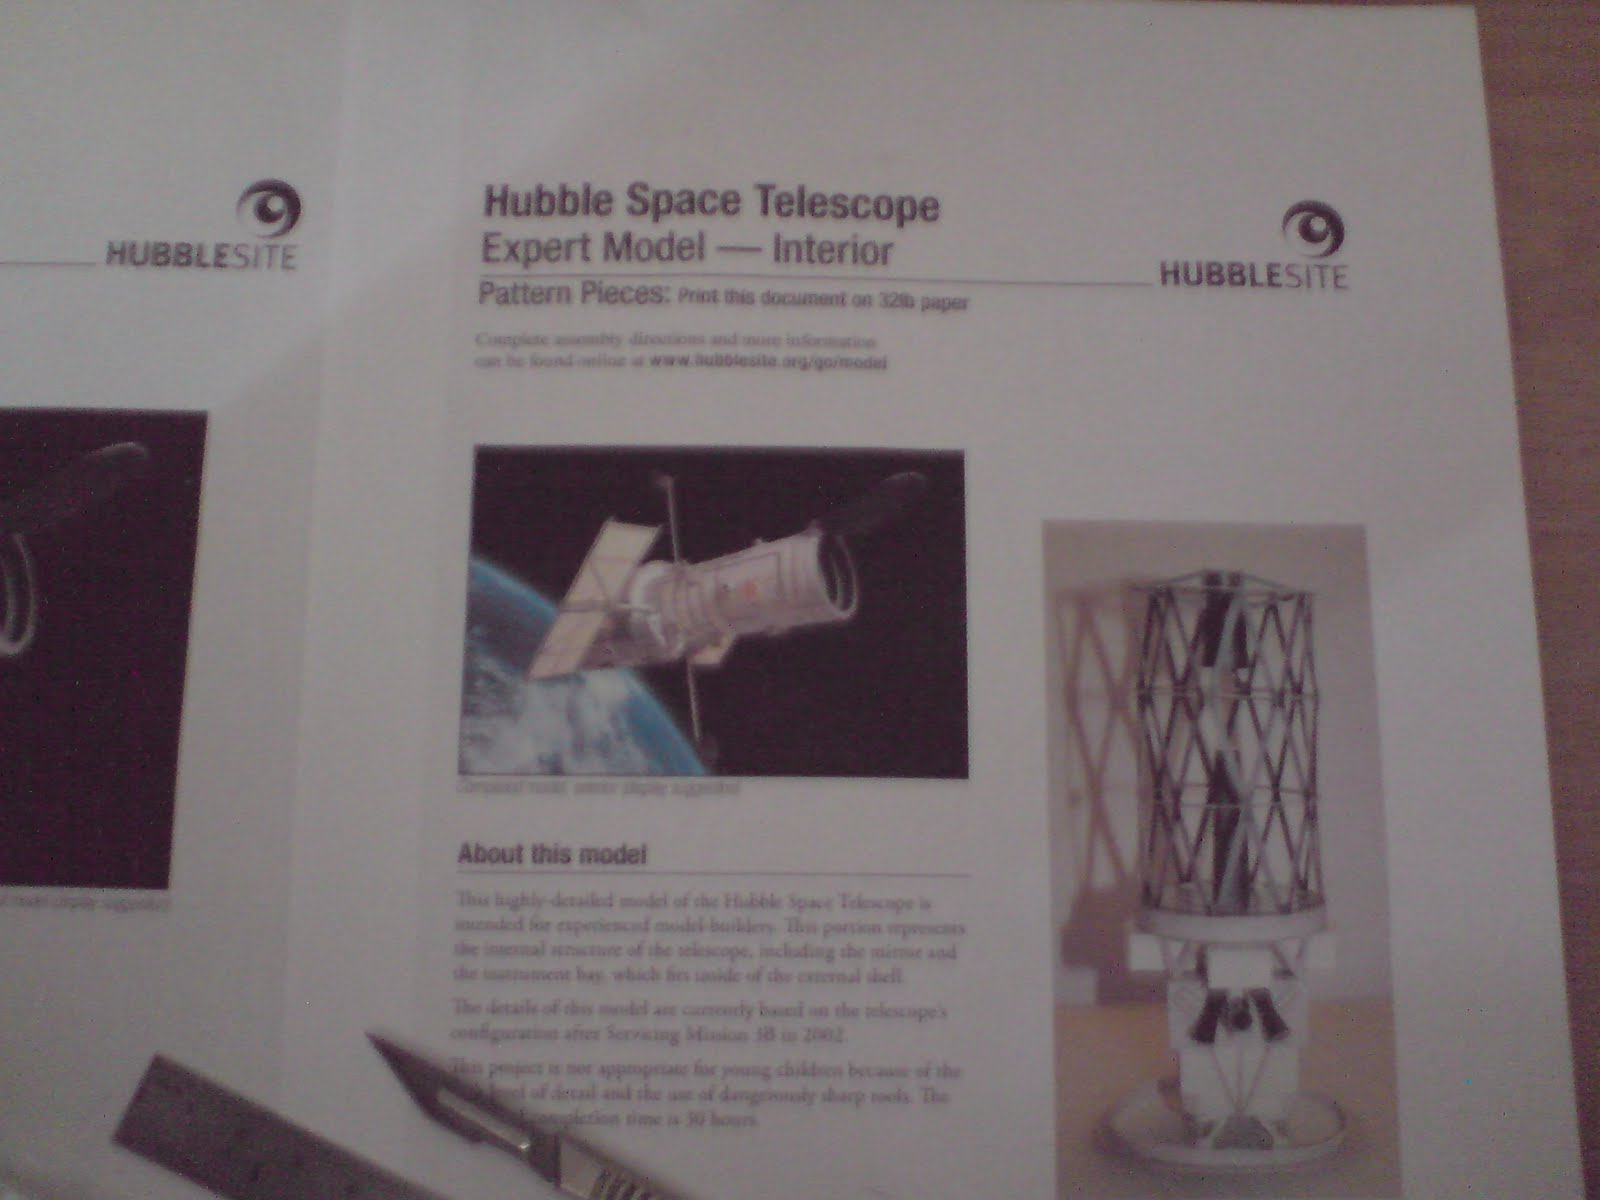
Sorry for the poor quality of the pictures, they were taken with a fairly old 5MP camera phone. The top one shows the two cover sheets for the two sections, plus some of the tools I will be using. The middle one shows the exterior section cover sheet and the bottom one shows the cover sheet for the interior section.

Feel Free to PM me if you get stuck.

Thanks! If I get stuck, I will most definately take you up on that!

First of all, apologies for the double post!
Here are some pictures of the progress I have made with my papercraft Hubble Telescope.

The pictures show the ‘Axial Instrument Bay’ which is attached to the bottom of the telesope’s interior parts. You can just make out the copper wire handrails I glued to the sides. These replaced the tiny, thin cardboard ones from the template. Also visible are the thin strengthening strips at the top and on the sides of the instrument bay.

I’ll post more pictures as and when I make further progress. So far, I am thoroughly enjoying this model, I had forgotten just how enjoyable PaperCraft is!

This glock is tiny.

Here’s another update on my Hubble PaperCraft model.


This shows the Radial Instruments temporarily fixed to the Axial Instruments


This shows all the instruments glued in place with the Primary Mirror fixed at the bottom (the top in the completed model)


This shows the kitchen foil I used for the Primary Mirror


This shows the lens assembly glued in place

The next job to do is to make the lattice work which holds the Secondary Mirror over the lens assembly, pictures to follow.

Great Job, Bruce!
awesome job with the Cones, even better use of the Aluminum foil. (Thumbs-up smiley)
Keep up the good work. :slight_smile:

Thanks! The only problem with it so far is that horrible job I made of the ring the Primary Mirror is mounted on. It had to be fixed around a disk, but the disk was slightly too big so the ring ended up getting a bit distorted (stupidly, I didn’t think of trimming down the disk slightly!). I guess I’ll be displaying the interior section inside the exterior section and not seperately!!

Hubble Space Telescope fuck yeah, looking good.

Here’s another update on my Hubble PaperCraft model. The Interior section of the model is now completed, so next I’ll be building the exterior section.

I had to cut out 4 of these lattice sections, they were quite fiddly and my scalpel slipped on one of them. Luckily, the cut isn’t too visible!

This shows the 4 lattice sections with the supporting rings glued in place.

This is the lattice section glued onto the Primary Mirror housing.

Lastly, here are two pictures of the completed Interior section, with the Secondary Mirror glued in place at the end of the lattice section.

Now onto the exterior of the Telescope, more progress updates to follow! For more details of the build, visit my model making blog at; https://armourmodels.blogspot.com

Damn! Another double post! Anyway, here’s another progress update on my Hubble Space Telescope PaperCraft model. I’ve started on the exterior of the model and so far I have completed the exterior skin and internal reinforcement rings of the Aft Shroud.

This is the outer skin with the first two reinforcement rings in place, with a spacer between them.

This shows all the reinforcement rings and spacers in place.

This is the completed outer skin of the Aft Shroud, with instrument bay doors glued in place.

Next up will be the first lot of exterior instruments and fittings, including Skuff Plates.

Looking good ^^

I just scrapped my dropship since I needed to make space around here; I’ll print another on better paper later.

Talking of paper, believe it or not, I’m using normal printing paper for this. Although it does tend to soak up more glue and get a bit soggy if I’m not carefull, it seems to be working quite well. Some of the sheets had to be glued onto cardboard, so I just used cereal packets for that. I’m thinking that maybe cardstock on top of cardboard would have been too rigid and inflexible? The only real problem I have encountered so far was when it came to making the thin grab rails. I couldn’t get them to stick properly, so I cheated and used some stripped back electronic wire for them. It looks quite good and I will be using this for all the rest of the grab rails.

Yeah, but I’d assume you’re using decent printer paper, not asda’s own brand copier paper…

PMSL, funny you should say that…

That thing is built out of this stuff? :fffuuu:

It’s amazing what you can do with Asda’s own brand cereal packets and printer paper!! But seriously, I realise I could have got a slightly better finish with better quality printer paper, but it was all I had at the time, and I really don’t think it’s turned out all that bad considering what it’s made from! In the meantime, I’m looking forward to seeing your finished dropship, I always enjoy seeing other people’s work.

I’ll let you know when I get hold of a working printer xD

For those that wanted to know how to get the HEV suit papercrafts from Papercraft museum: on the Half-Life suit page, Right click on the Download link and click “save link as” from the drop-down menu. It should save a RAR archive to wherever you saved to.
I figured it out when revisiting the page seeing it link to a Rar file.

Time for another update for my Hubble PaperCraft model.

This shows the last few details added to the Aft Shroud

This shows the interior temporarily place inside the Aft Shroud

This shows the Forward Shield temporarily placed on top of the Aft Shroud, with my hand to give an idea of the size of the finished model.

This one shows the three major sub-assemblies placed next to each other.

The next job is to start on the details for the Forward Shield, including the Solar Panels.

Founded in 2004, Leakfree.org became one of the first online communities dedicated to Valve’s Source engine development. It is more famously known for the formation of Black Mesa: Source under the 'Leakfree Modification Team' handle in September 2004.